Resolution
For adding a node as an agent to Jenkins controller using the console, follow following steps.
Step 1: On Jenkins controller go to Manage Jenkins > Manage Nodes.
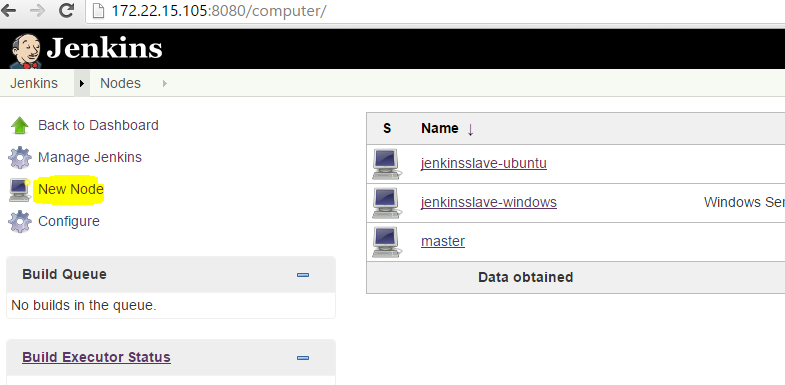
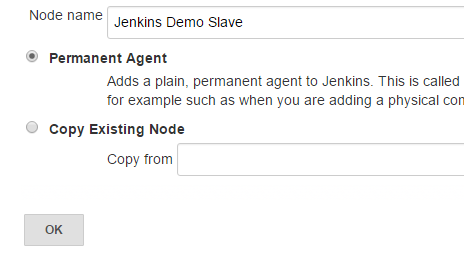
Step 2: Select New Node and enter node name.
Step 3: select Permanent Agent -> Press OK.
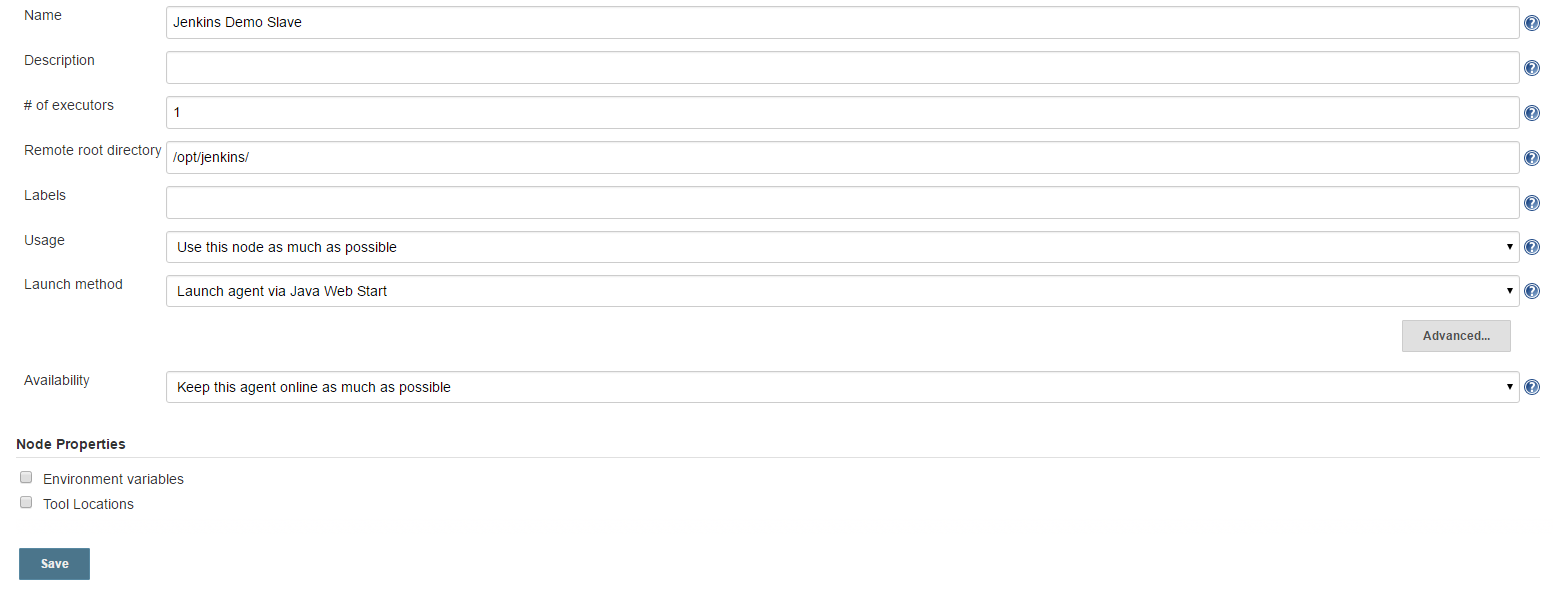
Step 4: On the next page, fill in the following fields:
Set a number of executors (one or more) as needed. Default is 1.
Set a Remote FS Root, a home directory for the controller on the agent machine, e.g., “/opt/jenkins/”
Set Usage to “Use this node as much as possible”.
Choose Launch method as “Launch agent by connecting it to the controller” (formerly known as "master", also known as "Launch agent via Java Web Start" before 2.176.1).
Set Availability, -→ Keep this agent online as much as possible.
Press Save.
Step 5: Now for connecting to agent to the controller by
Open a browser on the agent machine and go to the Jenkins controller URL (https://YourJenkinsController:8080).
Go to Manage Jenkins > Manage Nodes, click on the newly created agent machine.
Run from agent command line. Login to agent node -> download the agent.jar file from Jenkins controller UI to agent machine then while executing the command, please specify download path of agent.jar file.
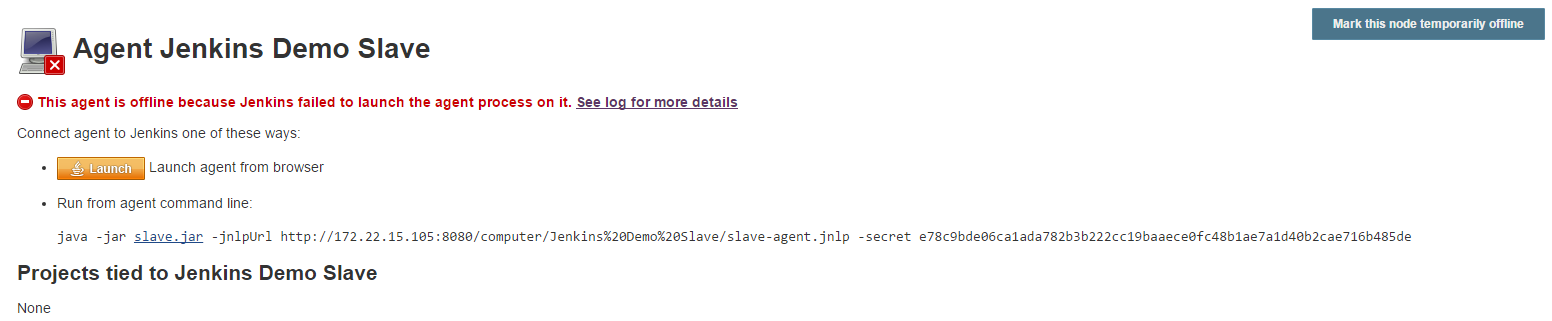 On your console:
nohup java -jar /opt/jenkins/agent.jar -jnlpUrl https://YourJenkinscontroller:8080/computer/NameOfYourSlave/jenkins-agent.jnlp -jnlpCredentials userJenkinscontroller:passwordJenkinscontroller &
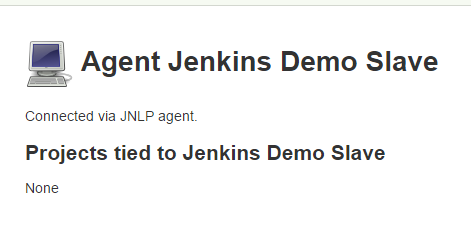
Now agent node will be in Connected state.
We recommend you choose connecting agent with ssh in linux servers How to connect to remote SSH Agents