Issue
You are currently running Jenkins in Kubernetes and you would like to learn the steps to migrate that controller to be running with CloudBees CI on modern cloud platforms.
Resolution
In the below steps, we will backup Jenkins, install CloudBees CI, create a managed controller, and restore the Jenkins backup into that controller.
-
Locate your Jenkins pod, exec into it and take a backup of JENKINS_HOME, and copy it outside of the pod:
kubectl exec -ti jenkins-0 -c jenkins -n jenkins -- sh
cd /var/jenkins_home
tar -cf - * | gzip > /tmp/backup-jenkins-1.tar.gz
exit
kubectl cp -c jenkins -n jenkins jenkins-0:/tmp/backup-jenkins-1.tar.gz backup-jenkins-1.tar.gz
-
Align the Jenkins and CloudBees CI app versions between the
V.R.Mfields (in this example,2.401.3) to ensure a smooth migration.If you are not sure which CloudBees CI chart version to install, run:
helm list -A | grep jenkins
jenkins         jenkins         1               2023-07-27 17:32:34.451193 -0400 EDT    deployed        jenkins-4.4.2                           2.401.3
Then use the app version from the output, in this example it’s
2.401.3, and use it to find the corresponding CloudBees CI chart:helm repo add cloudbees https://public-charts.artifacts.cloudbees.com/repository/public/ helm repo update helm search repo cloudbees/cloudbees-core --versions | grep 2.401.3 cloudbees/cloudbees-core 3.13430.0+1e383c33d1a3 2.401.3.3 Enterprise Continuous Integration with Jenkins
Based on this output, when you install CloudBees CI, you would pass
--version 3.13430.0+1e383c33d1a3to yourhelmcommand.To install CloudBees CI, follow the
Installingsection of the CloudBees CI documentation. -
Now that CloudBees CI is installed at the correct version, use your operations center to provision a new managed controller:
-
The default version will match the app version you installed, in this case 2.401.3.3, this should match the Jenkins version (just the V.R.M fields)
-
Choose a large enough disk size to hold your existing Persistent Volume used for Jenkins
-
Ensure
Provision and start on saveis checked (which is the default), then clickSaveto provision your CloudBees CI Managed controller: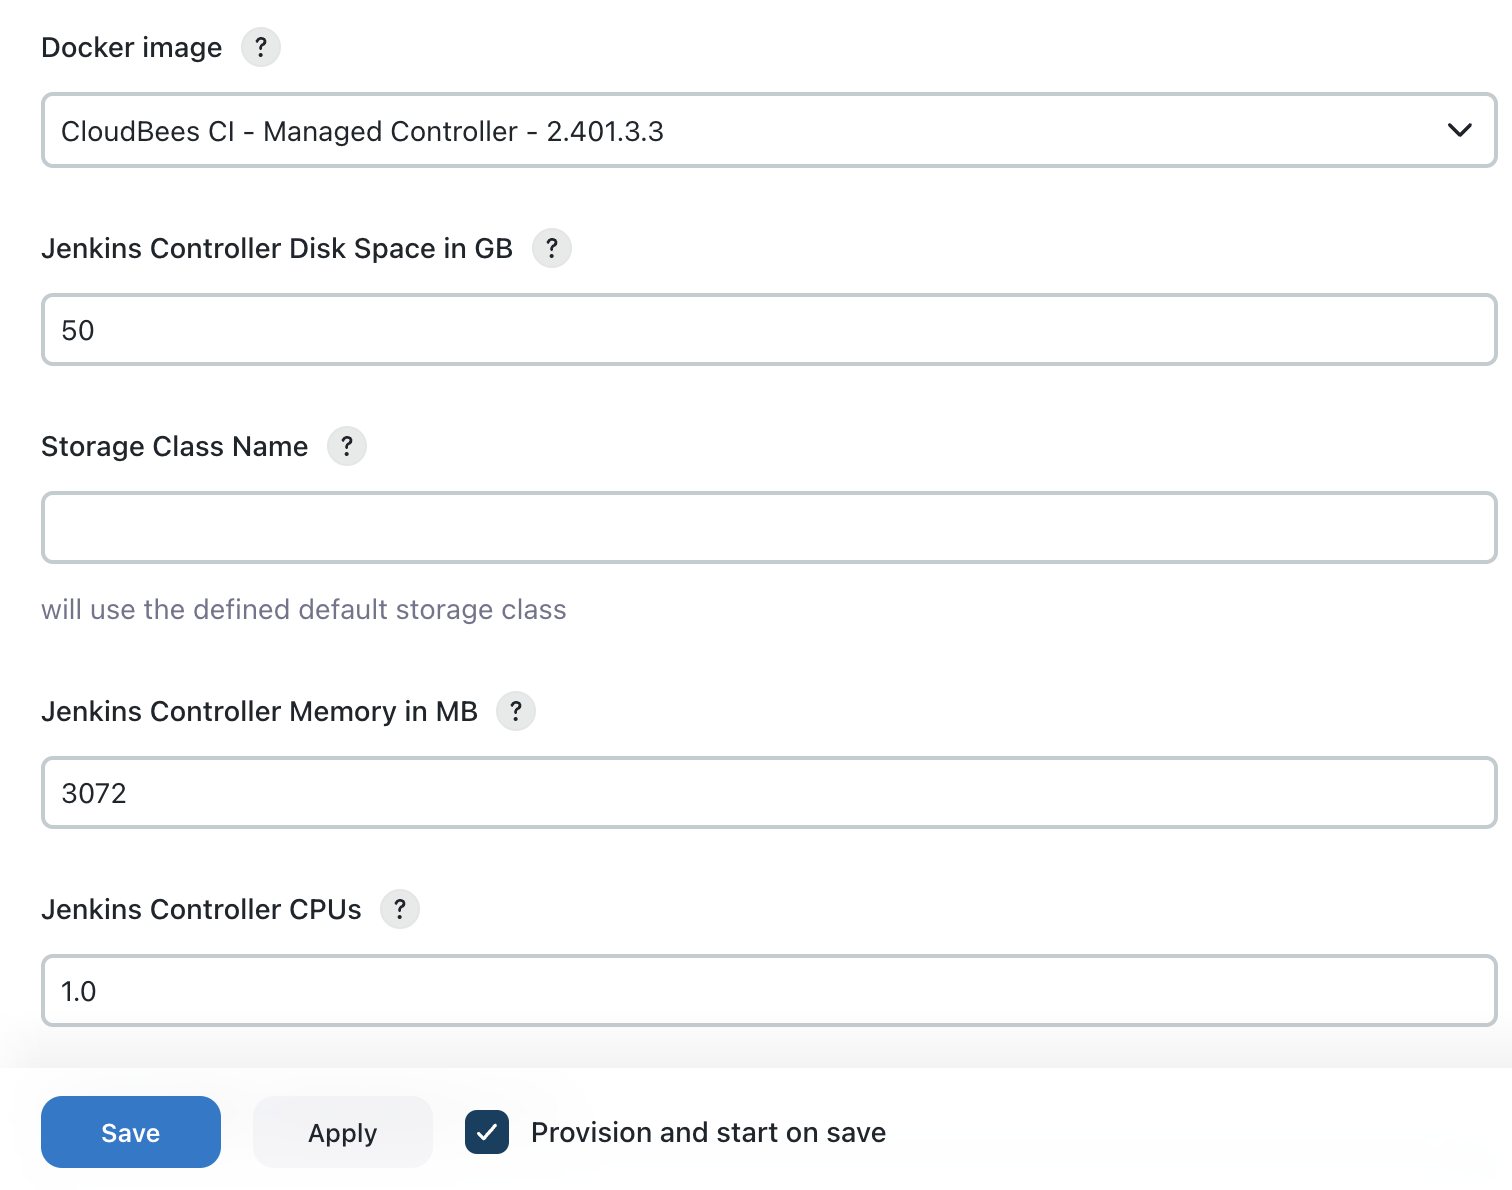
-
-
On your CloudBees CI managed controller, use the
Install suggested pluginsoption, then chooseNew Item, enter a job name, for examplerestore, and choose theBackup and Restorejob type: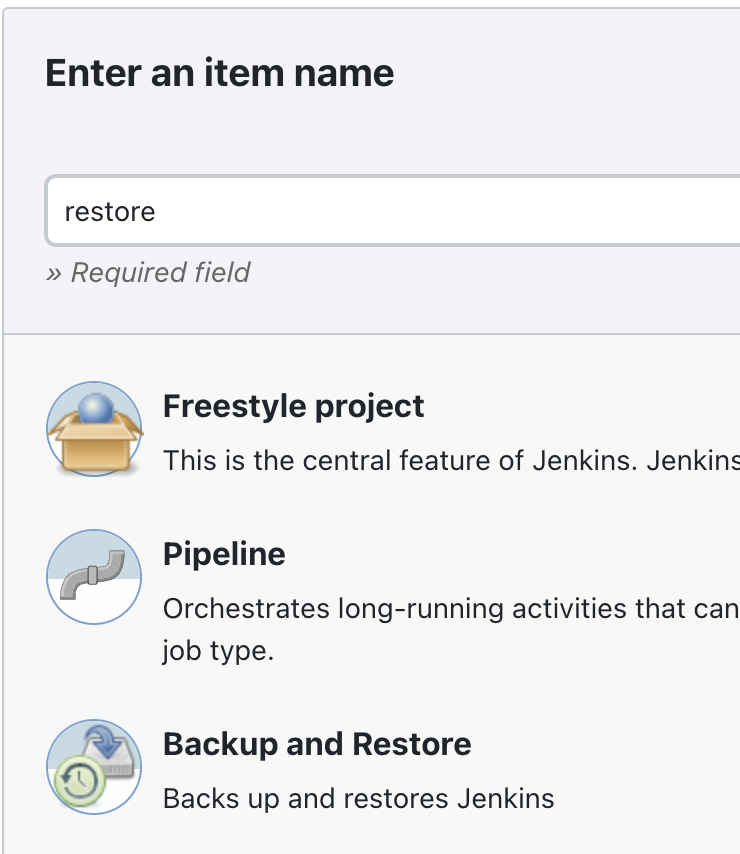
Under
Build StepschooseRestore from backup, then choose theLocal directorywithDirectoryset to/tmp. UnderRestore options,Advancedcheck theNOT RECOMMENDED: Ignore digest check(we are only checking this option since the backup was not taken using the CloudBees Backup plugin) -
Copy the Jenkins backup into your CloudBees CI managed controller pod (it’s important the backup name matches the pattern
backup-.*-[0-9]+\.[tar\.gz|zip]):kubectl cp -n cloudbees backup-jenkins-1.tar.gz CONTROLLER_NAME-0:/tmp/backup-jenkins-1.tar.gz
-
Ensure you have an agent to run the build on (can be any agent), and run the
restorejob, at the end of the restore job log click the link to restart the controller: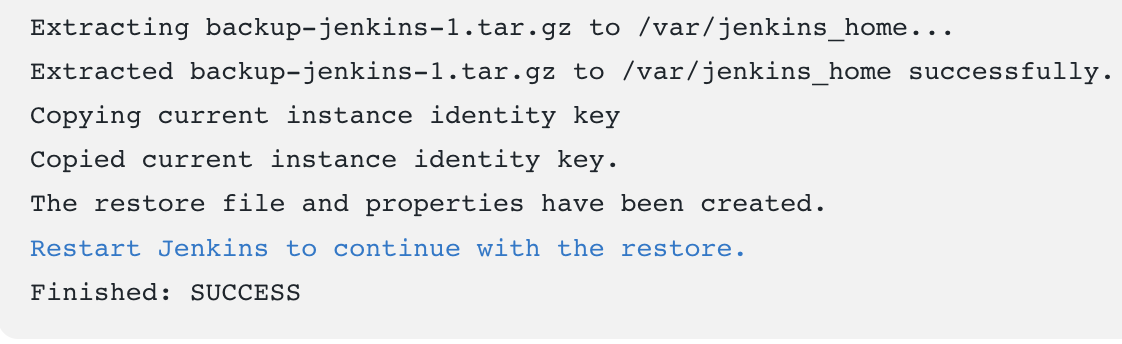
-
After the restart, all of your configuration, and jobs will be available on your CloudBees CI managed controller, and you can start to make use of CloudBees CI features.
Tested product/plugin versions
-
Jenkins Chart:
jenkins-4.4.2, App Version:2.401.3 -
CloudBees CI Chart:
cloudbees-core-3.13430.0+1e383c33d1a3, App Version:2.401.3.3