Issue
-
You want to limit folder access to specific groups using the Role-Based Access Control plugin
-
You have multiple groups that should only have access to their own folder
Resolution
You have the following groups imported from LDAP/AD or Mock Security Realm on your Jenkins instance. You also have two folders called team-A-folder and team-B-folder along with a Freestyle project called root-folder-job at the root Jenkins level.
| ------------ | ---------------- |
| **User**     | **Group**        |
| admin        | admin-group-ext  |
| developer-a1 | team-A-group-ext |
| developer-b1 | team-B-group-ext |
1. Allow admin users access to the full folder structure
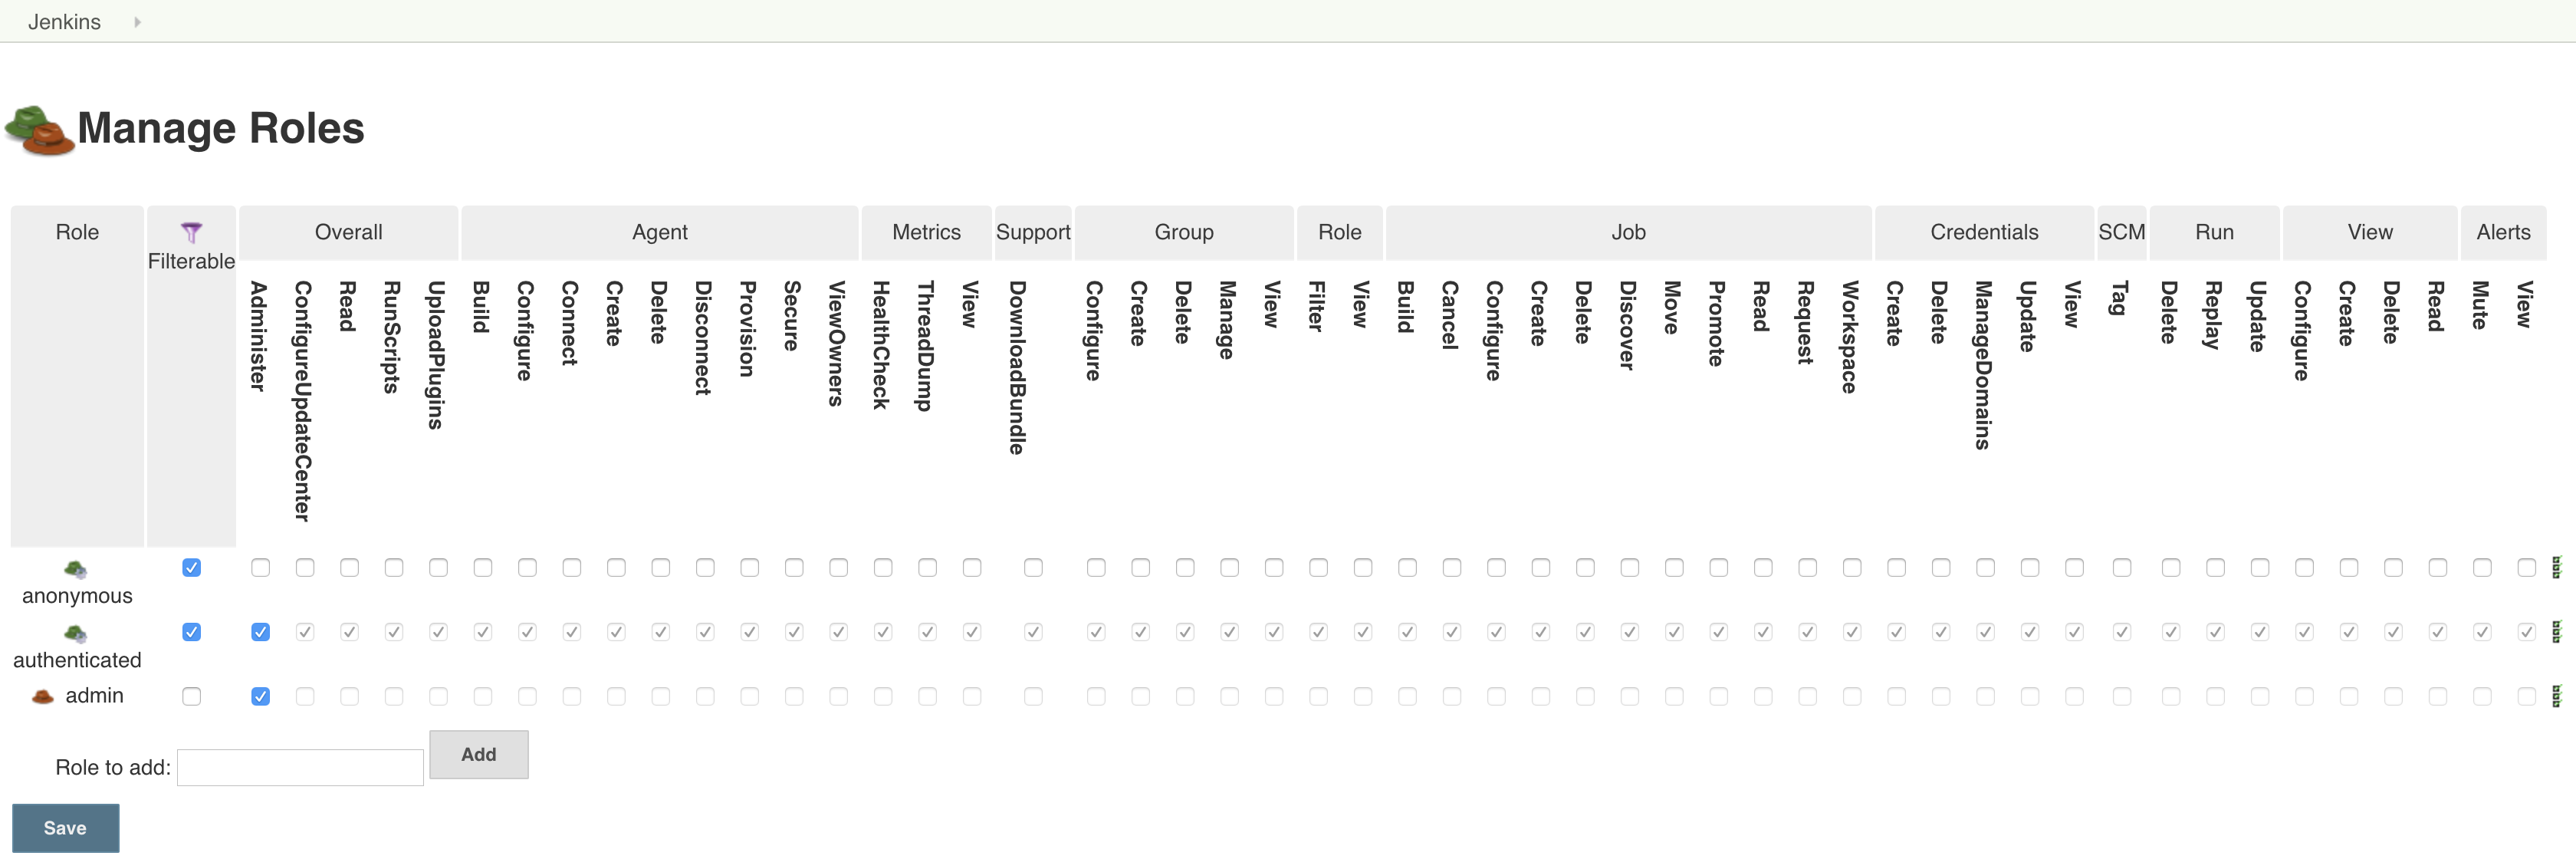
Navigate to Roles->Manage from the root Jenkins dashboard. Create an admin role with the Overall/Administer permission. Click Save.
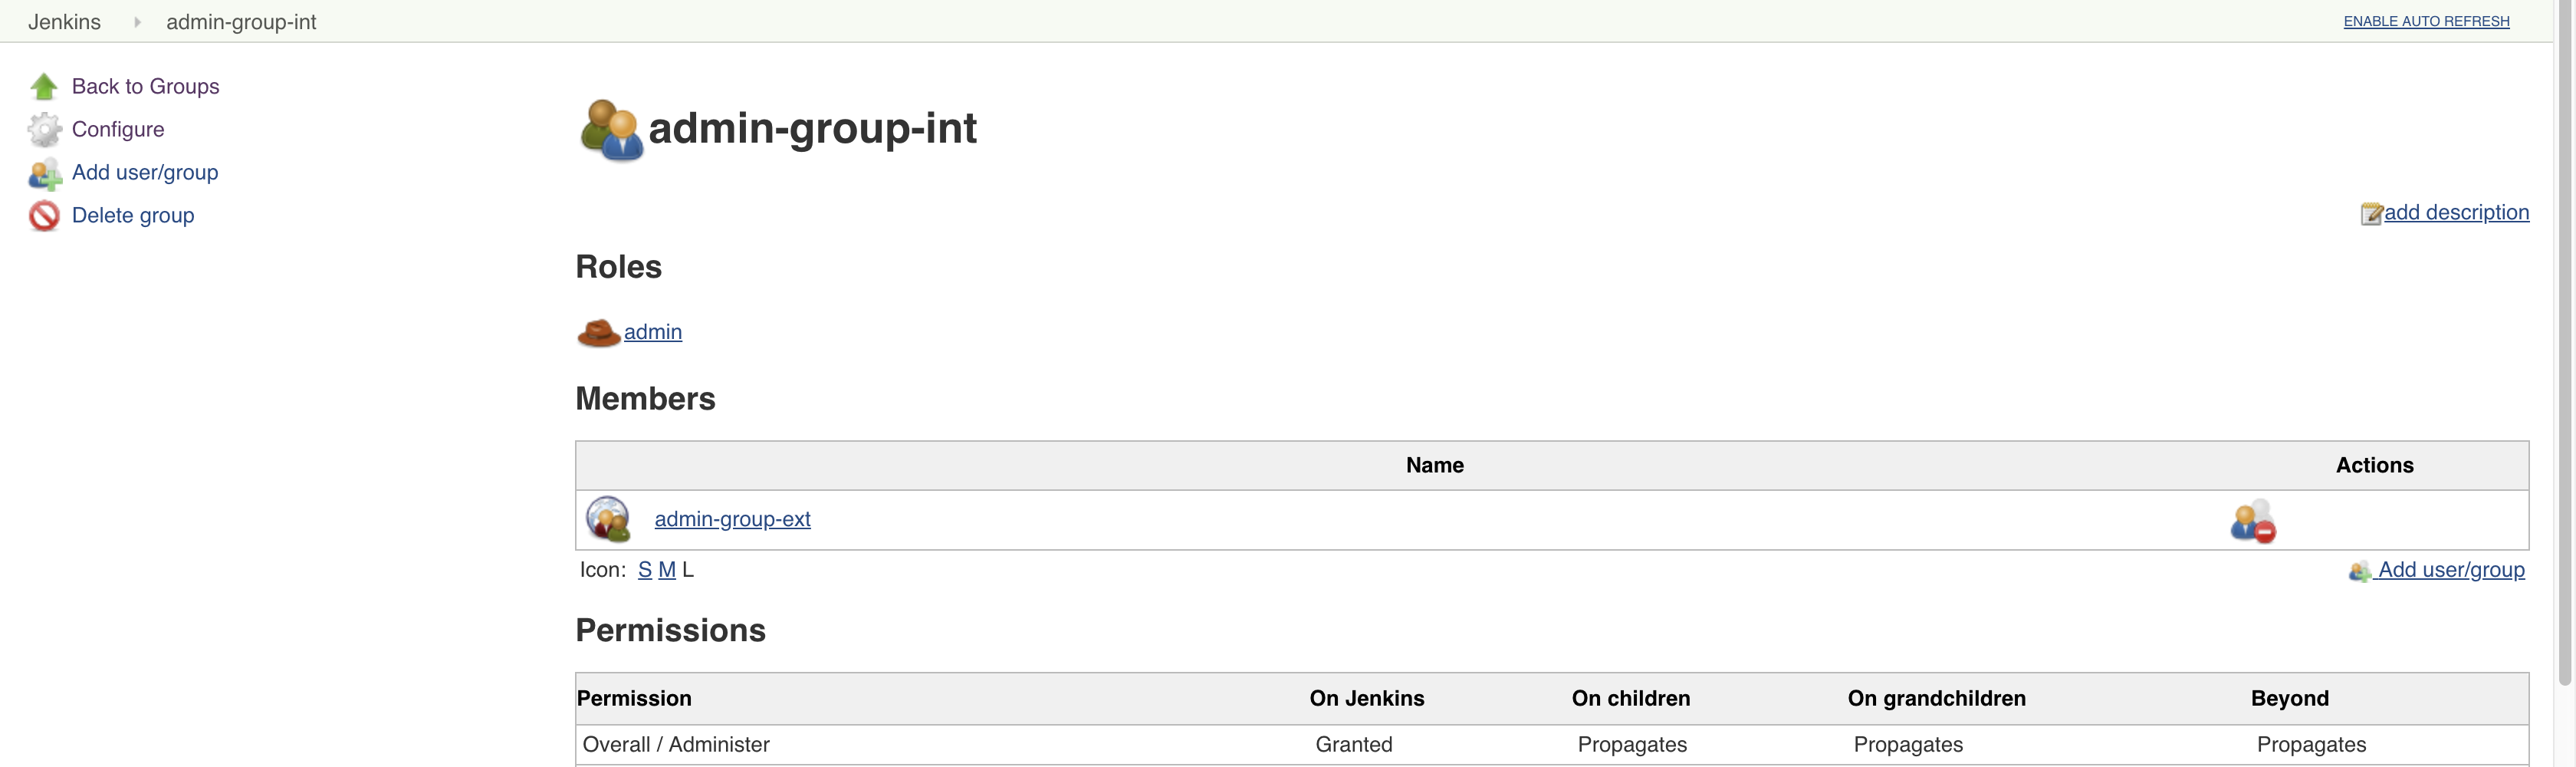
Navigate to Groups->New Group from the root Jenkins dashboard. Name the group admin-group-int and click OK to create a group internal to Jenkins for role assignment. Check the Granted checkbox for the admin role, leave Propagates checked, and click Save.

Assign admin-group-ext as a member of this internal group.
2. Allow read access to the root folder for all authenticated users, but restrict their view to only items which they have been given explicit permission to see
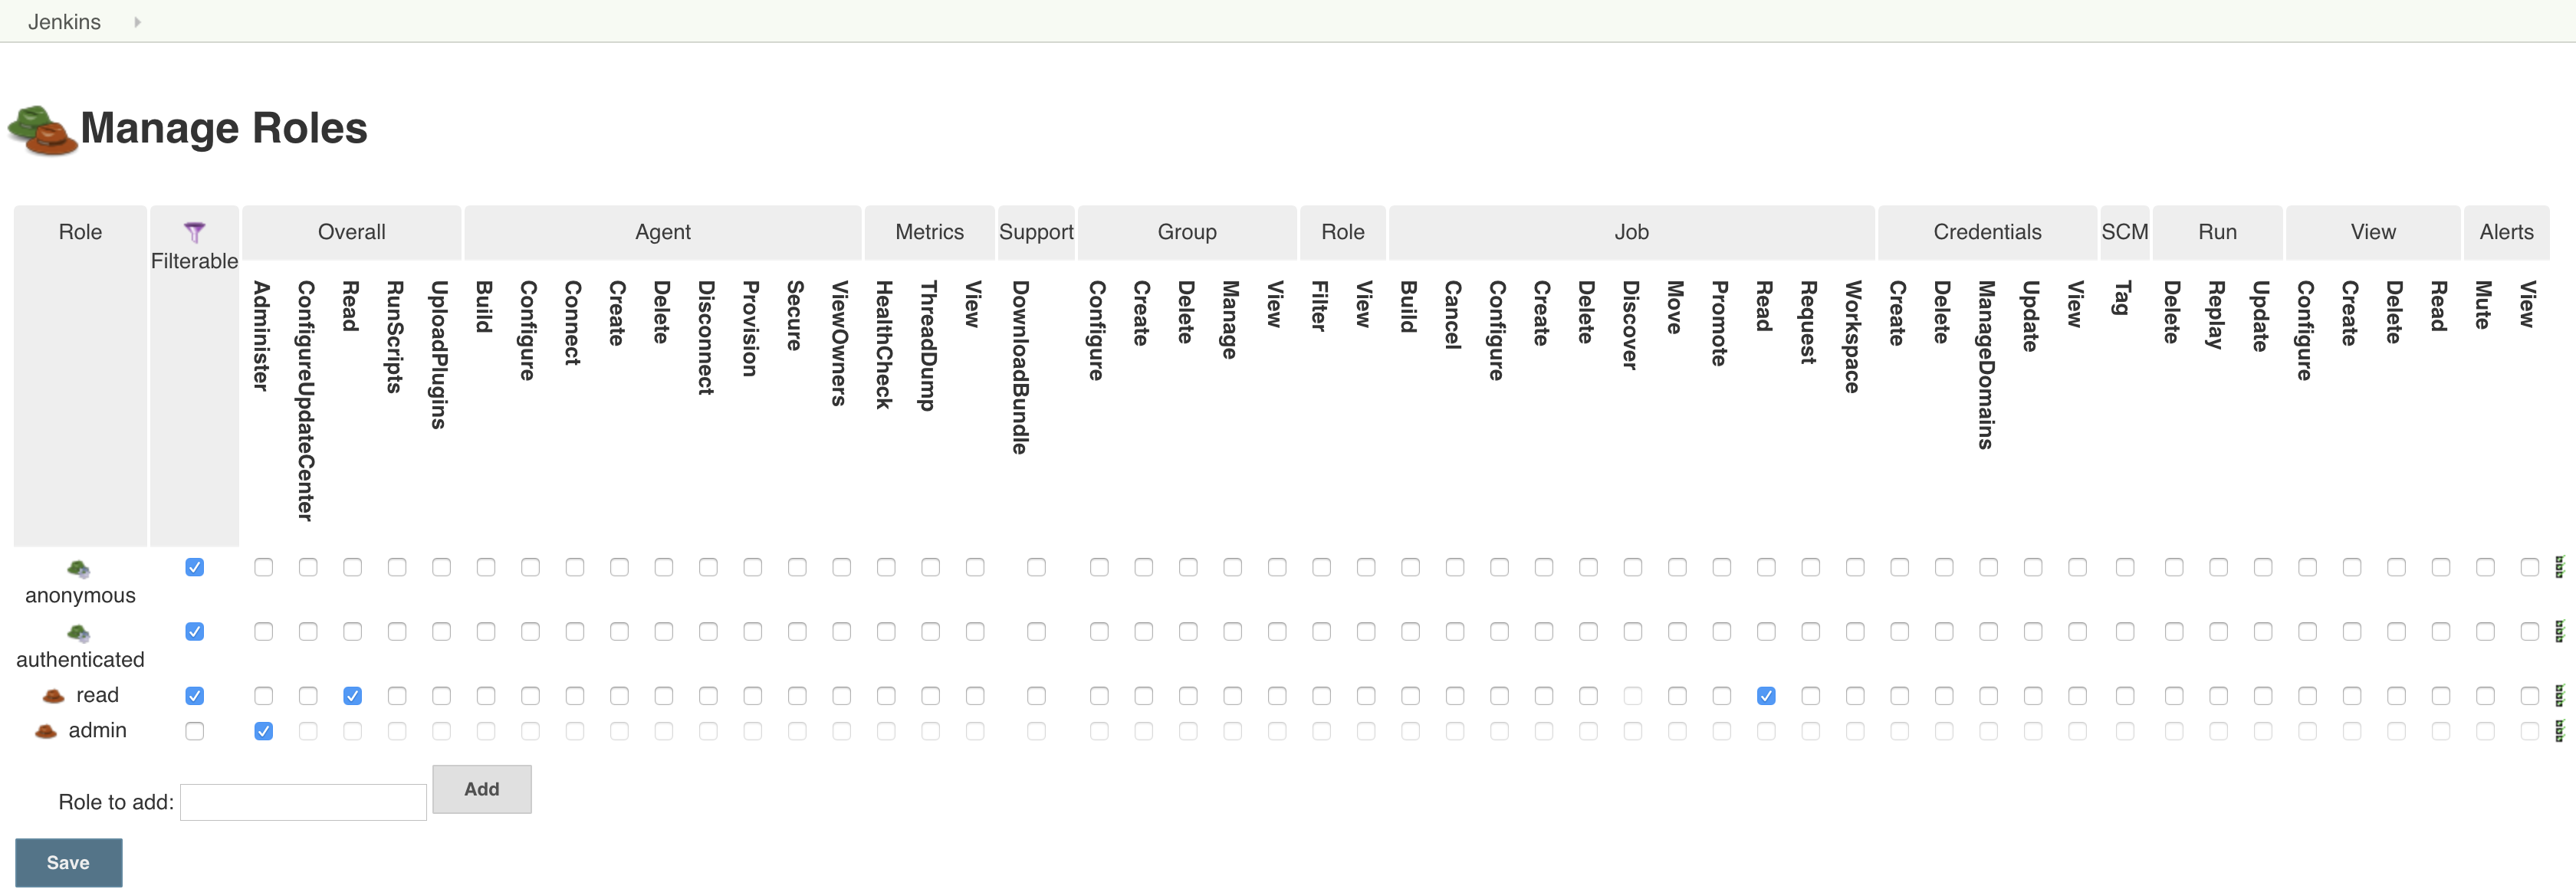
Navigate to Roles->Manage from the root Jenkins dashboard. Create a read role with the Overall/Read and the Job/Read permission. Remove all permissions from the authenticated role. Click Save.
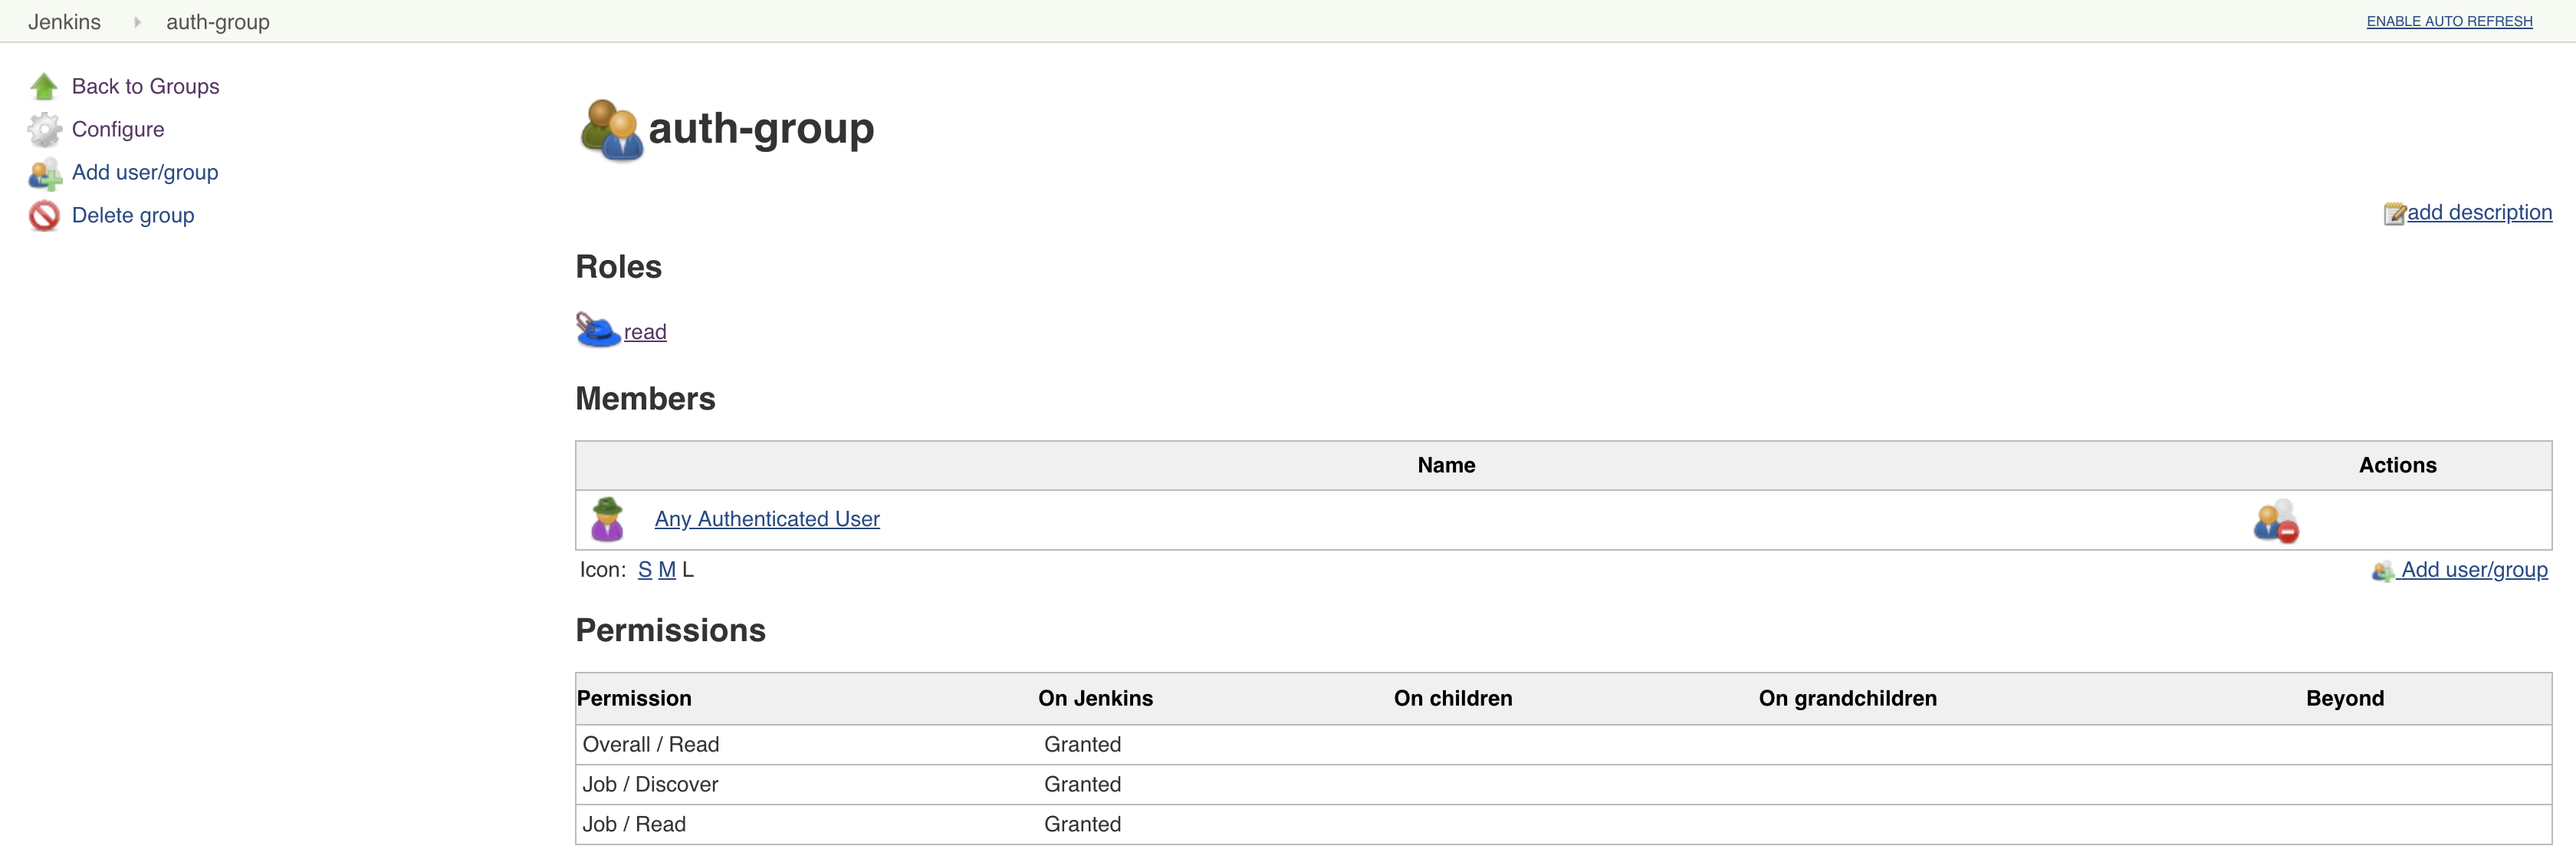
Navigate to Groups->New Group from the root Jenkins dashboard. Name the group auth-group and click OK. Check the Granted checkbox for the read role, uncheck the Propagates checkbox, and click Save.
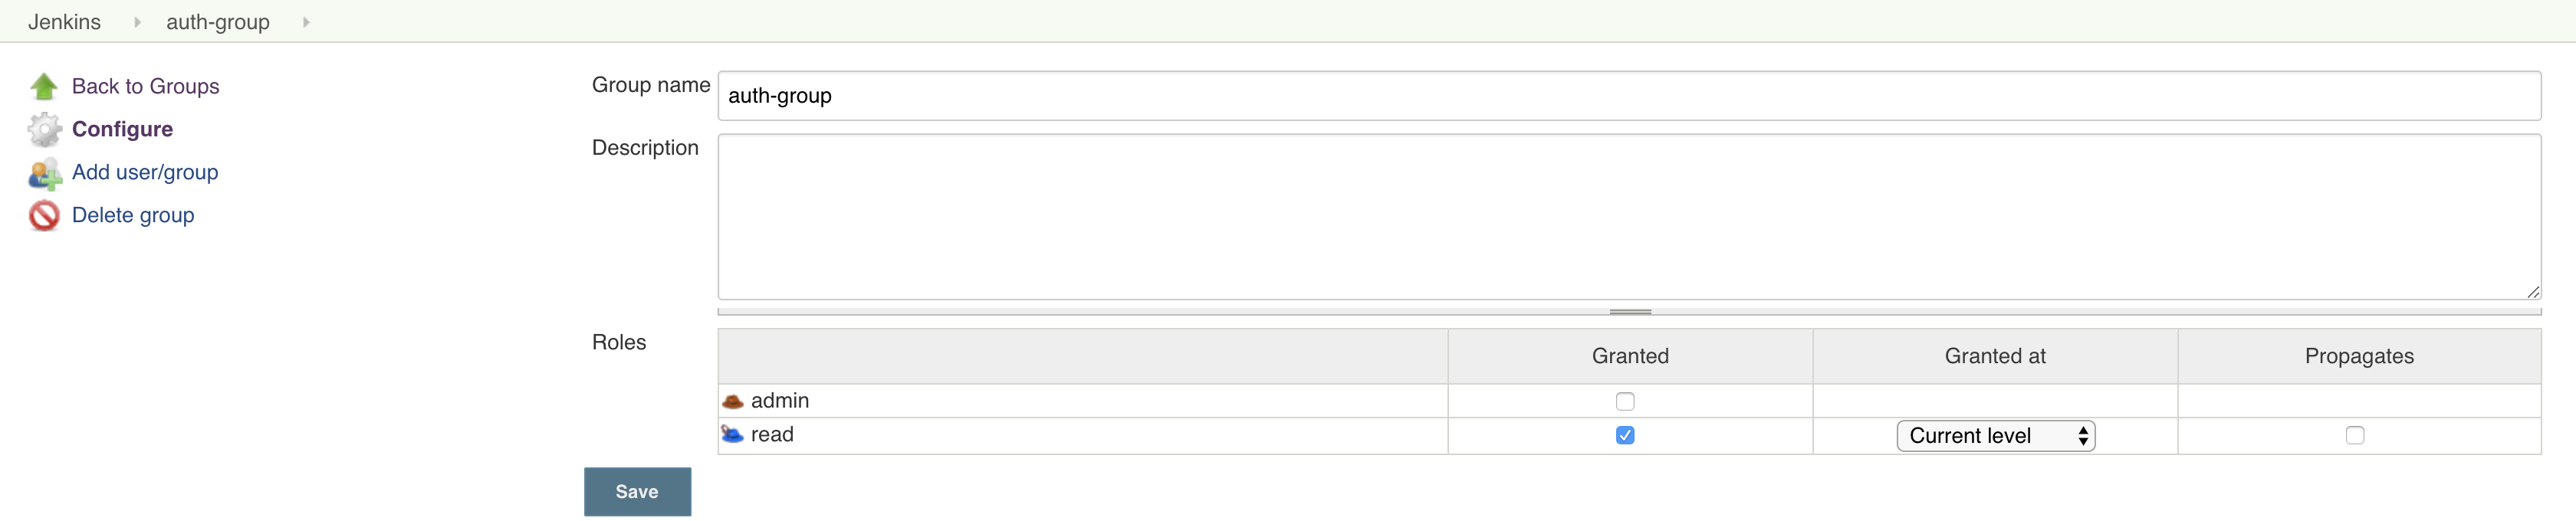
Assign authenticated as a member of this internal group.
Your root level groups will now look like:

3. Give team-A-group-ext access to the team-A-folder
Navigate to Groups->New Group from within the team-A-folder. Name the group team-A-folder-group-int and click OK. Check the Granted checkbox for the read role, leave Propagates checked, and click Save.

Assign team-A-group-ext as a member of this internal group.
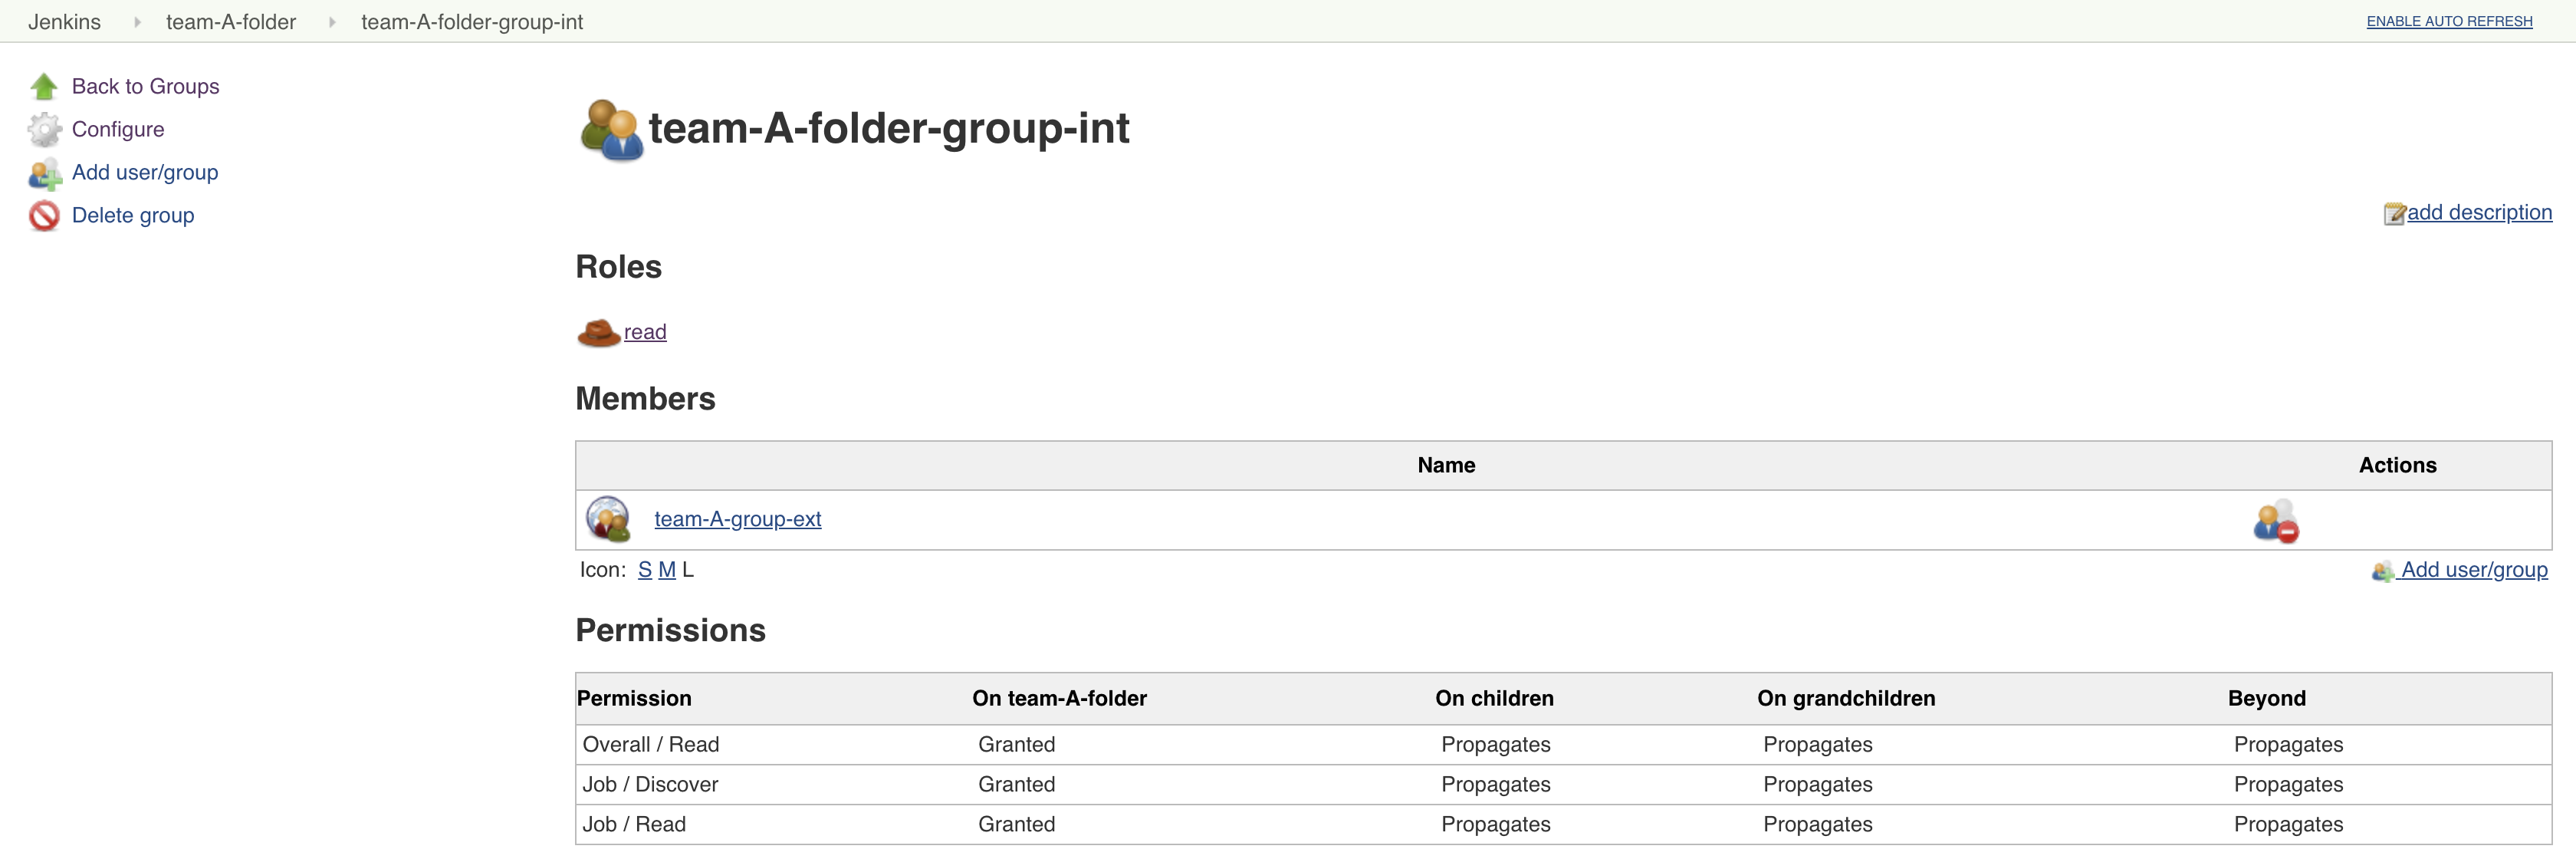
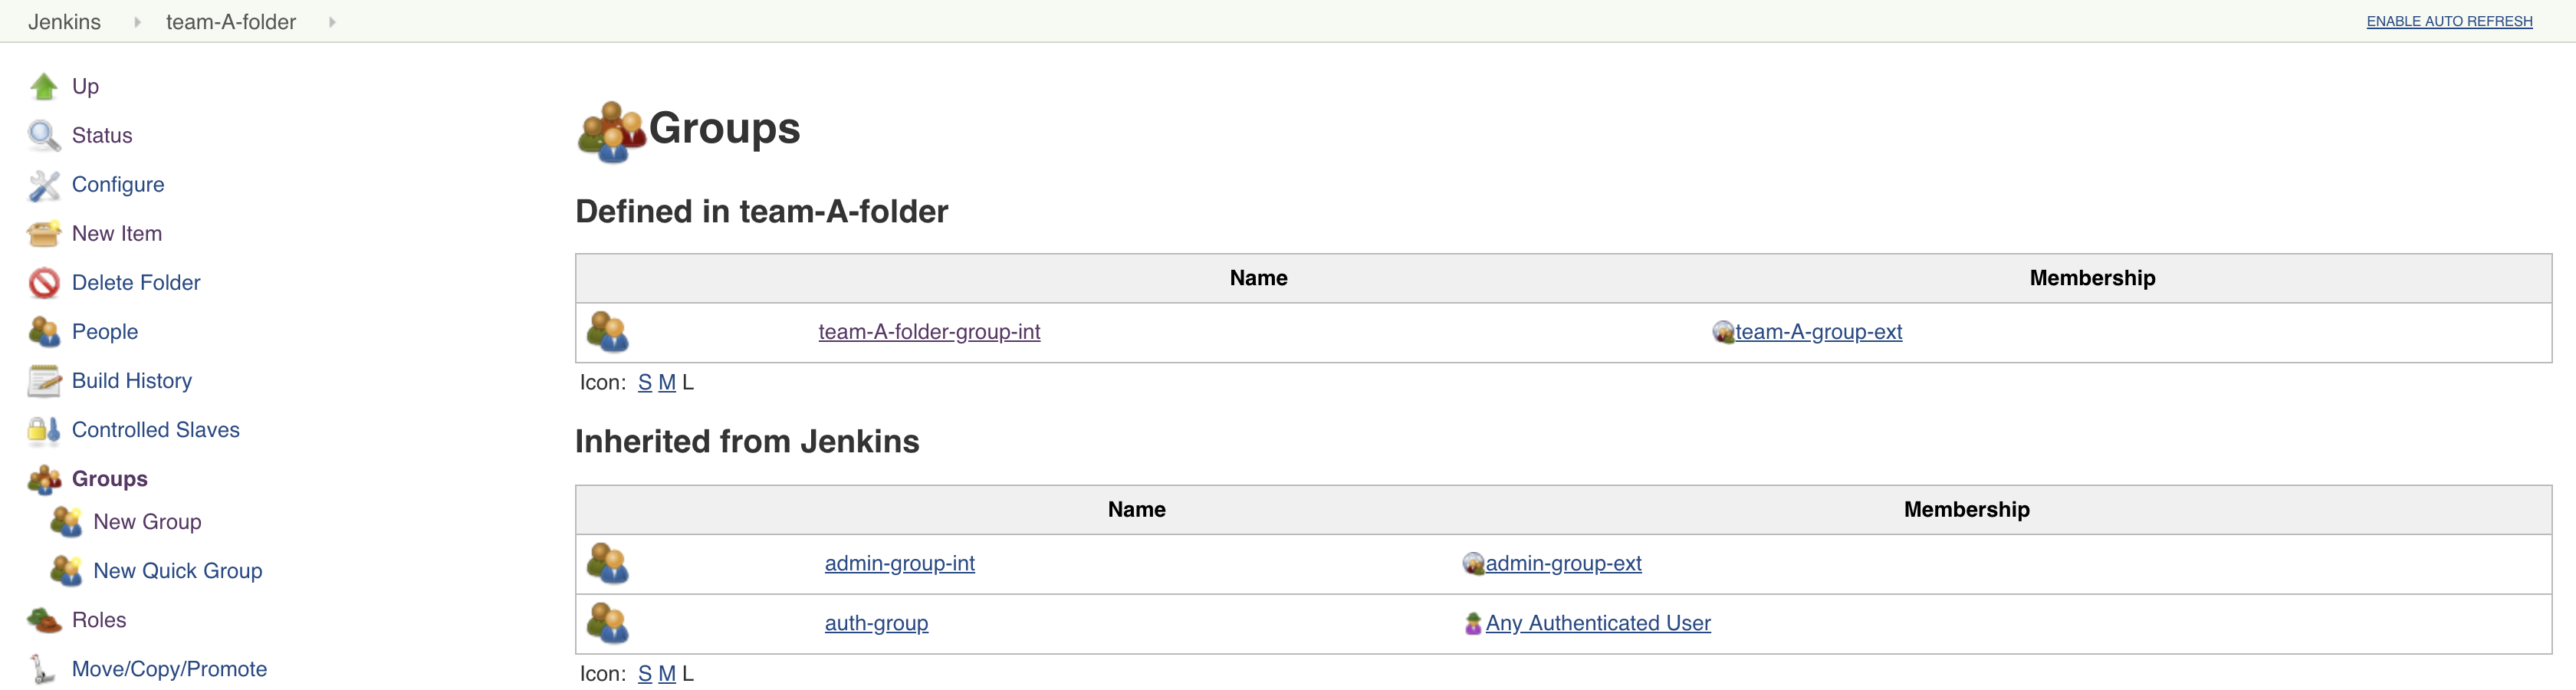
Your team-A-folder groups will now look like:
4. Give team-B-group-ext access to the team-B-folder
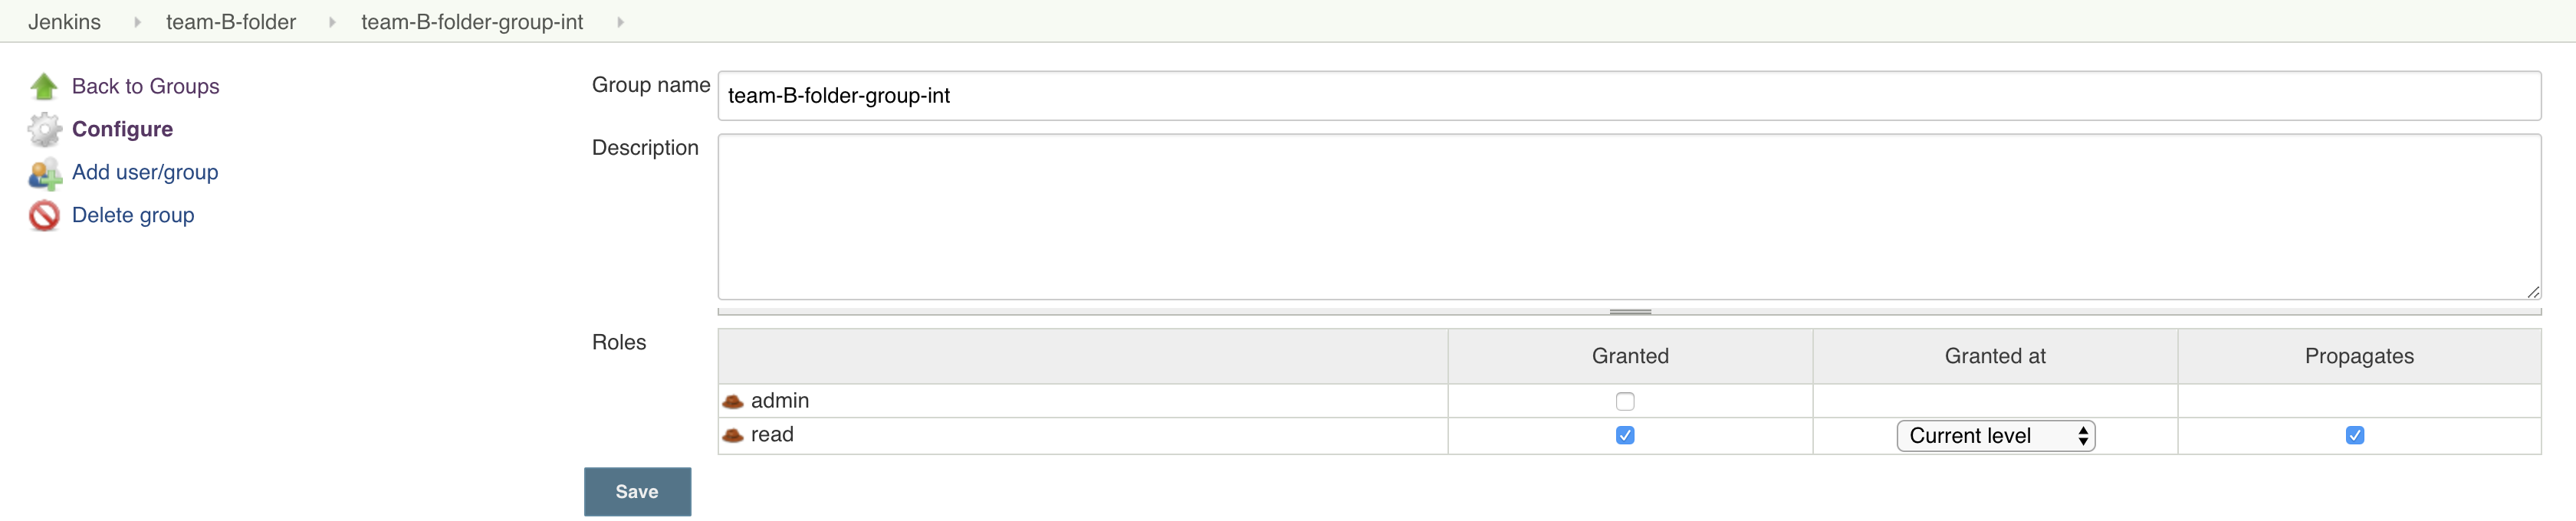
Navigate to Groups->New Group from within the team-B-folder. Name the group team-B-folder-group-int and click OK. Check the Granted checkbox for the read role, leave Propagates checked, and click Save.
Assign team-B-group-ext as a member of this internal group.

Your team-B-folder groups will now look like:

5. Verify folder permissions
Log in as admin. Your dashboard will now look like:

Log in as developer-a1. Your dashboard will now look like:

Log in as developer-b1. Your dashboard will now look like:
