| CloudBees Microsoft Teams Integration is a Preview feature. |
|
A Preview feature:
Product features and documentation are frequently updated. If you find an issue or have a suggestion, please contact CloudBees Support. |
CloudBees Microsoft Teams Integration sends Microsoft Teams messages to a specified channel to notify users of relevant status information and build data at the end of the sequence, so that they know if the build was successful, and if not, the actions that need to be taken to get a failed build back on track. The notifications include information on build and test results, including direct links to results and error details.
Sending messages to Microsoft Teams means that you do not need to switch between different tools to be alerted when builds complete, and in the case of failed builds you can take immediate action.
CloudBees Microsoft Teams Integration feature benefits
The CloudBees Microsoft Teams Integration feature provides the following benefits:
-
Provides feedback immediately upon completion of a build.
-
Highlights the causes of build failures quickly.
-
Limits context switching between tools.
-
Installs easily and does not require updates to Pipelines.
| This feature does not require any modifications to Pipelines. |
| CloudBees CI Microsoft Teams Integration messages are only sent for commits that have a name associated with them. For example, for GitHub, Microsoft Teams Integration messages are only sent for Pull Requests - you will not get a failure notification on a branch. |
The process of setting up actionable build notifications in Microsoft Teams requires an Administrator to Install the CloudBees Microsoft Teams Integration plugin on the controller in CloudBees CI, and either the Administrator or the user to Set up a custom incoming webhook in Microsoft Teams.
Setting up a custom incoming webhook in Microsoft Teams
| The following set of instructions includes a reference implementation of Microsoft Teams Version 1.3.00.15561. Your experience with Microsoft Teams may vary depending on the version you are currently using. For more information from Microsoft documentation, see Setting up a custom incoming webhook. |
To set up a custom incoming webhook in Microsoft Teams:
-
In Microsoft Teams, select … next to the channel name.
-
Select Connectors.
-
Select Incoming Webhook.

-
Select Configure.
-
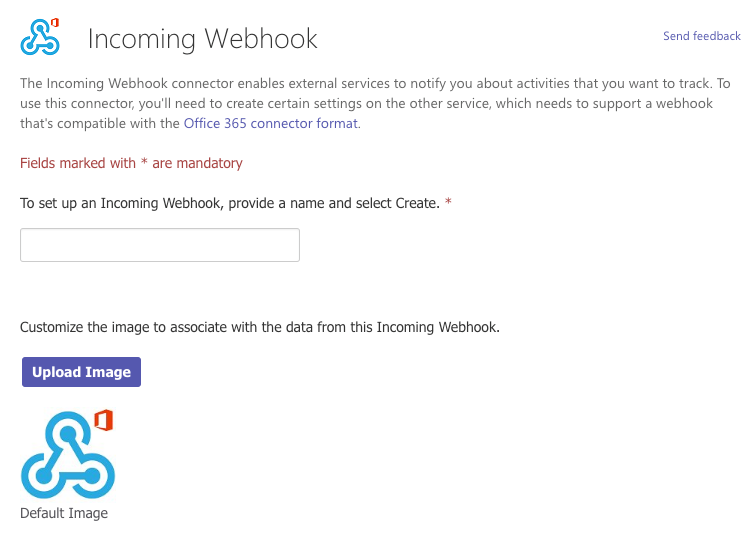
Enter a name for the webhook.

-
Upload an image to associate data from the webhook.
-
Select Create.
-
Copy the webhook.
You will need the webhook URL for Configuring Microsoft Teams notifications. -
Select Done.

Installing the CloudBees Microsoft Teams Integration Plugin
| Admin privileges are needed to install the CloudBees Microsoft Teams Integration plugin. |
The current Preview version of the CloudBees Microsoft Teams Integration plugin is not available to download and requires manual installation of the .hpi file.
-
From your CloudBees CI controller, navigate to Manage Jenkins > Manage Plugins > Advanced.
-
Under Upload Plugin, select Choose File and select the CloudBees Microsoft Teams Integration plugin
.hpifile. -
Select Upload.
-
Once the upload is finished, restart the controller.
After enabling CloudBees CI Microsoft Teams Messaging, you need to configure users so that they can start receiving messages.
Getting the most out of notifications with recommended plugins
The CloudBees Microsoft Teams Integration Plugin is greatly enhanced when it can gather information from other plugins including:
-
Warnings Next Generation plugin (including SpotBugs warnings among others)
To receive an analysis with warnings in the Microsoft Teams message, you need to include a quality gate. See Quality gate configuration in the Warnings Next Generation plugin documentation.