In this example, you can create an application model that runs a Helm chart deployment.
To create an application model:
-
From the main menu, navigate to .
-
Select New. The New Application dialog appears.
-
Select Create New.
-
Provide the Application name, RSS.
-
Select the Trial Guide project. Select the Application type Microservice, and then select OK.
-
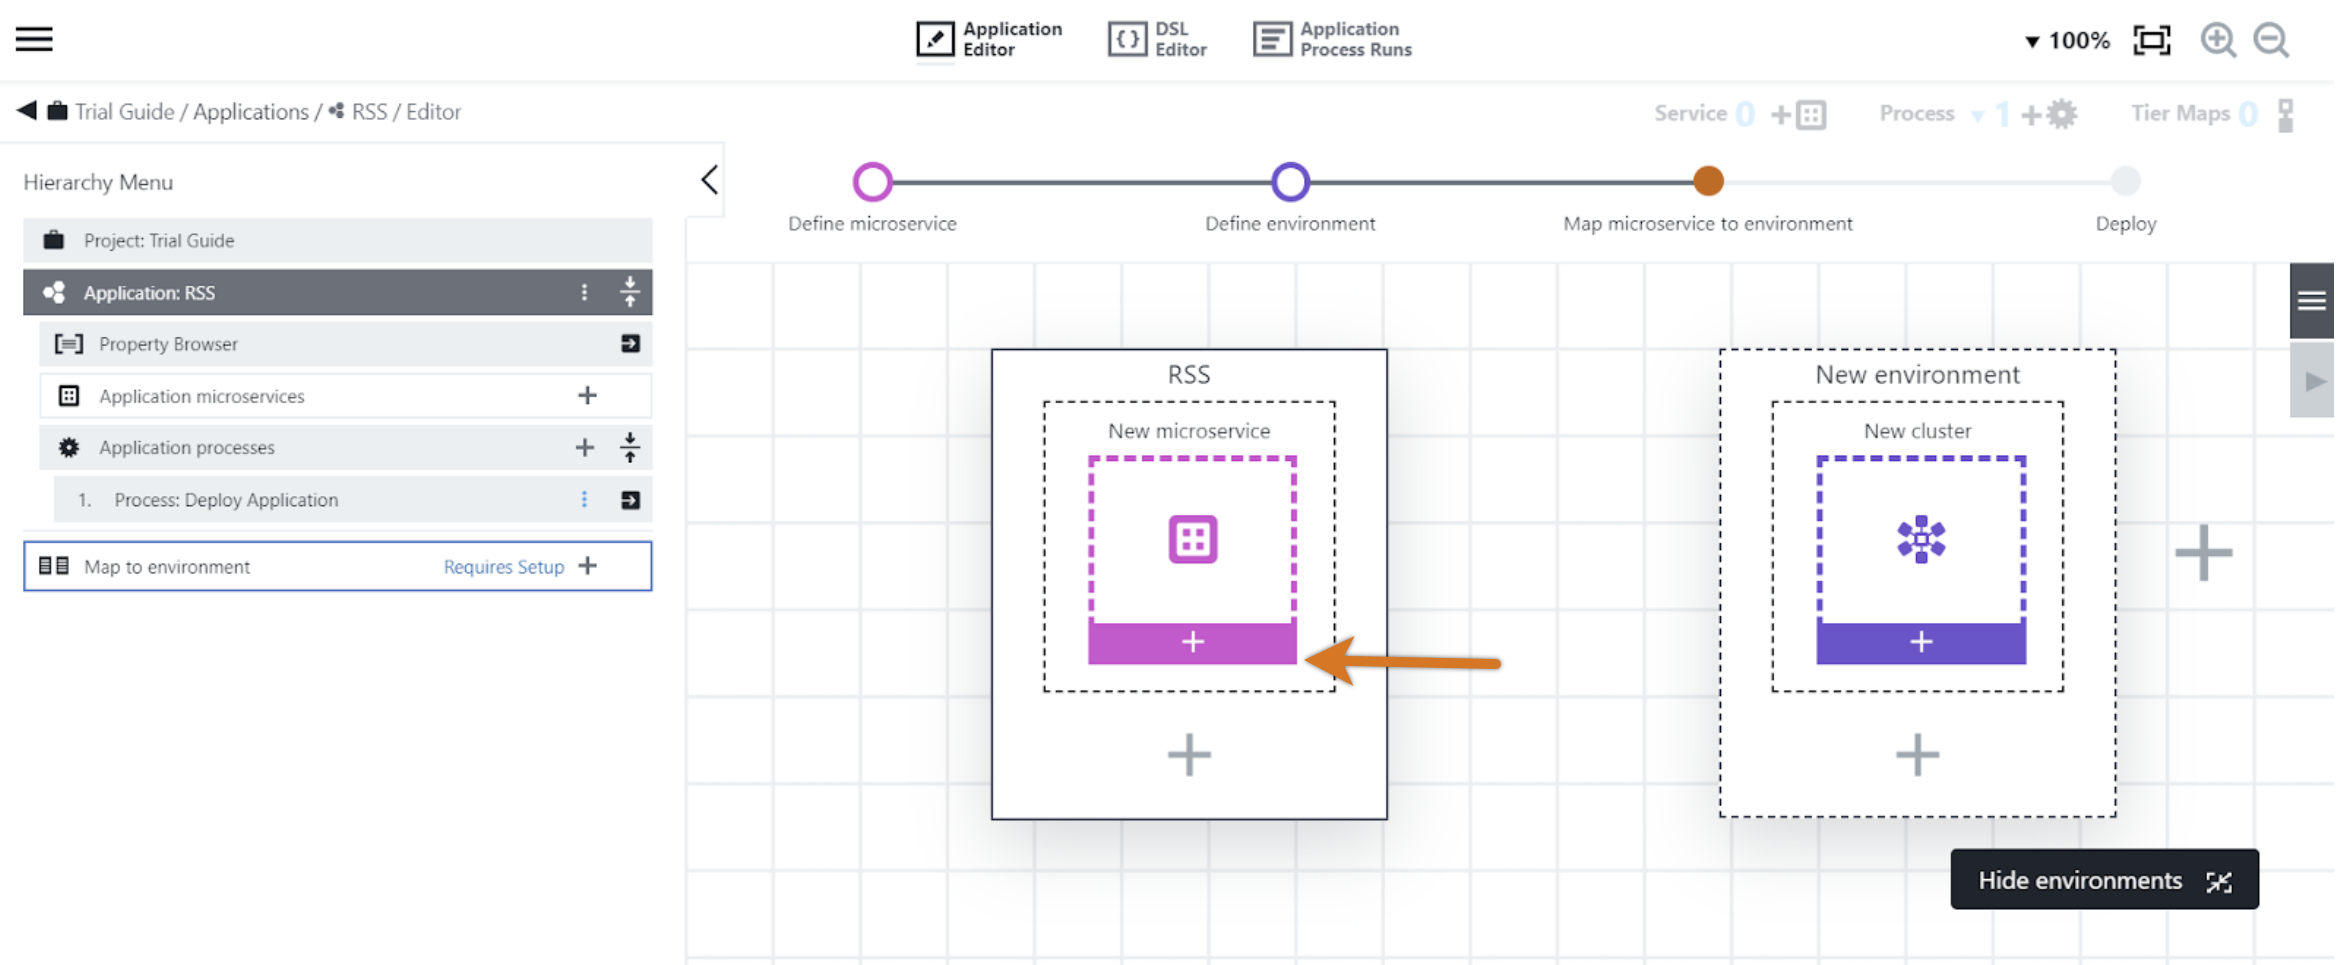
Select the New microservice icon (+) to define the new microservice.
 Figure 1. Add a new microservice
 -
Select Next to use the default New microservices selection.
-
In the New microservice dialog, complete the information as follows:
-
Name: freshrss
-
Definition type: Helm
-
Definition source: Helm repository
-
Repository URL: https://halkeye.github.io/helm-charts
-
Repository name: halkeye
-
Release name: freshrss
-
Chart: halkeye/freshrss
-
-
Add the following code for the additional options:
--create-namespace --set=ingress.enabled=true --set=ingress.hosts[0]=$[/javascript server.hostName.replace("sda",myJob.ec_microservice_deployment_parameters[myApplication.applicationName].clusterDefinition.namespace)]This code enables access to the application through a public URL.
-
Select OK.
-
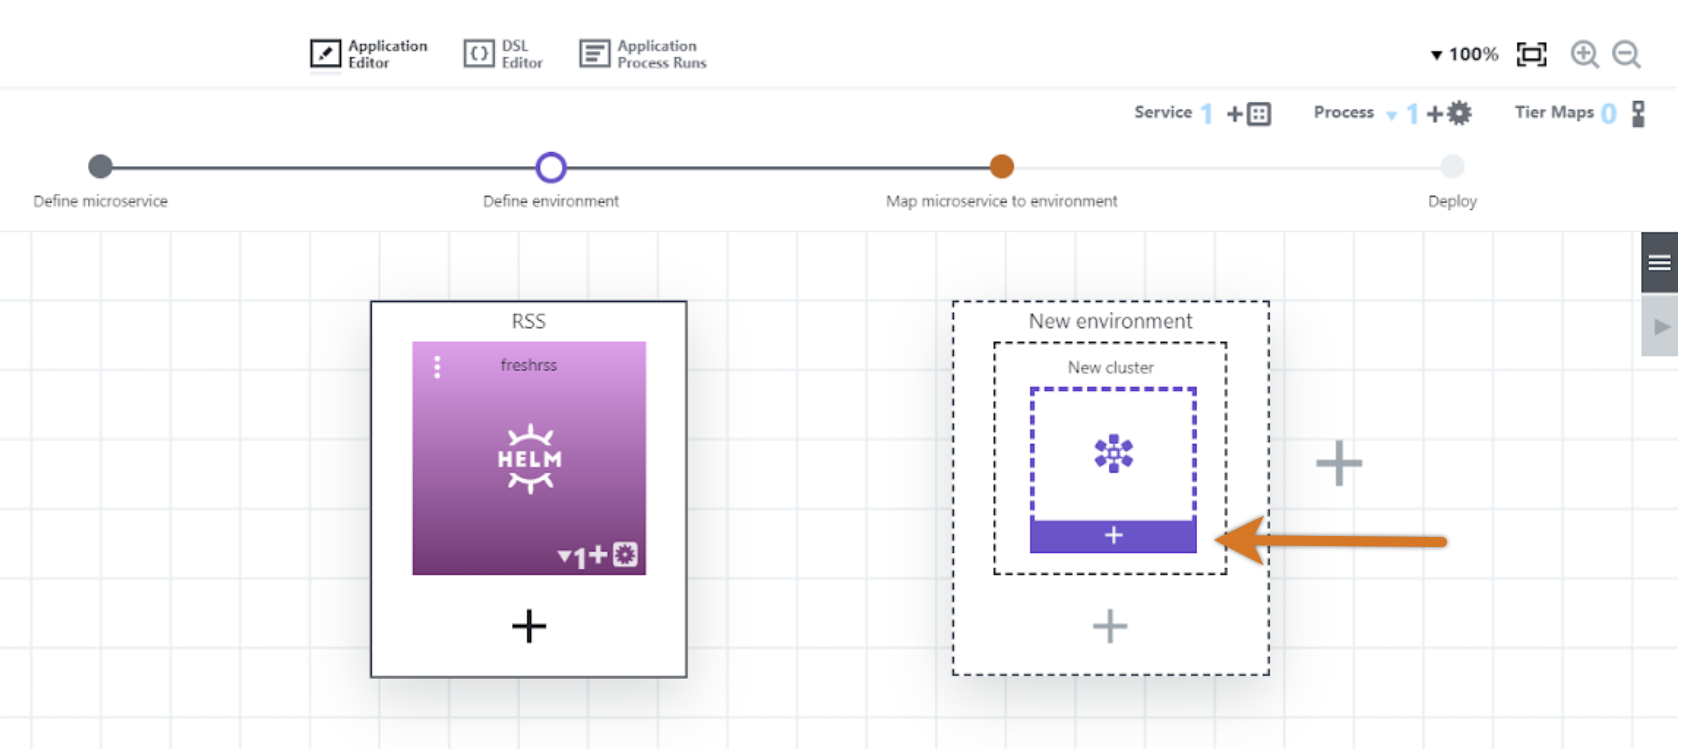
In the New environment object, select the New cluster (+) button.
 Figure 2. Add a new cluster
 -
Select Next to accept the default action to create a new environment.
-
In the Edit microservice dialog, complete the information as follows:
-
Enter the Environment name: RSS - QA.
-
Select the Trial Guide project. In the Cluster name field, enter qa.
-
In Configuration provider, select Kubernetes - Helm.
-
In Configuration name, select Helm.
-
In Namespace, enter qa.
-
In Utility resource name, enter Kubernetes.
-
In Resource, select k8s-agent.
-
Select OK.
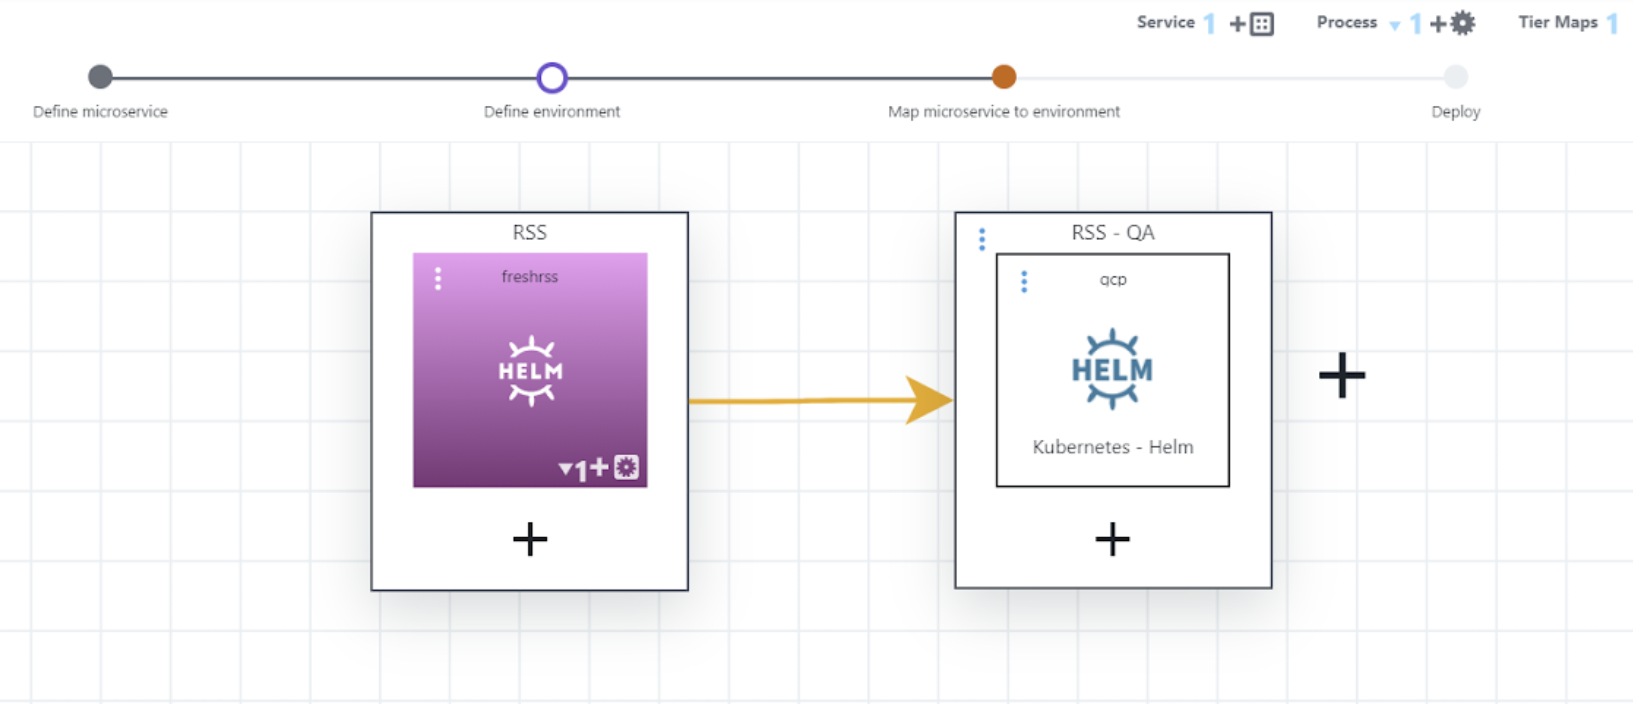
 Figure 3. Mapped RSS-QA environment
-
-
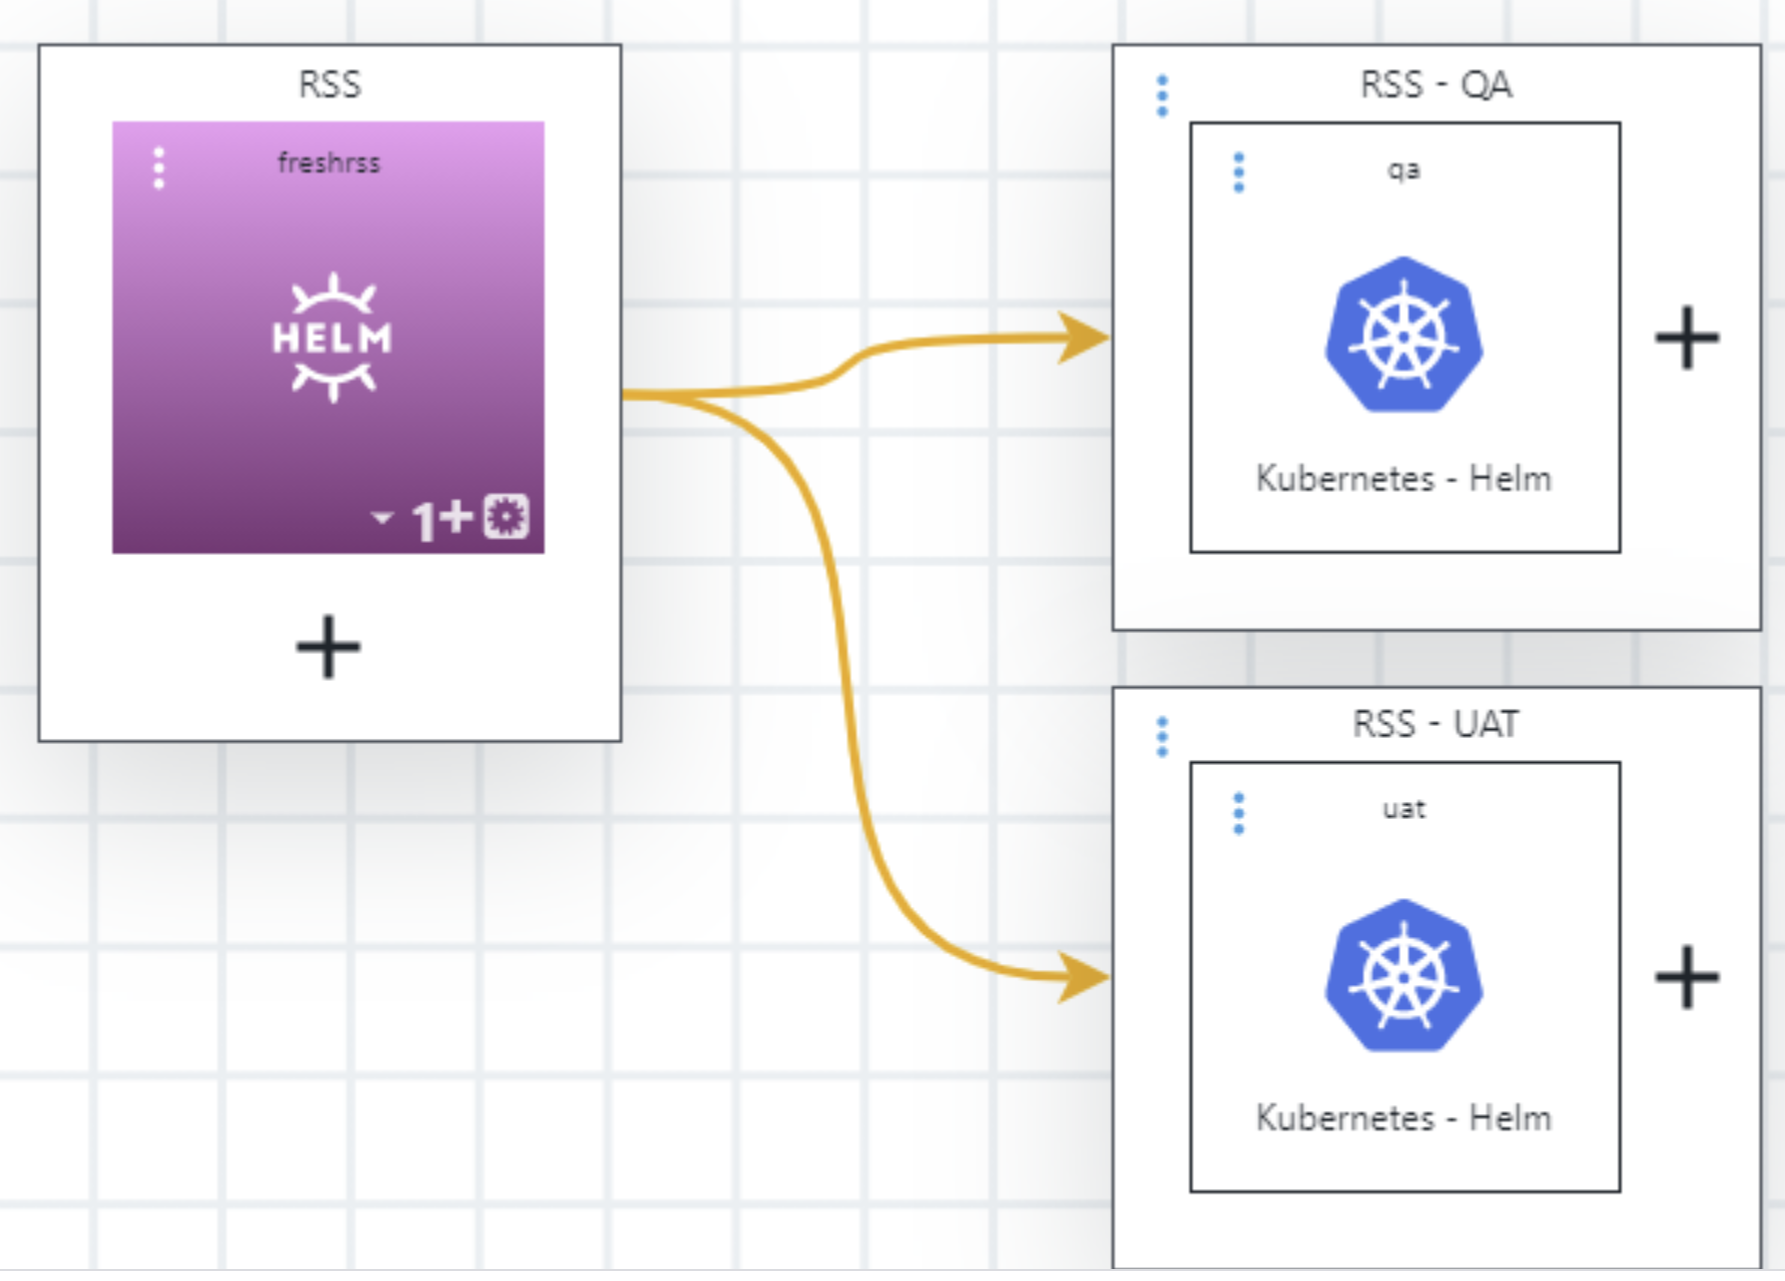
Create the RSS - UAT environment. Select the plus sign (+) to the right of the RSS - QA environment (not below it) to create a new environment, and then perform the steps above again, using uat instead of qa.
If the Deploy button is not activated, ensure the microservice is mapped to the new environment. From the Map menu on the upper right, select .  Figure 4. Mapped RSS-UAT environment
 -
Select Deploy Application and RSS - QA as the target environment.
-
To view the inventory, select RSS - QA from the breadcrumb navigation, and then select Inventory.
-
View the microservices deployment details by selecting Details from the menu for the freshrss microservice.
-
Access the application. Note the URL above; this URL can be used to access the deployed application.