In this exercise, you use a service catalog item to build out a Tomcat application model. You also create a few environment models and map them to the application so that the Tomcat application can be deployed to the environments.
| You must have access to GitHub to complete this exercise. |
Get a deployable artifact
From GitHub, download jpetstore.war to your computer.
Use the Tomcat service catalog item to create a model
-
Select Service catalog from the banner.
-
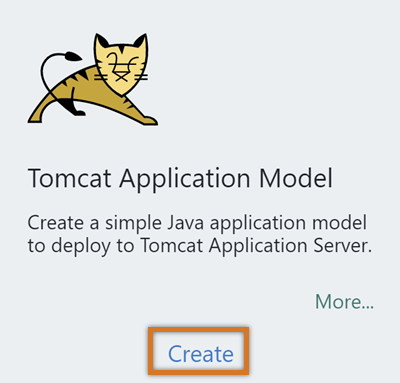
Navigate (scroll down) to the Tomcat Application Model.
-
Select Create. The New Tomcat Application Model dialog appears.
-
In the Application details section, enter these field values:
Application Name: jpetstore
Application version: 1.0
Application Project Name: Trial Guide -
Using the expansion controls on the right, expand the Artifact details section and provide this information:
Group Id: com.acme
Artifact Key: jpetstore
Version: 7.0.16
Filename: jpetstore.war

File to upload: Select Choose File to upload the jpetstore.war file you downloaded earlier.
-
Expand the Deployment details section and add this information:
Retrieve to Folder: /tmp
Tomcat Config: Tomcat
Context Path: jpetstore -
Select OK to generate the Application model. A "success" message is displayed and you are asked to navigate to the new Application model.

-
Select Yes to navigate to the new application model.
Create the QA environment
-
Select Requires Setup to open the Create Environment dialog.
-
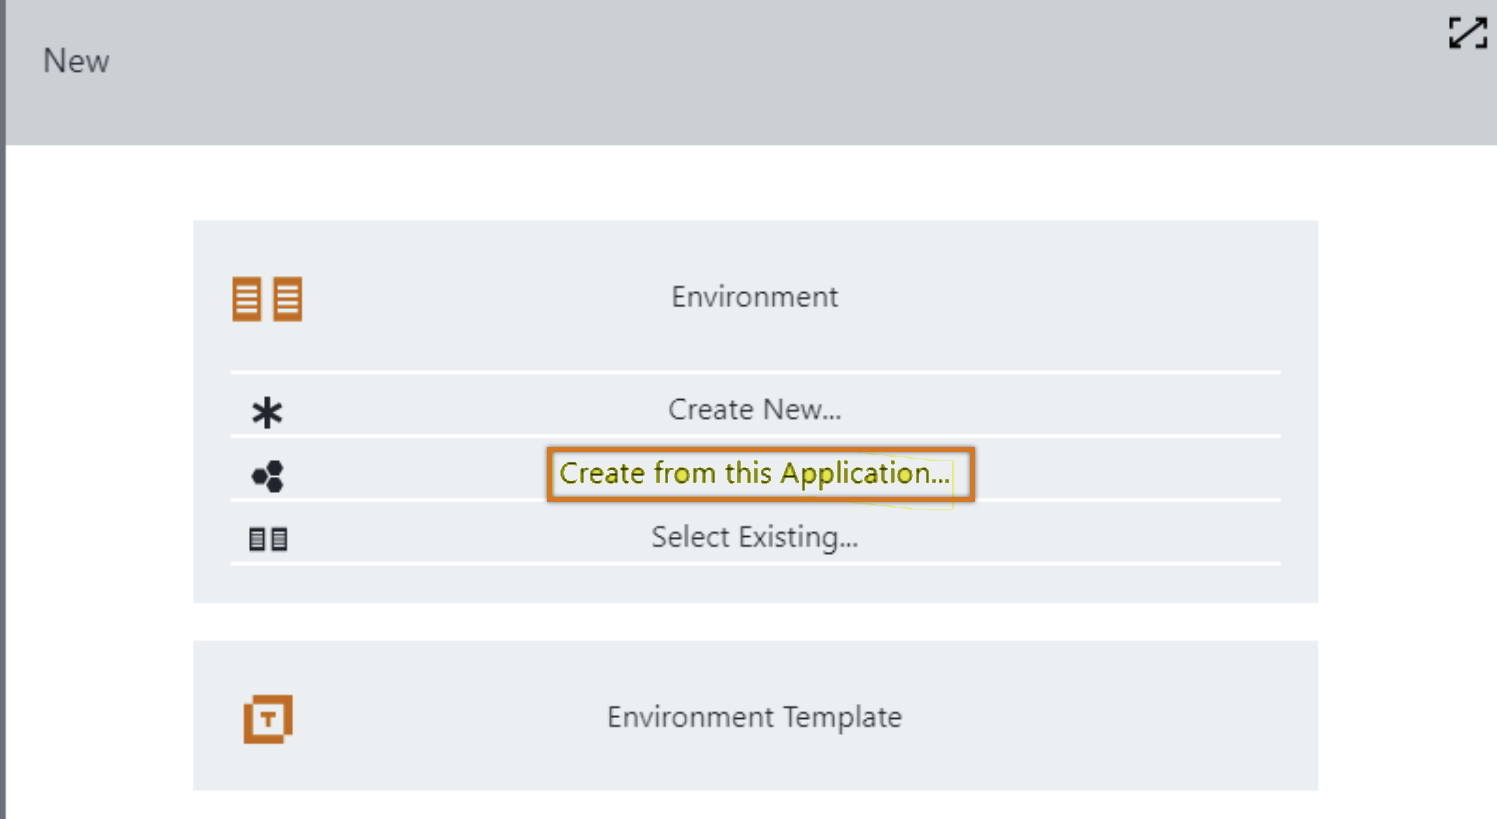
Select Create from this Application.
-
Enter QA for the environment name and select the project. Select OK to create the environment.
-
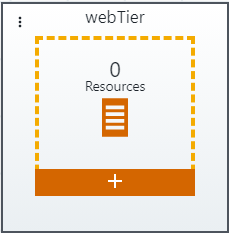
Select the Resources plus (+) button.
-
Select Add resources.
-
Choose tomcat_mysql_qa then select OK.
-
Return to the application by selecting the Application: jpetstore link in the Hierarchy Menu.
Create the UAT environment
-
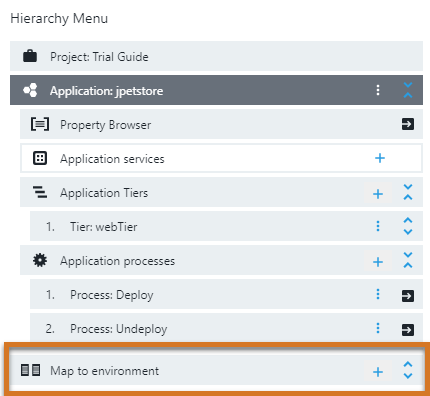
Use the plus (+) option on Map to Environment to create the UAT environment. The New Environment dialog appears.
-
Select the resource tomcat_mysql_uat.
-
Navigate back to the application model.
Deploy the application
-
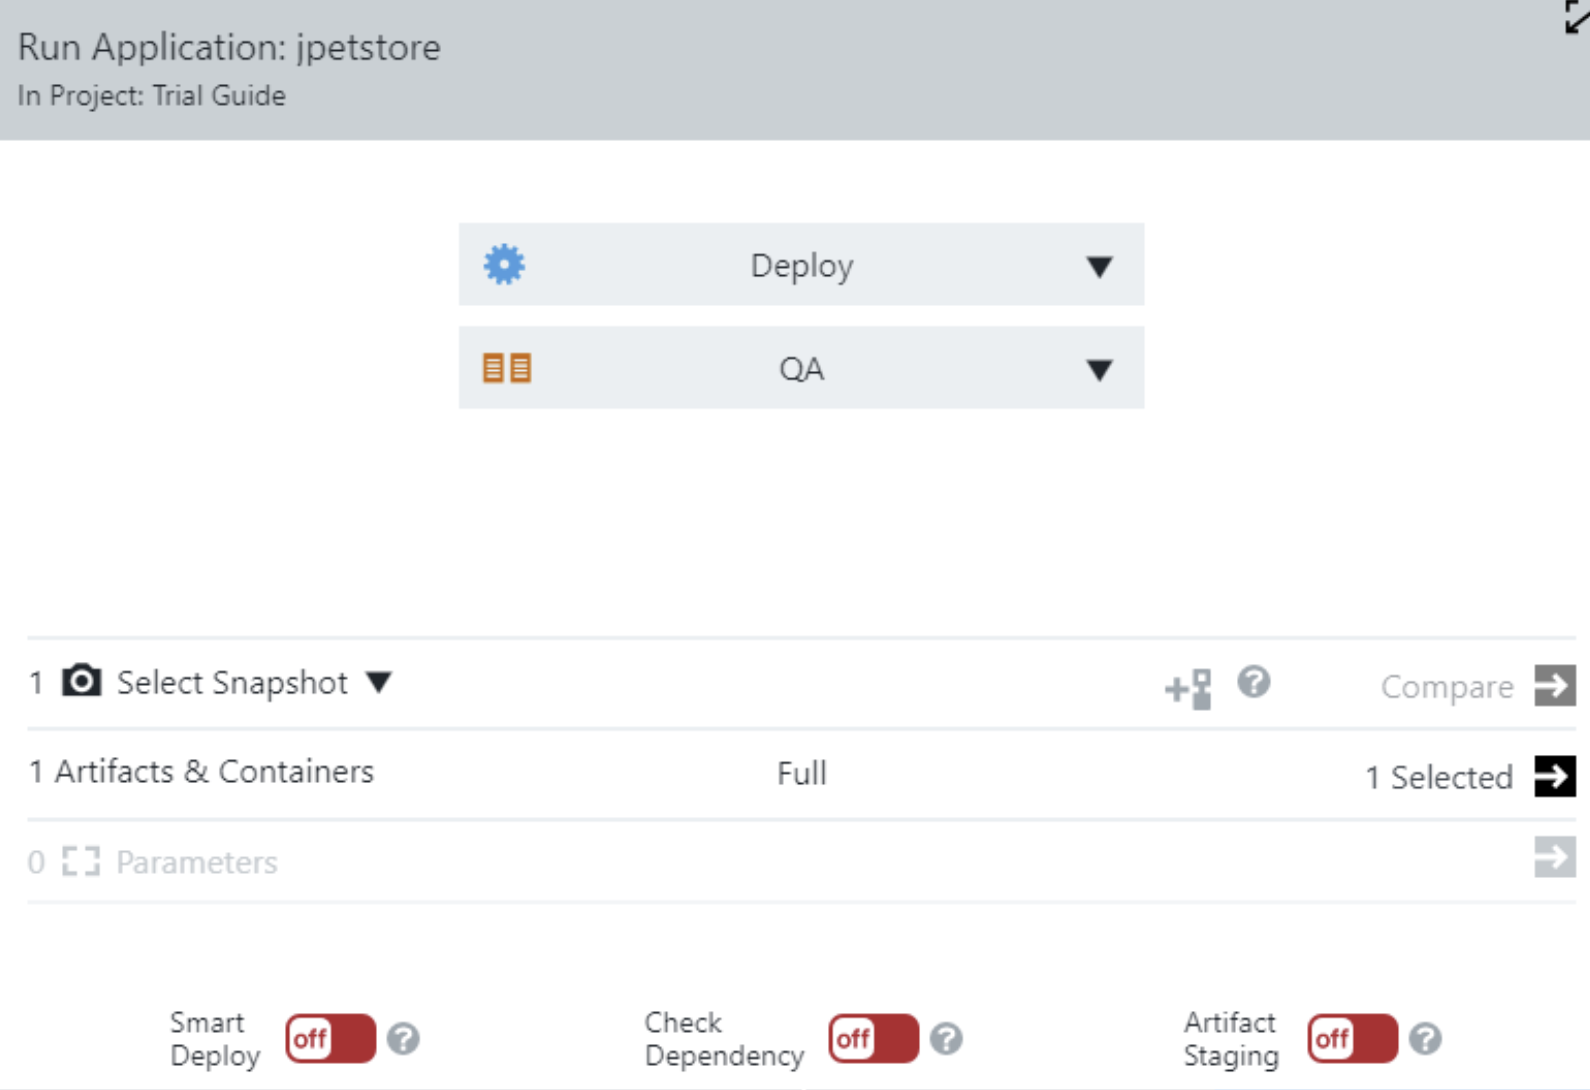
Select Run and then New Run. The Deployment dialog appears.
-
Set Deploy to QA and turn off the Smart Deploy, Check Dependency and Artifact Staging options. Select OK.
-
Select the job name to examine the Job Details.
-
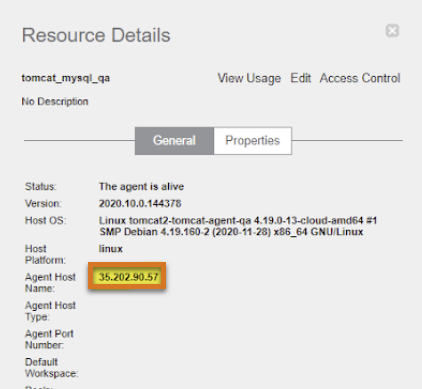
Select the resource where the application was deployed and note the IP address.
-
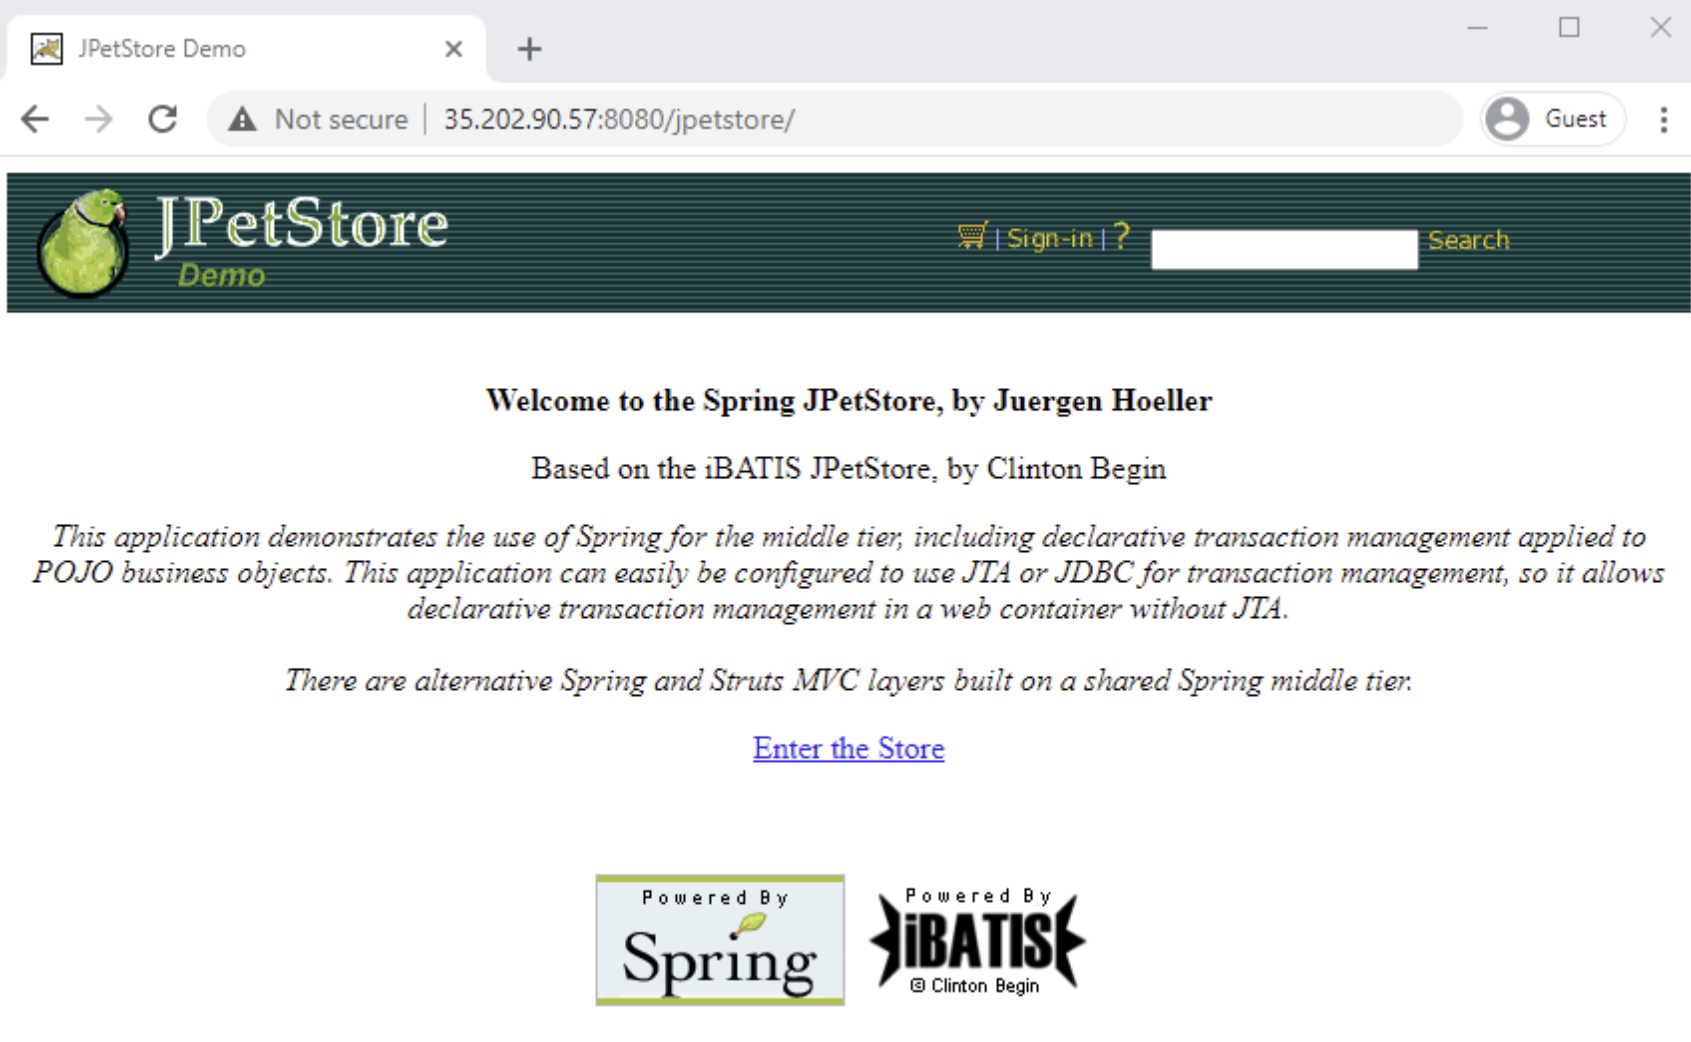
Use the IP address of the resource to access the application. For example, http://35.202.90.57:8080/jpetstore/
-
Close the Job Details dialog to return to the Deployment run.
-
Navigate to the environment where the application was deployed, which is QA.
-
Examine the inventory.
-
Create a snapshot by selecting the snapshot (camera) icon. The New Snapshot dialog appears.
-
Enter version number 1.0 in the top field, and then select Next. You now have a snapshot of this artifact.
