Releases are used to manage the tasks associated with releasing multiple applications or components together.
Perform these steps to create and run a CloudBees CD/RO release pipeline that does the following:
-
Invokes the procedure
-
Invokes the Tomcat and Helm Chart application models you created in earlier examples
-
Implements manual and automated gates
Create a new release
-
From the main menu, navigate to .

-
Select There are no releases. Add one + or New +. The New Release dialog appears.
-
Provide a release name such as Trial Release, and select a project (for example, Trial Guide).
-
Select OK to create the new release definition.
Add stage details
-
Rename the stage from Stage 1 to QA.
-
Select the stage menu on the right and then select Stage Details.
-
Enter QA for the name of the stage, then select OK to save the change.
-
-
Create a stage called UAT.
-
From the Hierarchy Menu on the left, select the plus (+) next to Stages.
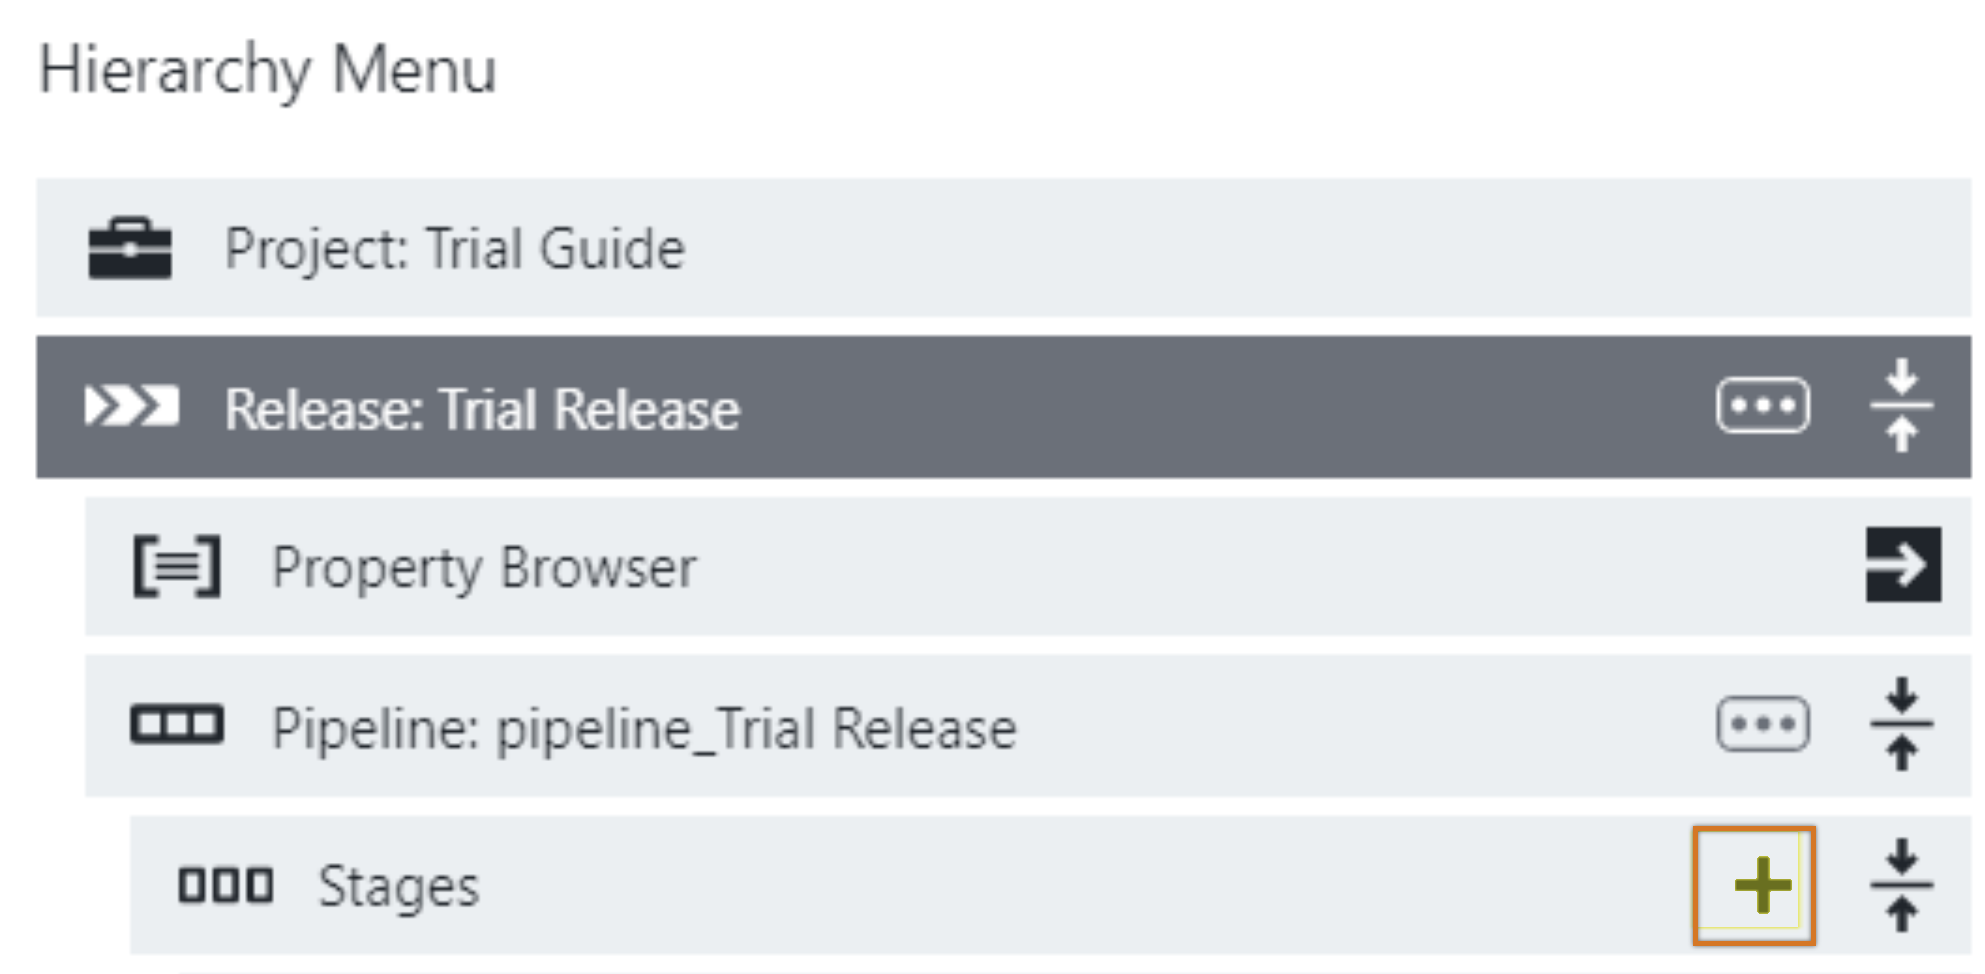
The New Stage Dialog appears.
-
In the New Stage dialog, enter name UAT and then select OK to create the new stage.
-
Add a procedure task
Add the procedure created earlier to the QA stage.

-
Select Add +.
-
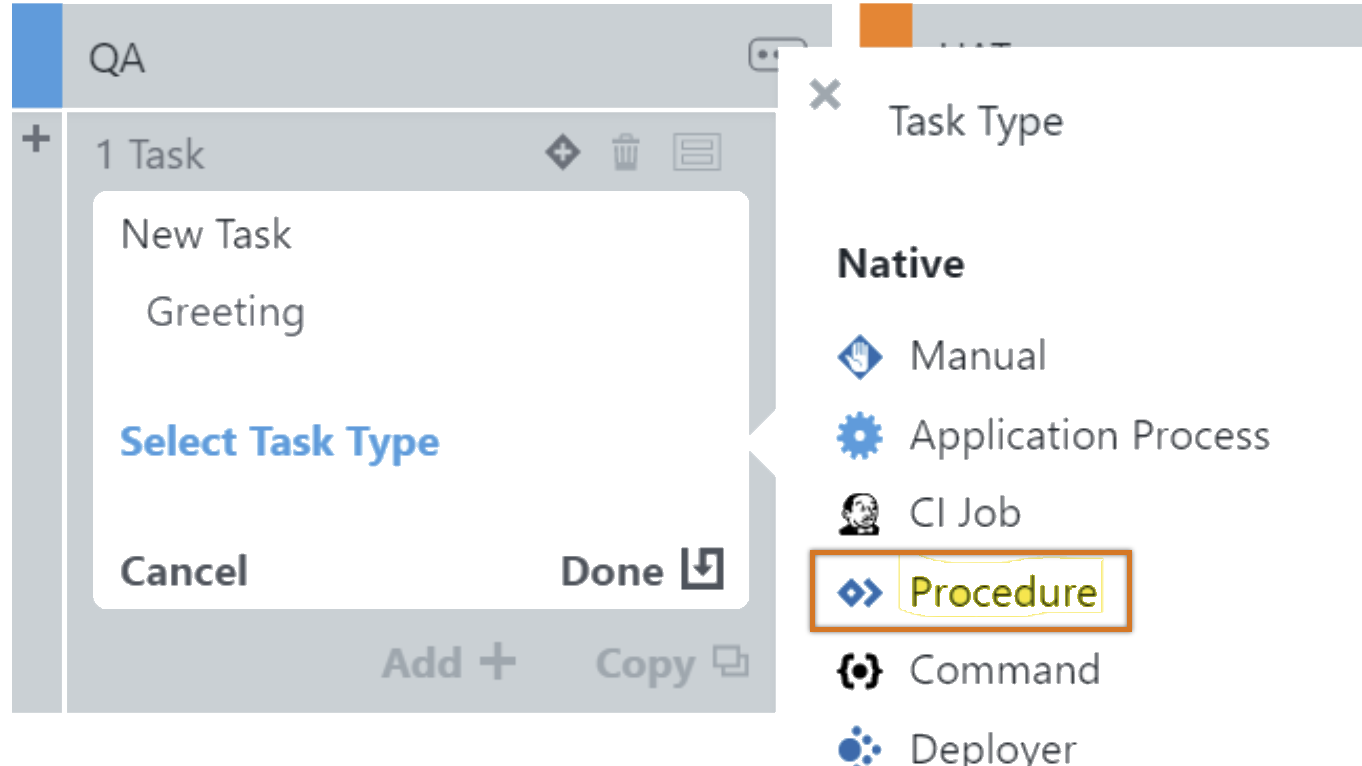
Enter a task name such as Greeting, then select Select Task Type.
-
Select Procedure as the task type.
-
Select Define in the New Task box.
-
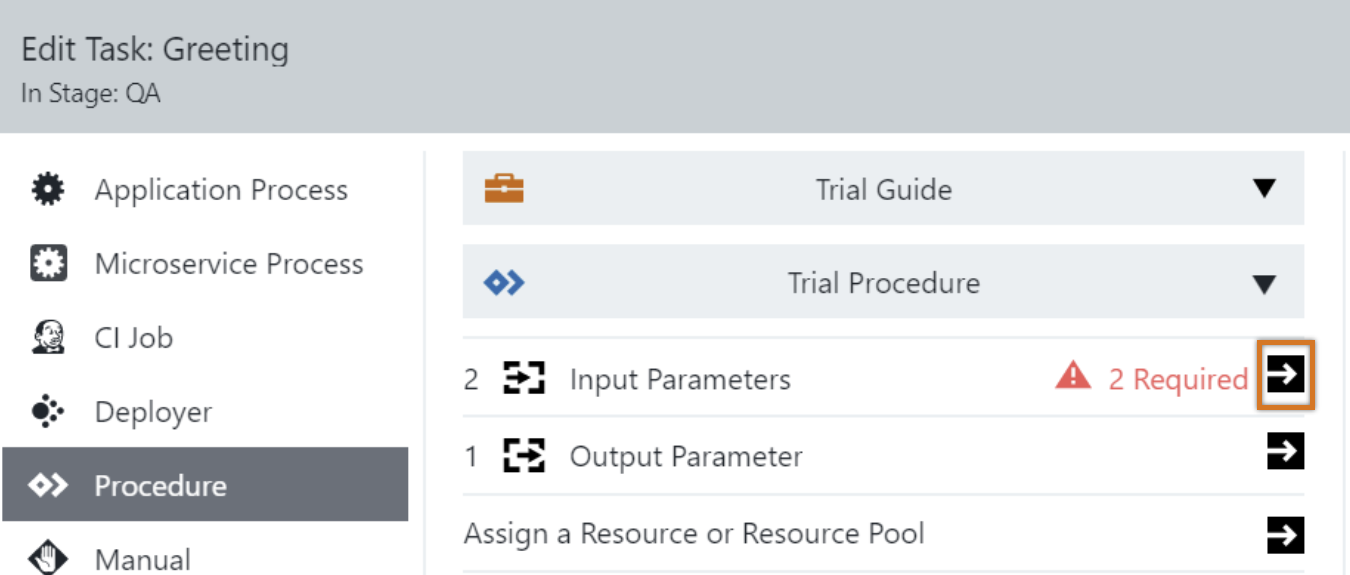
Select the project and procedure for the procedure definition you created earlier. Then select the right arrow beside Input Parameters to enter the parameters.
-
Provide parameter values:
-
In the Greet Name field, enter DevOpsGuru.
-
In the CD User field, select one of the users from the list.
-
-
Select OK.
-
Select the right arrow beside the Output Parameter. Check the Show in Stage Summary as box, and then select OK to save the task definition.
Start the release and run the release pipeline
-
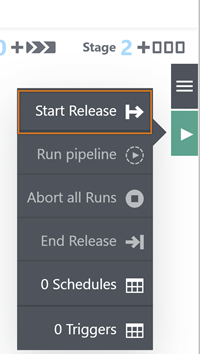
Select the Run button, and then select Start Release.
-
Select Run. Note the stages running.
-
Once complete, select the Summary link on the QA stage and note how the procedure output was propagated up.
-
Select the task name to view the job details, and then close the dialog to continue.
Add a pipeline parameter
-
Use the breadcrumbs to return to the release definition editor.

-
From the Hierarchy Menu, select the context menu beside the Pipeline: pipeline_Trial Release.
-
Select Parameters and add a parameter, helloUser.
-
Select OK to save, and then exit the Parameters dialog.
-
Modify the task to use the parameter value.
Select the task name. -
Modify the procedure task Greet Name to be
$[helloUser].
Run the release pipeline
-
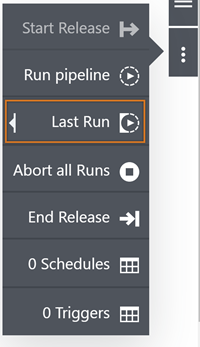
From the release options menu on the right, select Last Run, and then select Run.
-
To see where this value was applied, look at the job results.
Display the job details by selecting the task name. -
Open the log associated with the Hello <greetName> step.
-
Examine the pipeline runtime properties and parameters.
-
Select Pipeline Runs at the top of the screen.
-
Select the Actions menu to view the properties and parameters.
-
Select Expand to view the tasks. Select the task menu button to view the task properties.
-
Open the Jobs Details to view the job properties and parameters.
-
Add a manual gate
-
Use the breadcrumbs to navigate back to the release definition editor.
-
Select the + on the upper right side of a task to open the gates view. Select Add + to create a new rule for the gate.
-
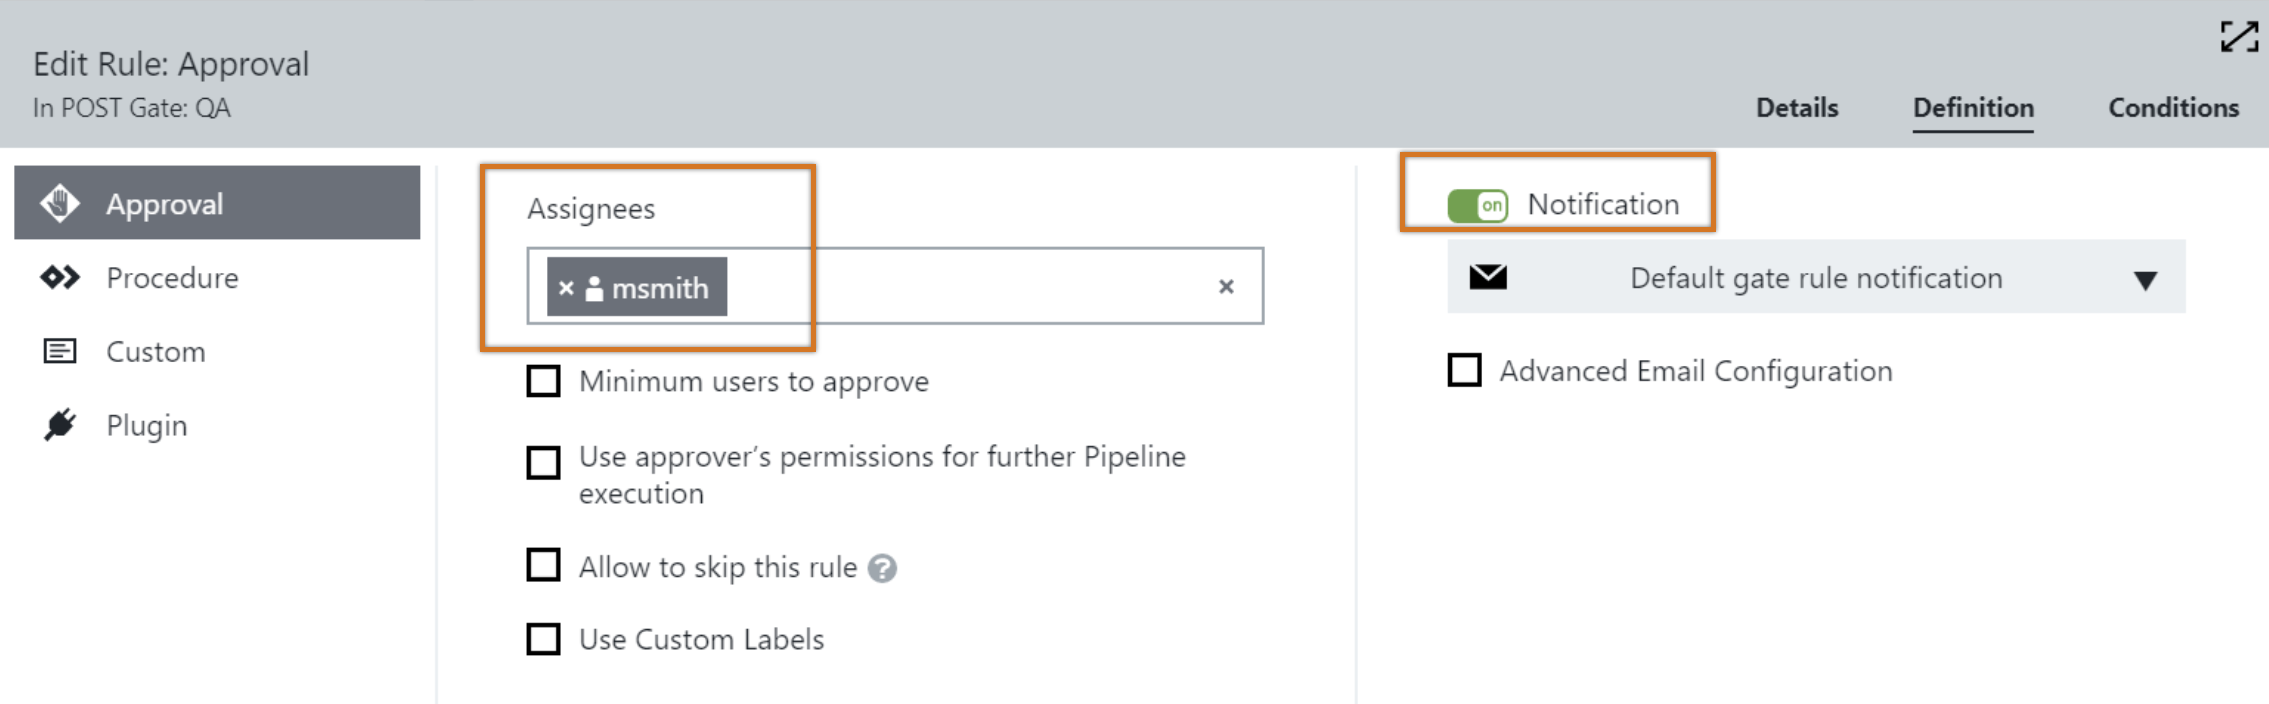
Provide a name for the new rule, such as Approve. Select Select Rule type and Approval as the type.
-
Select Define.
-
Enter your username under Assignees, and then select OK to complete the gate definition.
Run a new release pipeline
-
In the Actions menu, select the Last Run option to reuse the parameter value you selected earlier, and then select Run.
The pipeline halts because it is waiting for the manual approval. (If configured, an email will also be sent with options to approve).
-
Select the Response required pull-down to select the user designated to approve.
-
Select Approve and provide a comment, and then select OK.
Examine the audit report
Use the pipeline runtime Actions menu to access the audit reports. Select Audit Reports.
Add a deployer to each stage
-
Use the breadcrumb to return to the release definition editor. Add a new task called Deploy in each stage.
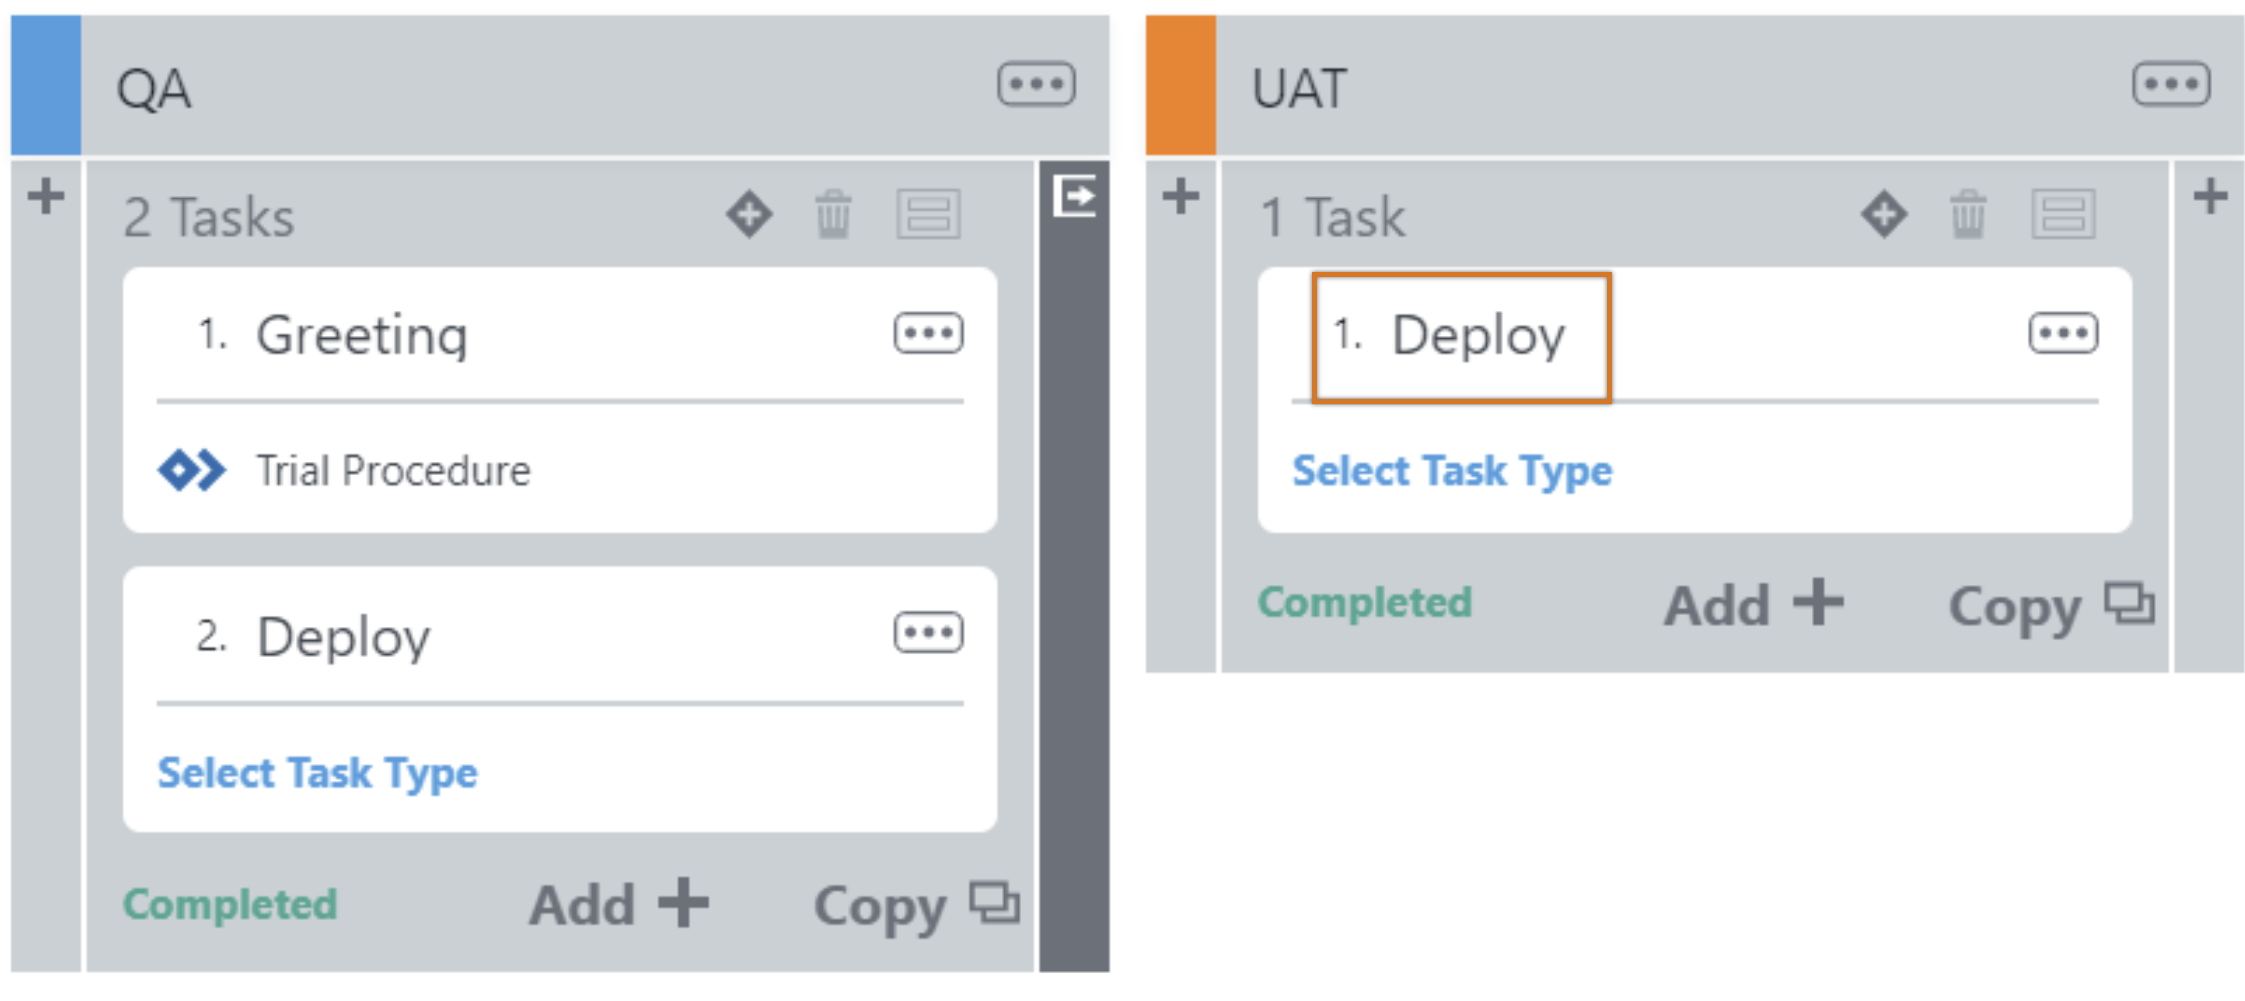
-
Select Select Task Type and choose Deployer for both Deploy tasks.
-
Select Define.
-
Select Deploy Serially.
-
Select OK to complete the task definition.
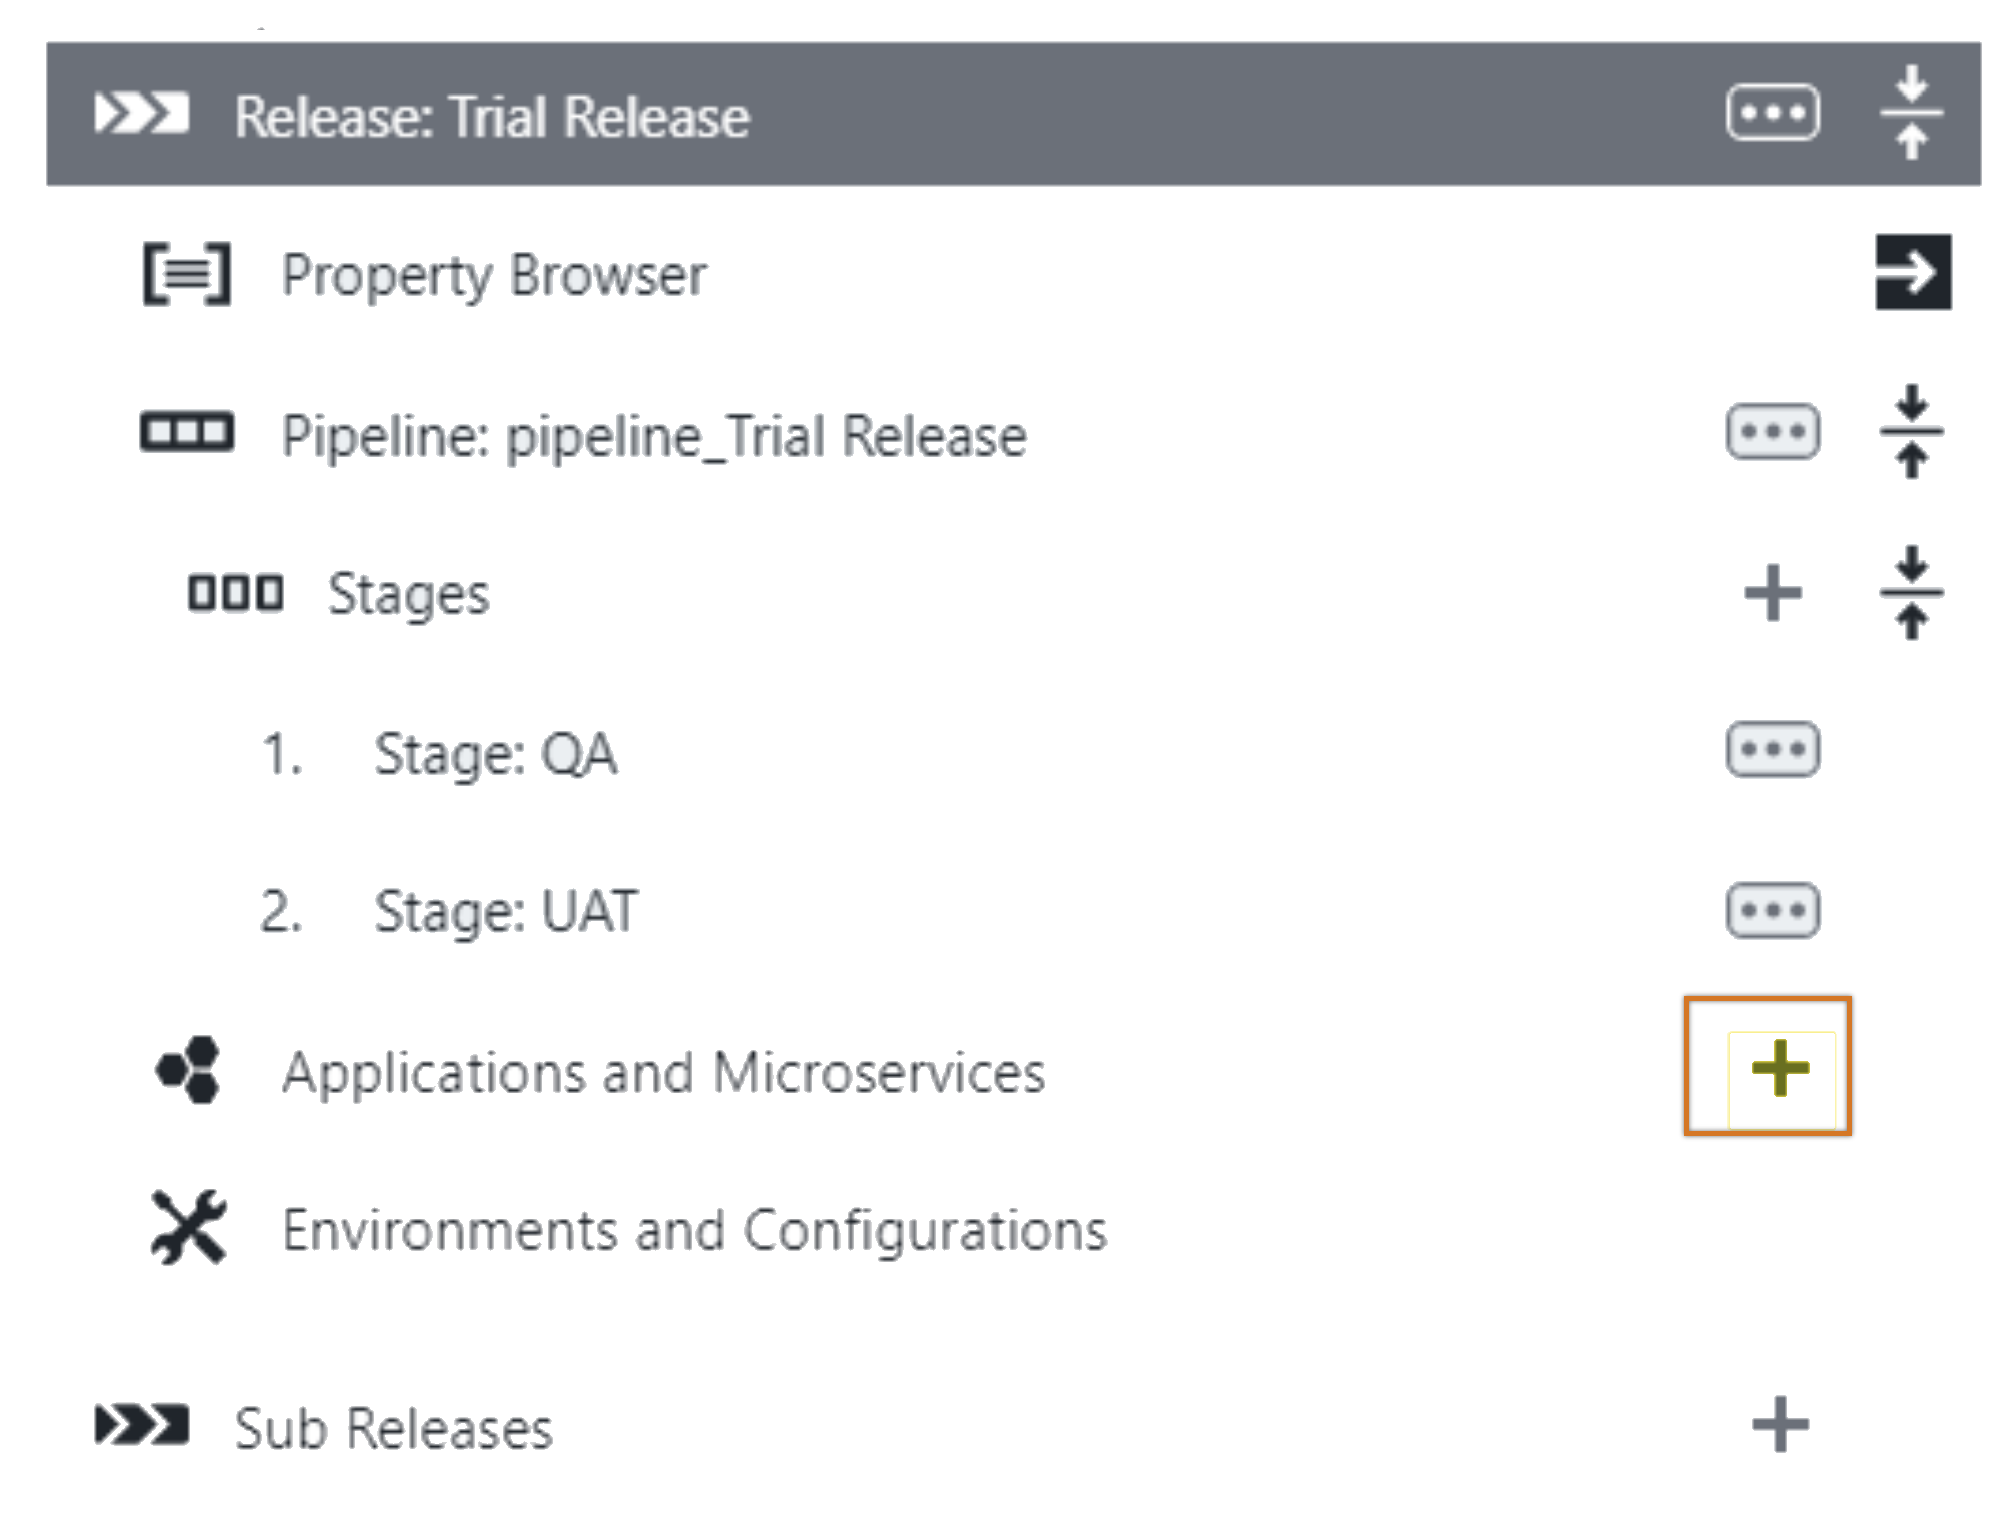
Add the applications to the release
-
In the Hierarchy Menu on the left, select the plus (+) next to Applications and Microservices.
-
Select both applications, and select the blue double-arrow button (>>) to add the applications. Then select the back button (<) to close the selection view.
-
Select the snapshot for the jpetstore application that you created earlier.
-
Select OK.
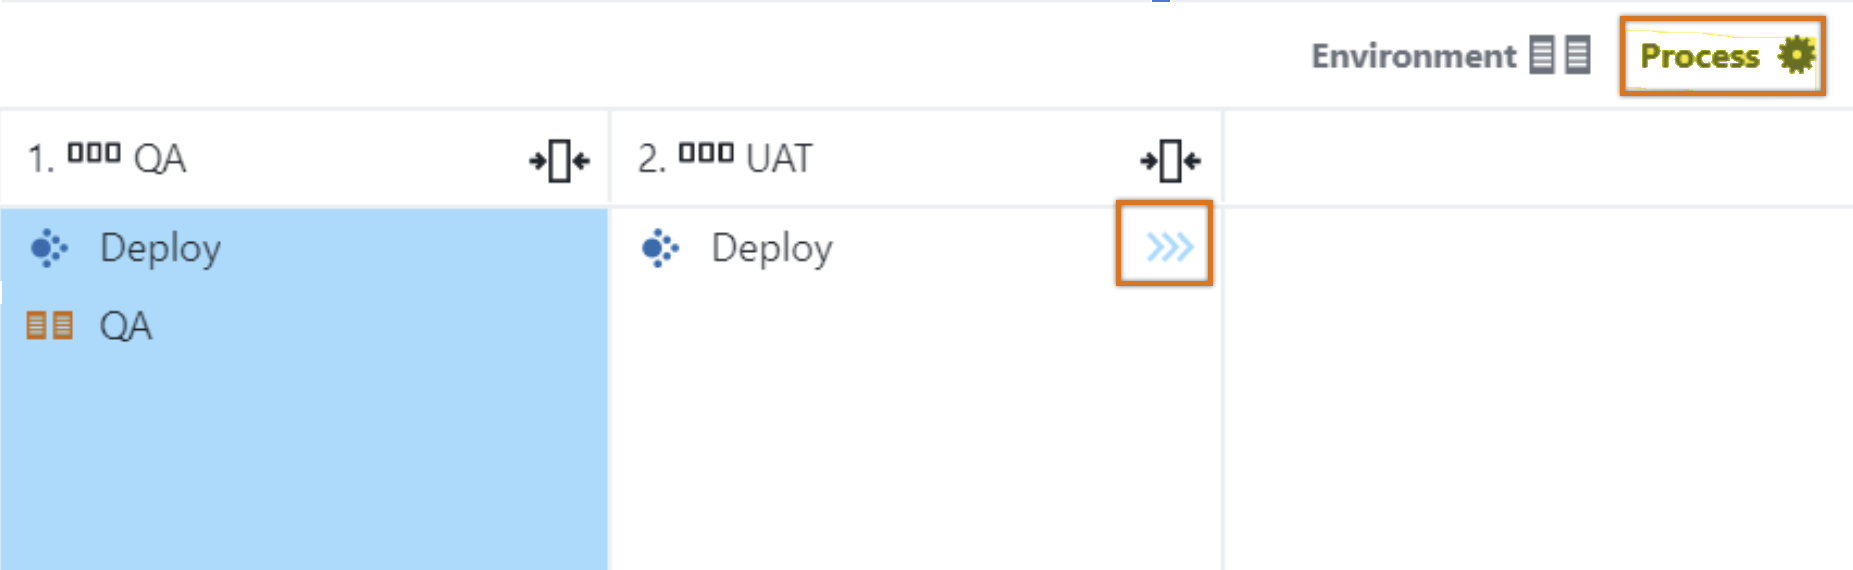
Configure the application to run in QA and UAT environments
-
Select the right arrow next to Environments and Configurations in the Hierarchy Menu on the left.
-
Select the cell under the QA column for jpetstore and then select the Environment tab.
-
Select the QA environment from the Trial Guide project, and then select OK.
-
Select the Process tab, and then select Deploy.
-
Do the same for the jpetstore application under UAT. But this time, select the Trial Guide UAT environment.
-
Similarly, set up the RSS application to point to the Helm Deploy QA and UAT environments.

-
Select OK to save the environment configuration.
Run the final release pipeline
-
Select the Actions menu, and then select Last Run.
-
Once the Deploy task has started, select Summary in the QA stage.

-
Allow the release pipeline to complete.
-
Provide the required response to continue the pipeline. Note the new path to production view.
-
Select the Actions menu, and then select Audit Reports to view the Audit Report.