CloudBees CI is an enterprise-scale, flexible, governed continuous integration and continuous delivery automation engine.
What CloudBees CI does for you
CloudBees CI is an enterprise-grade product that builds on and leverages Jenkins® for the enterprise. Built to scale, CloudBees CI enables you to go from building a team to deploying your code as quickly as possible.
CloudBees CI helps you go from check-in to production in minutes with three key features:
Flexibility
CloudBees CI gives you the ability to deliver any type of application: Java, React, Node.js, mainframe applications and more. CloudBees CI goes beyond physical scaling to drive collaboration between teams, offering centralized continuous-delivery-as-a-service across your organization.
Governance
CloudBees CI uses a sophisticated authorization strategy to reduce software delivery risks and creates compliance without hindering agility. CloudBees CI gives you an elegant, intuitive user experience that centralizes the management of your Jenkins controllers and directly integrates with all major cloud providers.
With this feature, you can secure your CI and CD processes by user, by team, by agent, by folder or by job.
Cloud native scalability
CloudBees CI can run either on-premises or in the cloud, giving you the most options for building out your continuous delivery systems as your company grows. It runs modern apps on a cloud native architecture, leveraging Kubernetes for reliability, elasticity and security.
CloudBees CI can automatically scale your workloads up and down on-demand, giving you the flexibility to match your operational footprint to your cost controls.
About the trial
The CloudBees CI Trial is a full-featured 7-day trial of the product. With it, you can do everything you would do with a production instance.
Things you should know about the trial
Support is available while you get acquainted with CloudBees CI:
-
If you run into any problems, please contact the CloudBees representative that sent you your trial credentials.
-
If you decide to download and install plugins, CloudBees CI only supports Tier I and Tier II plugins.
-
After the completion of your 7-day trial, a member of the CloudBees team will get in touch with you to understand your trial experience.
What the trial walk-through covers
You may already be familiar with CloudBees CI and Jenkins. If so, you may not need a guided tour.
If you are new to CloudBees CI, this guide takes you from setting up your team to deploying code in just a few minutes. Here’s what this guide covers:
-
Expanding your CloudBees CI trial provides the information you need if you want to open up your trials to others, including:
Signing into CloudBees CI
-
When you signed up for your CloudBees CI trial, you received an email. Locate and open that email.
-
Select Start Your Trial.
-
Enter the credentials provided in your email in the username and password fields, and select Sign in:
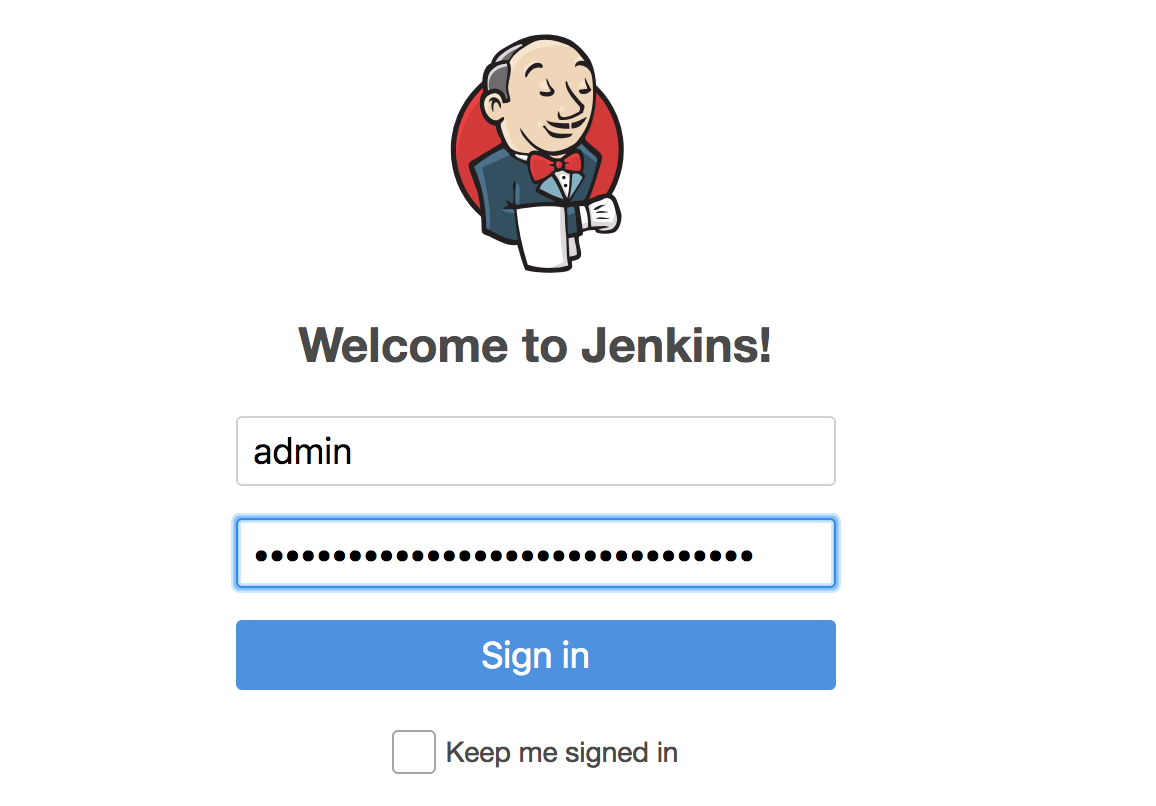
-
If you’ve signed in successfully, you’ll be delivered to the Administration interface.
Setting up teams and controllers
Unresolved include directive in modules/trial-guide/pages/index.adoc - include::ROOT:partial$blue-ocean-eol.adoc[]
The Jenkins glossary defines a Jenkins controller as:
"…the central, coordinating process which stores configuration, loads plugins, and renders the various user interfaces for Jenkins".
CloudBees CI introduces teams, which leverage and extend the capabilities of Jenkins controllers.
Teams are similar to Jenkins controllers, with the focus changed from administering servers to enabling people. Teams are groups of users that share resources, best practices and code and work together to accomplish a goal, project or task.
CloudBees CI comes with a preconfigured set of roles and permissions:
-
Team Admins have administrative privileges on the team’s controller
-
Team Members have read, write and execute permission for the team’s Pipelines
-
Team Guests have read-only access.
CloudBees CI also automatically creates the team’s controller for you. If you are not familiar with team controllers, you can read more about them in Use CloudBees CI Teams.
This section covers:
-
Creating a team
-
Adding members
-
Specifying the kind of development work the team does
Let’s get started!
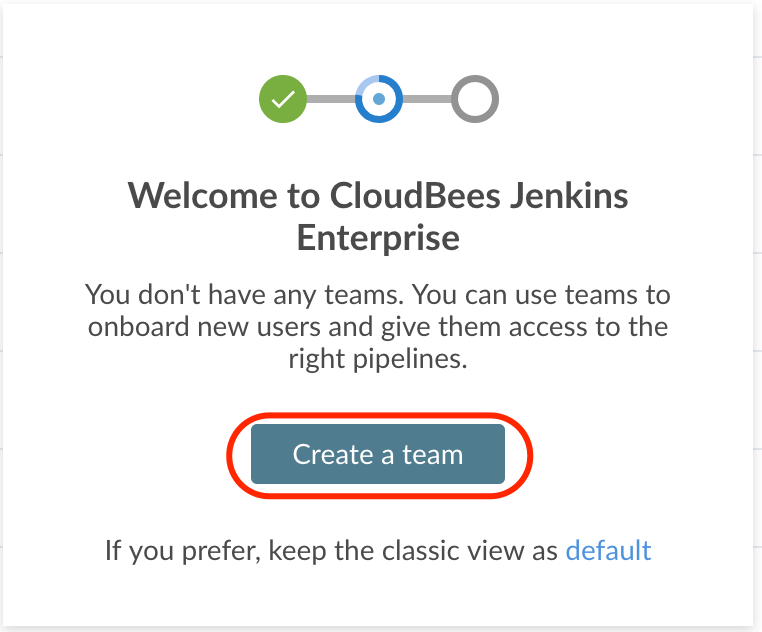
-
Select Create a team to start the team creation wizard:
-
In the Name this team field, provide a name for your new team. This guide uses Mobile Development Team, but you can name the team anything you want:
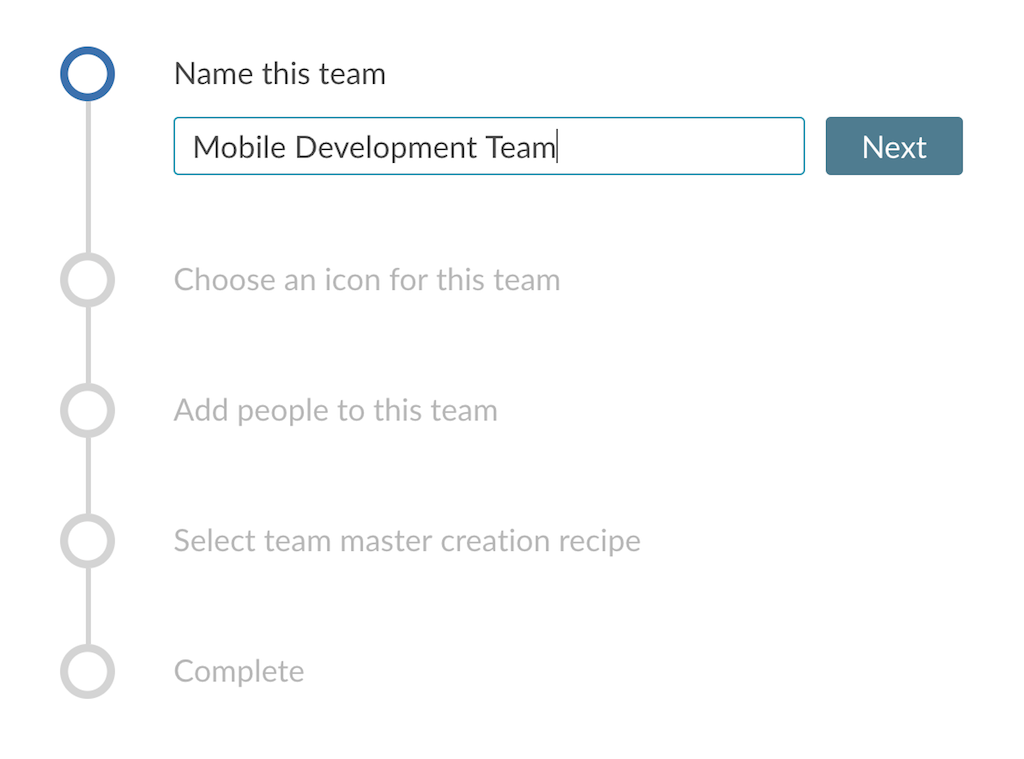
-
When you’re done naming your team, select Next:
-
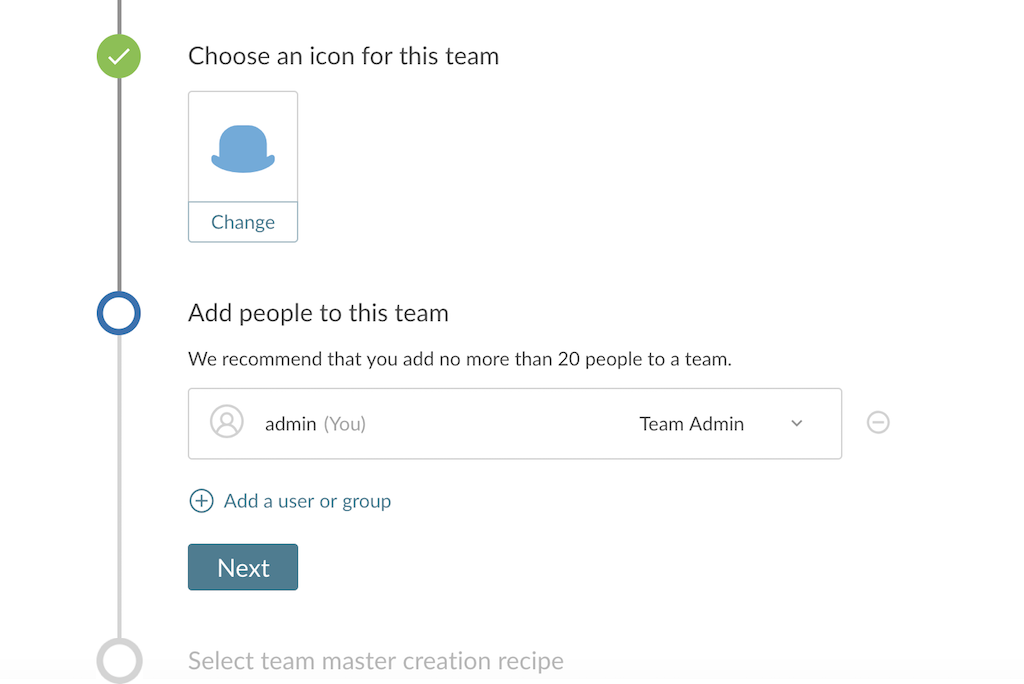
Give the team an icon. Using different colors and icons for each team can help you organize your instance, especially if you’re dealing with tens or hundreds of teams.
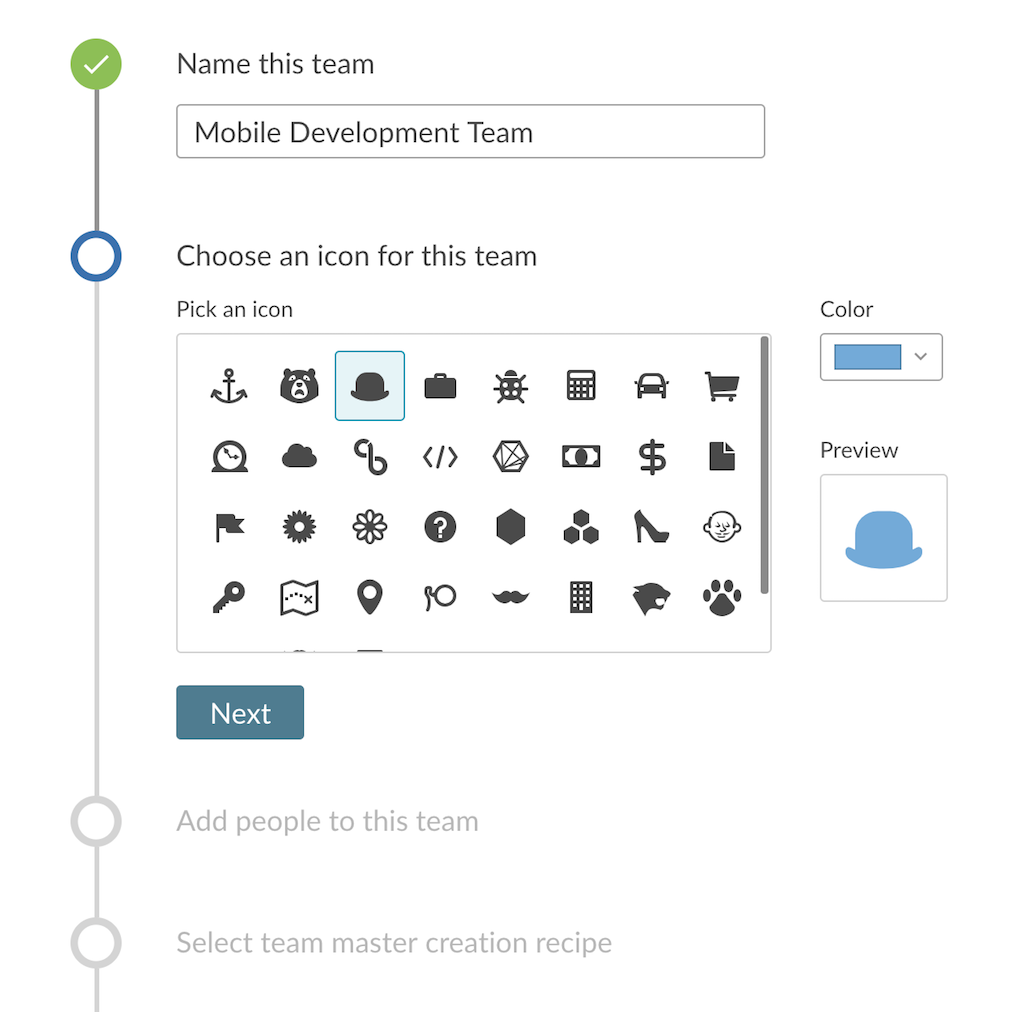
-
When you’re done choosing an icon, select Next.
-
Add the members of the team. Each team member can fit into one of three roles (as explained earlier): Team Admin, Team Member or Team Guest. For the moment, you’re going to specify only the team administrator (this guide goes into detail on adding people to teams in adding users and assigning their roles):
-
Select Next.
-
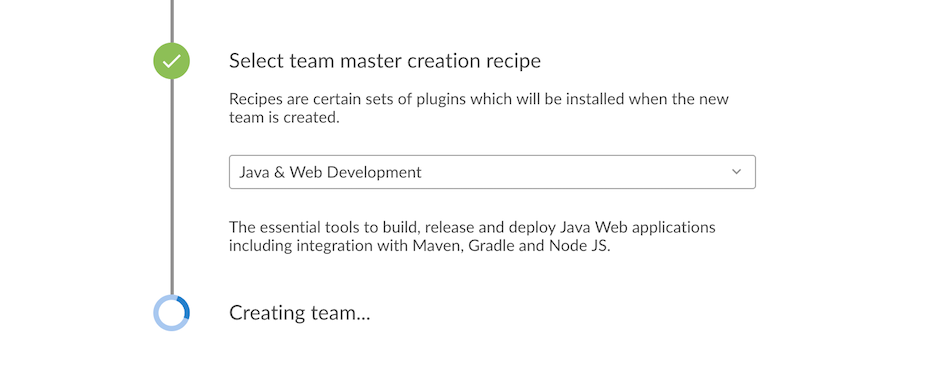
Choose a team controller creation recipe. There are two options: Basic includes a basic set of plugins, and Java & Web Development includes a set of plugins tailored for these developers. You can read more about the specifics of these recipes here; this guide uses Java & Web Development.
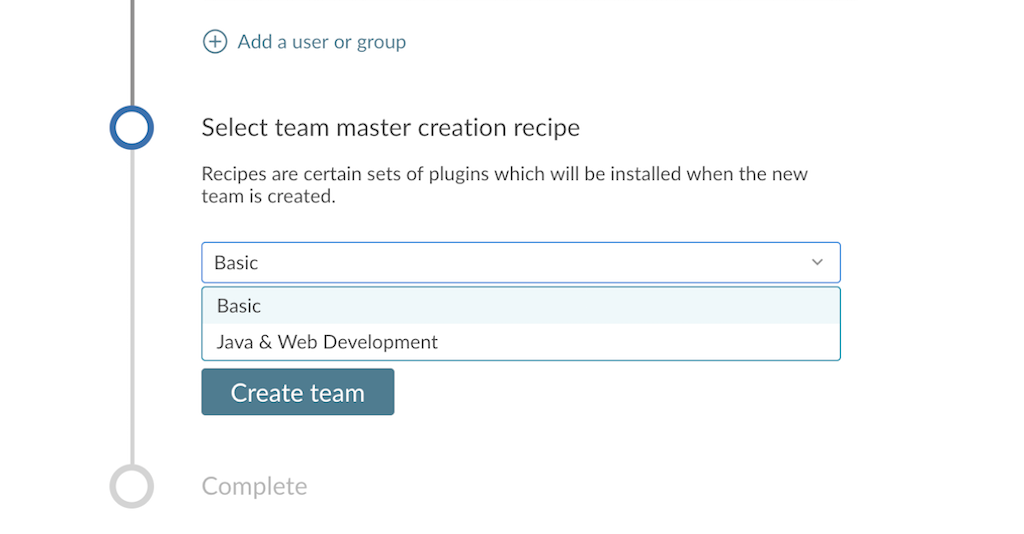
-
Once you’ve chosen a team controller creation recipe, select Create team. The Creating team interface is displayed:
-
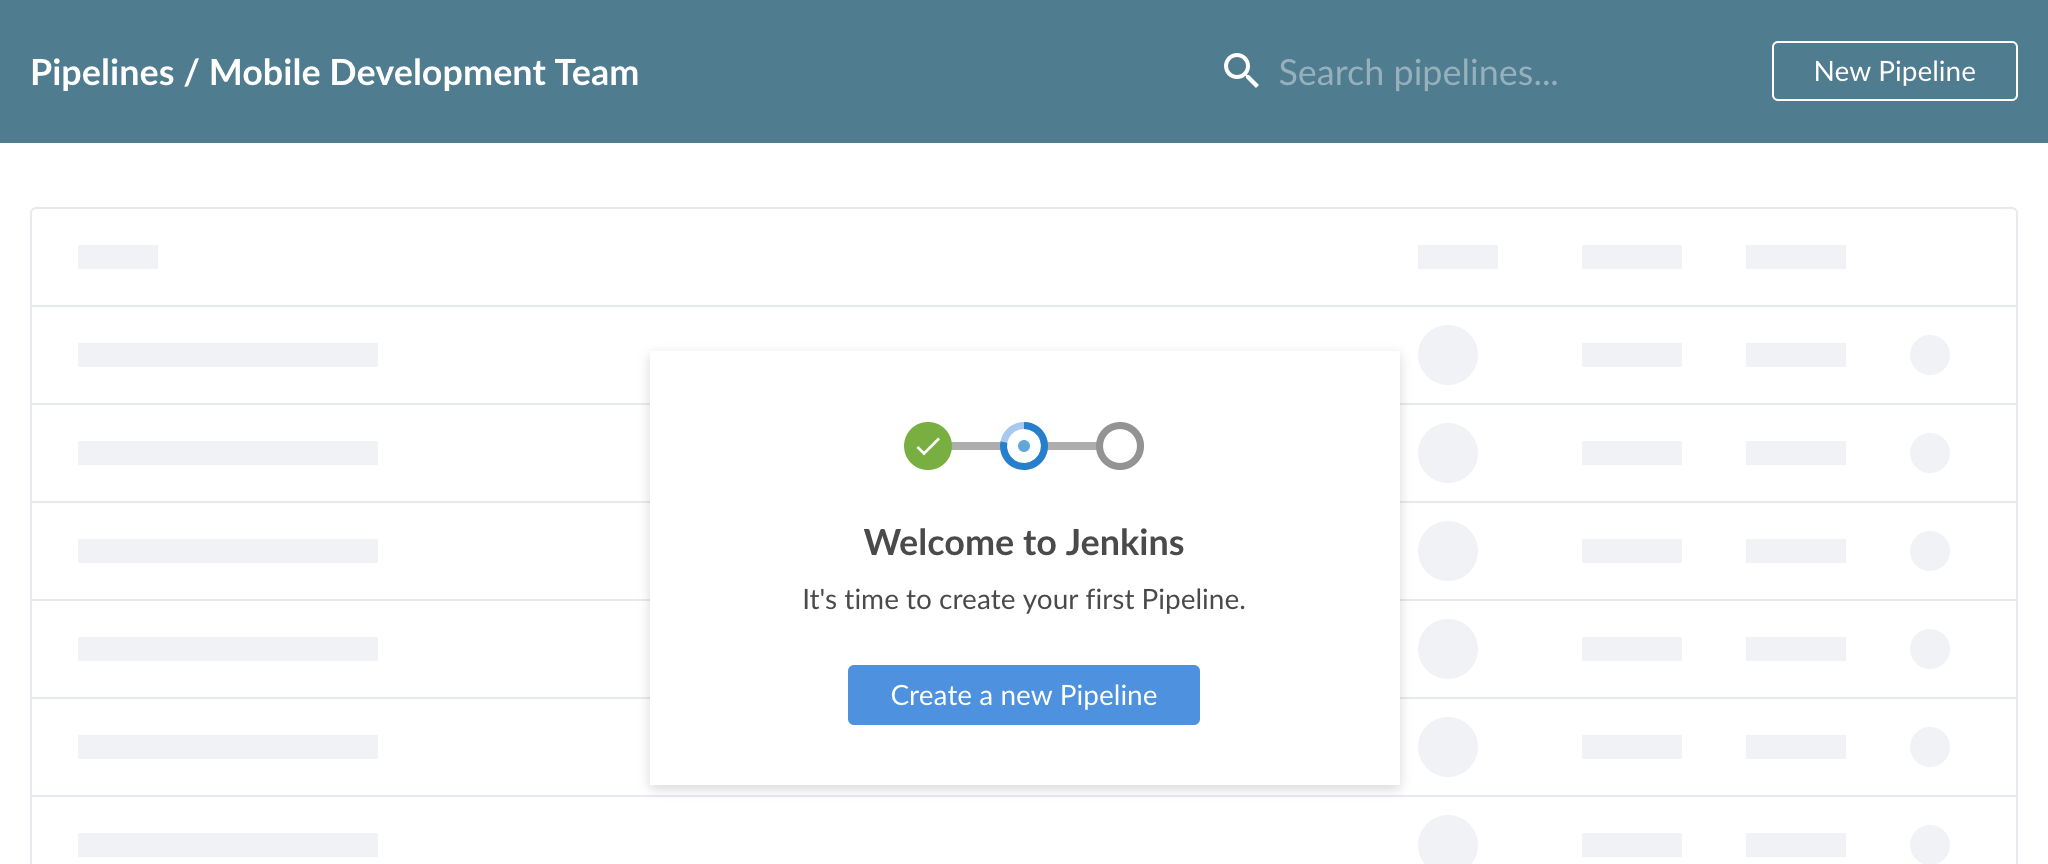
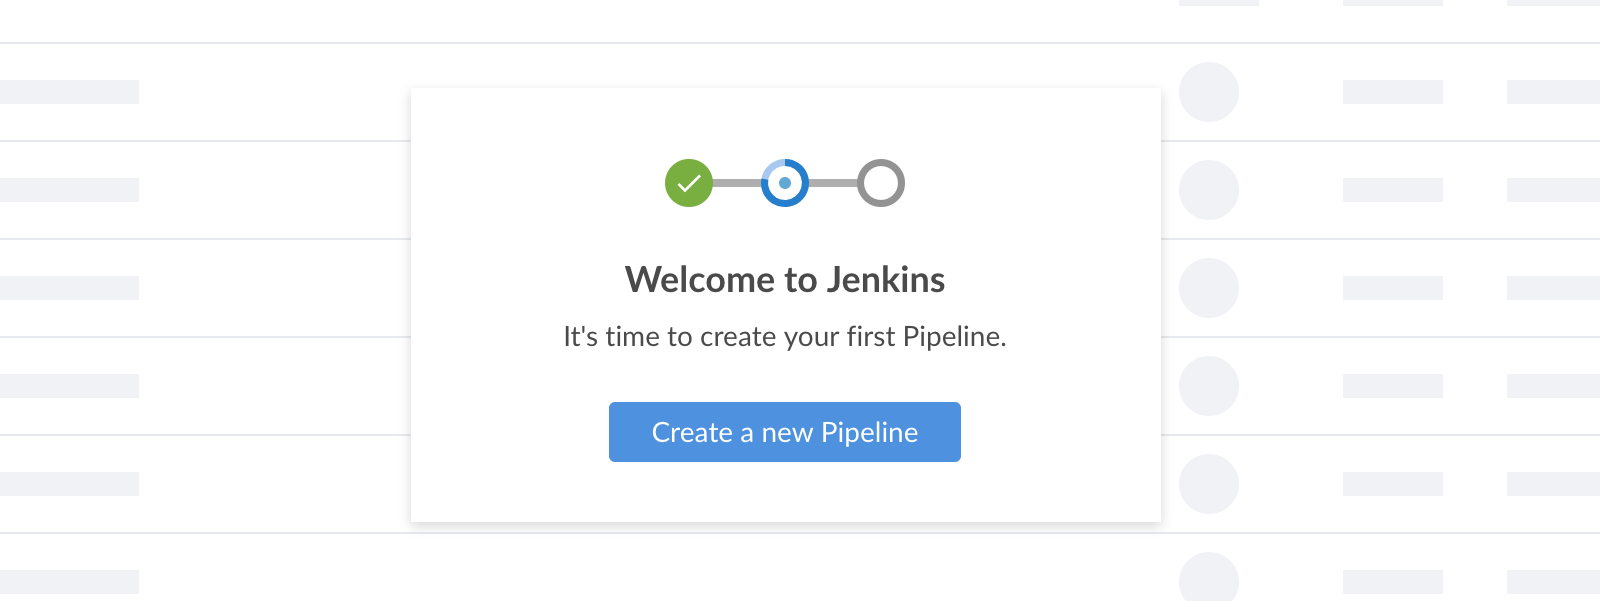
After the team creation process completes, you’re presented with a Welcome to Jenkins page, which helps you start creating Pipelines:
Setting up Pipelines
Pipelines are the way you automate the deployment of your team’s code.
The Jenkins Pipeline Book defines a Pipeline as:
"…an automated expression of your process for getting software from version control right through to your users and customers. Every change to your software (committed in source control) goes through a complex process on its way to being released. This process involves building the software in a reliable and repeatable manner, as well as progressing the built software (called a "build") through multiple stages of testing and deployment."
This section will help you create simple Pipelines, attach those Pipelines to source control, and set up Pipeline stages and steps.
This section covers:
Creating GitHub repositories
Before setting up your Pipelines, you’ll take a brief detour out of CloudBees CI to create two GitHub repositories, named upstream-pipeline and downstream-pipeline.
-
Sign in to your GitHub account.
-
Follow the instructions for Creating a new repository.
-
Create two repositories: one called upstream-pipeline, and another called downstream-pipeline.
-
Once you’re done, return to CloudBees CI.
Creating your Pipelines
-
You’ll see the Create Pipeline interface:
-
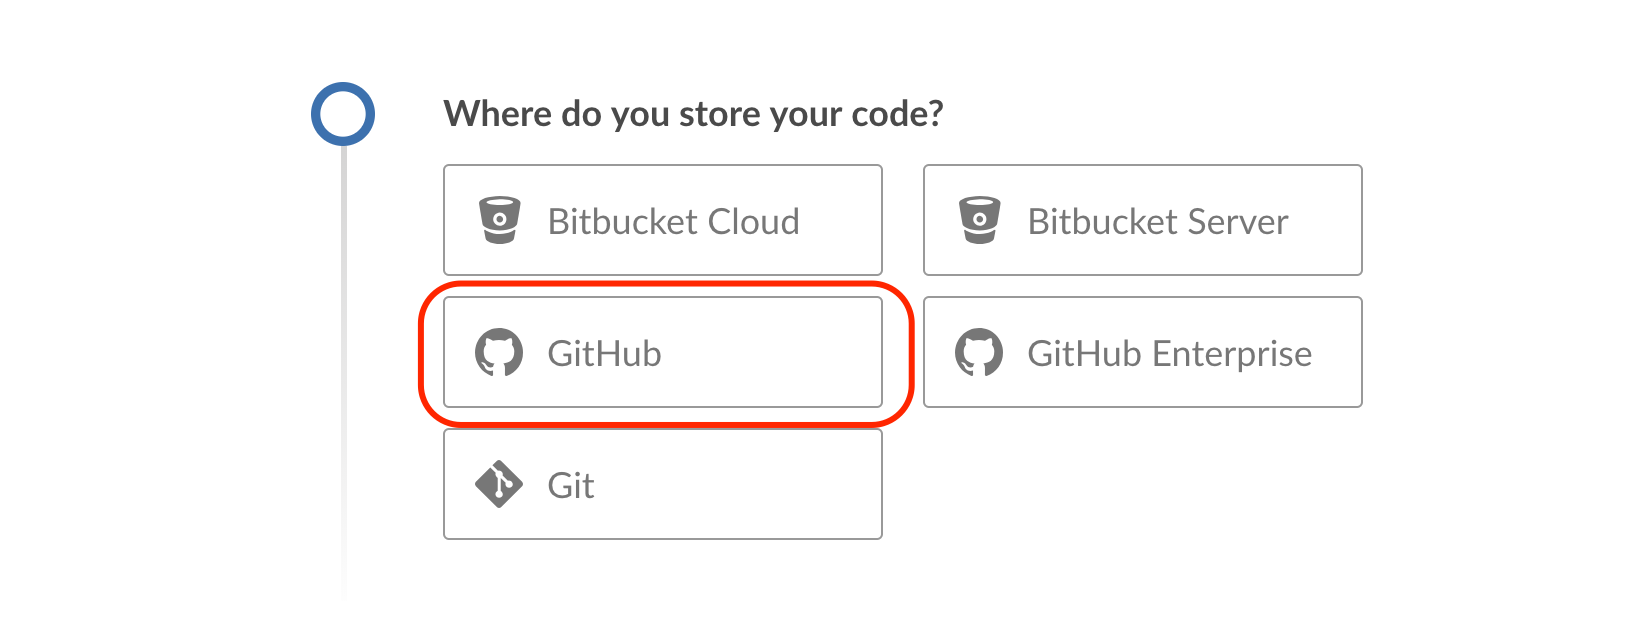
Select Create a new Pipeline, and then choose a provider from the list of options. This guide uses GitHub:
-
The Create Pipeline interface indicates that you need a GitHub access key to continue.
Working with source control
-
Select the Create an access key here link to go to GitHub and create a key:

-
You’ll be redirected to GitHub for the next few steps.
-
In the New personal access token interface, provide a name for the new access token:
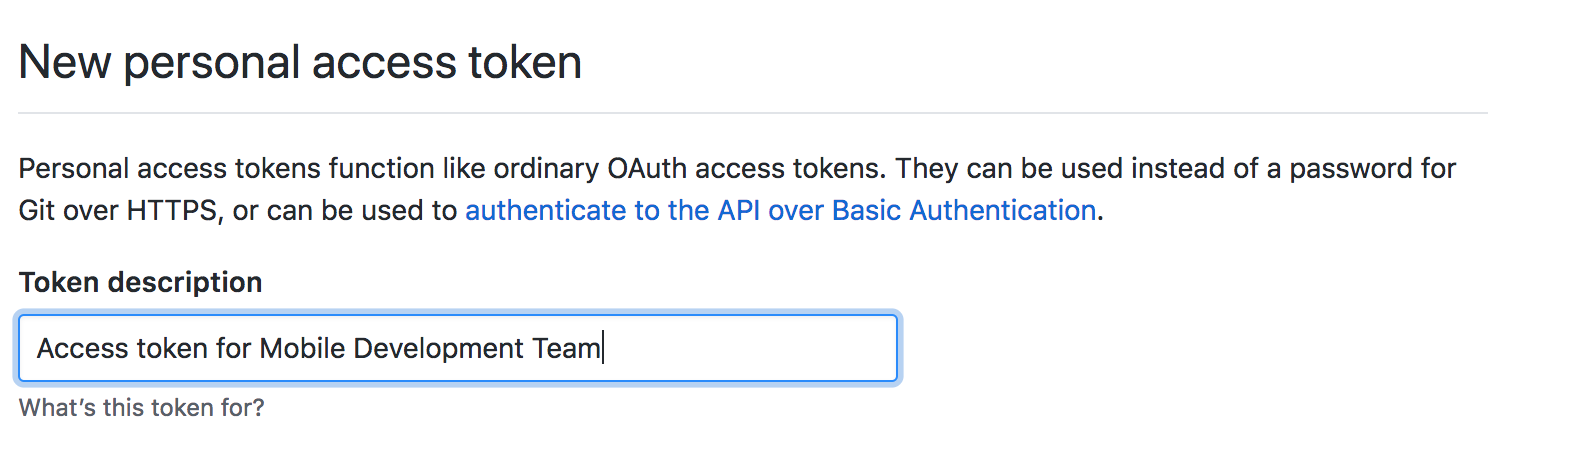
-
Scroll to the bottom of the page, and select Generate Token.
-
After the access token is created, select the clipboard icon to copy the new access token:
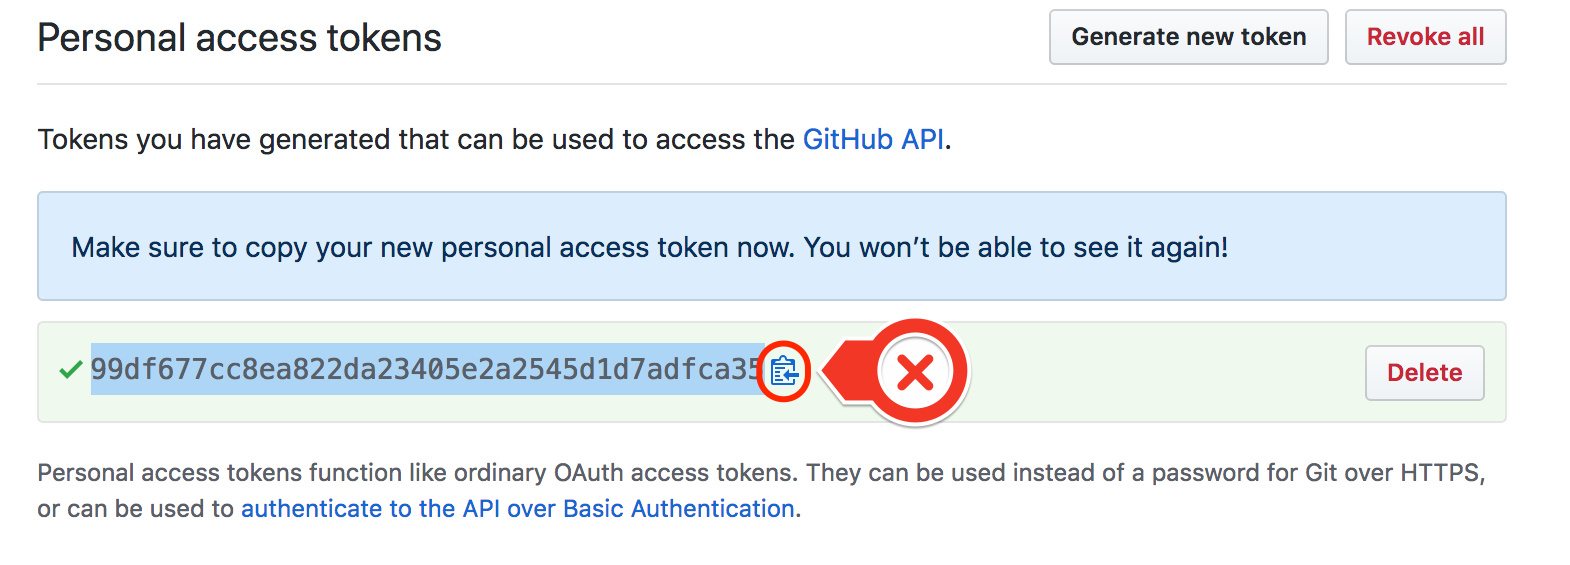
-
Return to CloudBees CI. Paste the access key into the Access Key field, and then select Connect:
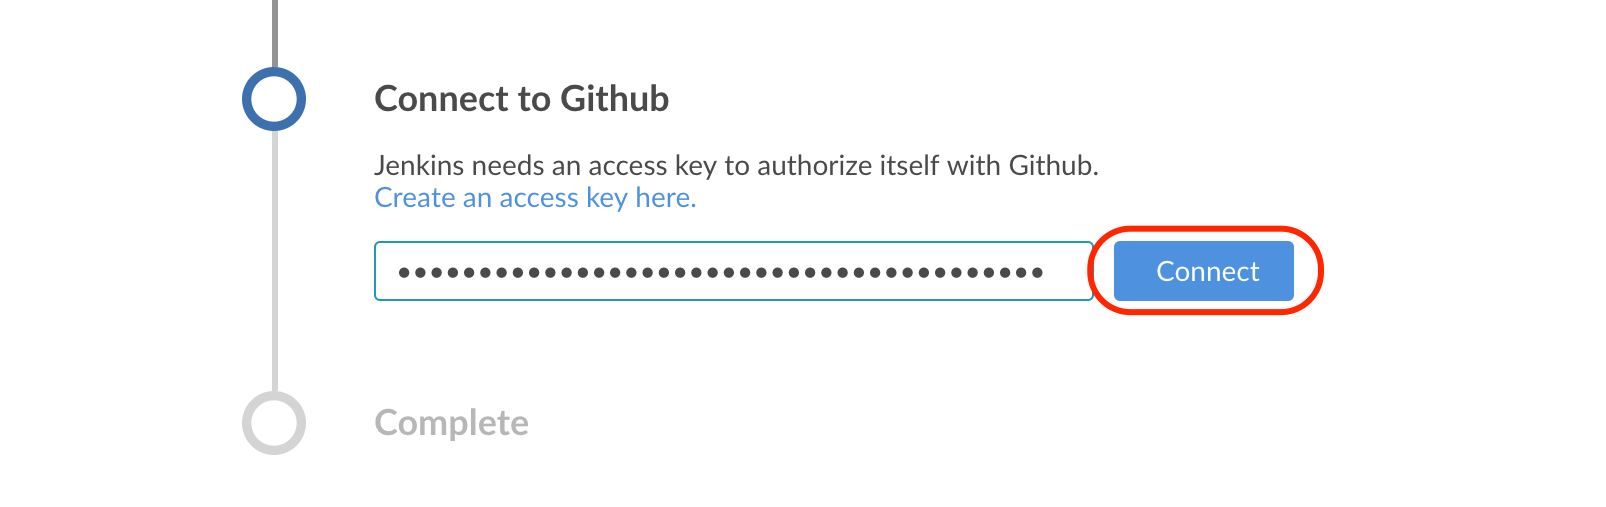
You only need to complete this process once; once you’ve added a GitHub access key to CloudBees CI, that key is used for all subsequent Pipeline creation operations.
-
Move on to choosing repositories and creating Pipelines.
Choosing repositories and creating Pipelines
-
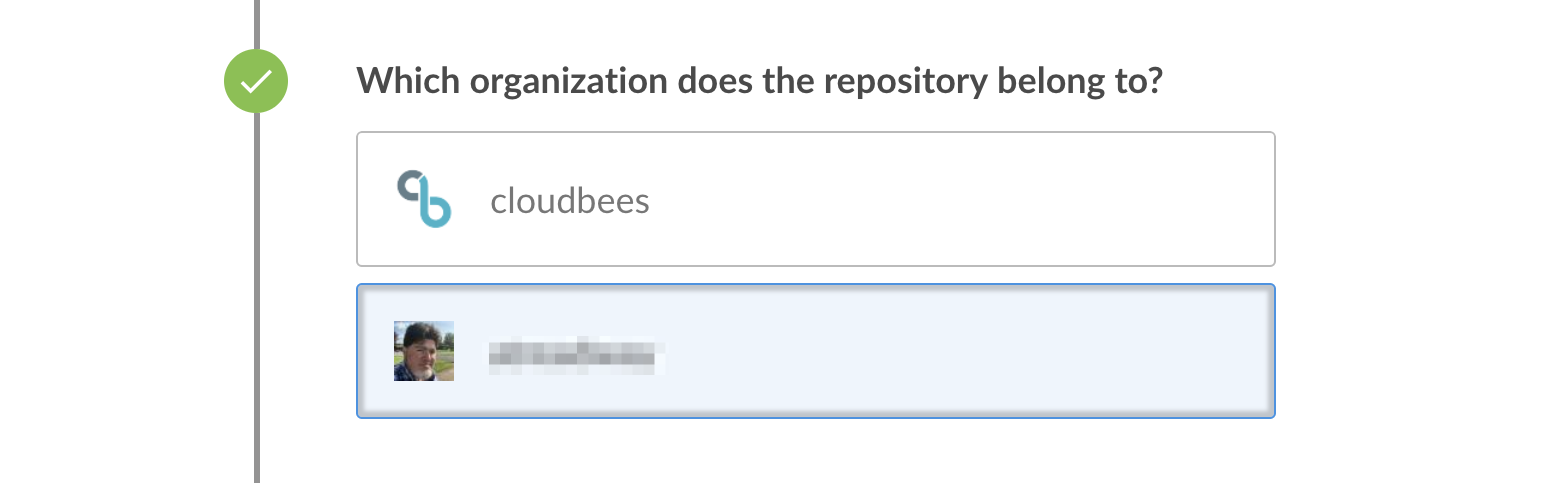
Back in the Create Pipeline interface, select the organization that contains the repositories you want to set up Pipelines for:
-
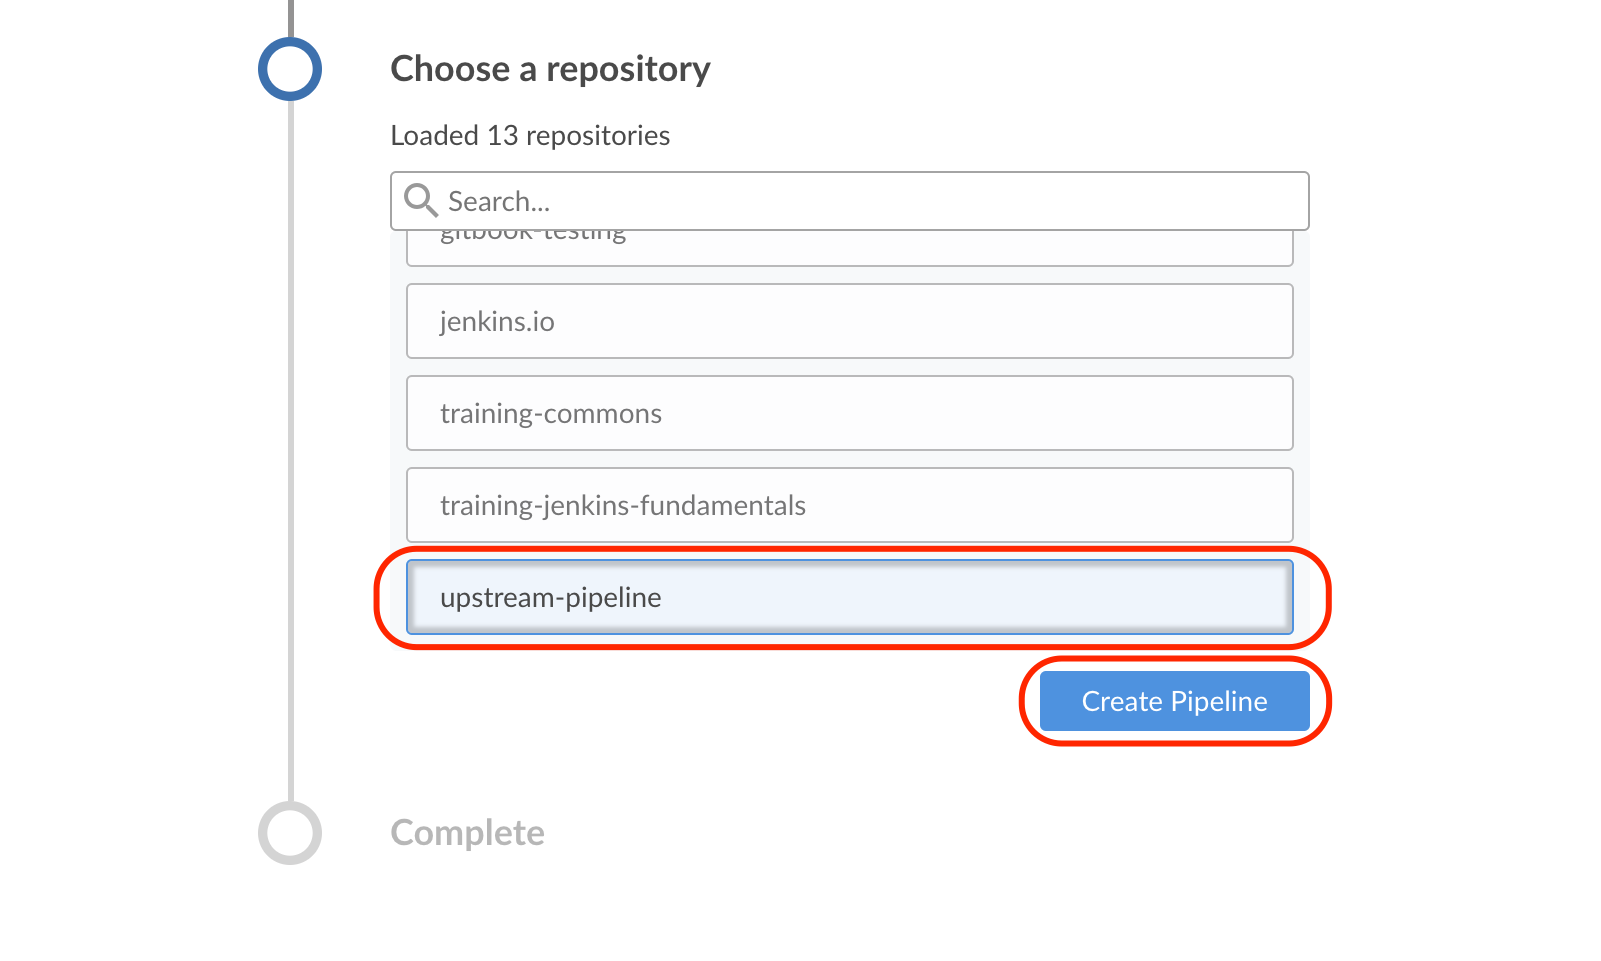
Select the upstream-pipeline repository (which you created earlier, in the Creating GitHub repositories section) and select Create Pipeline:
-
The Pipeline project is created and associated with the upstream-pipeline repository.
You may see an on-screen notification that Pipeline creation is taking a while. If so, you can refresh your browser, and you’ll be brought to the Pipelines dashboard.
-
After the Pipeline is created, you’ll see the Pipeline detail page; select Pipelines to return to the Pipelines dashboard.
-
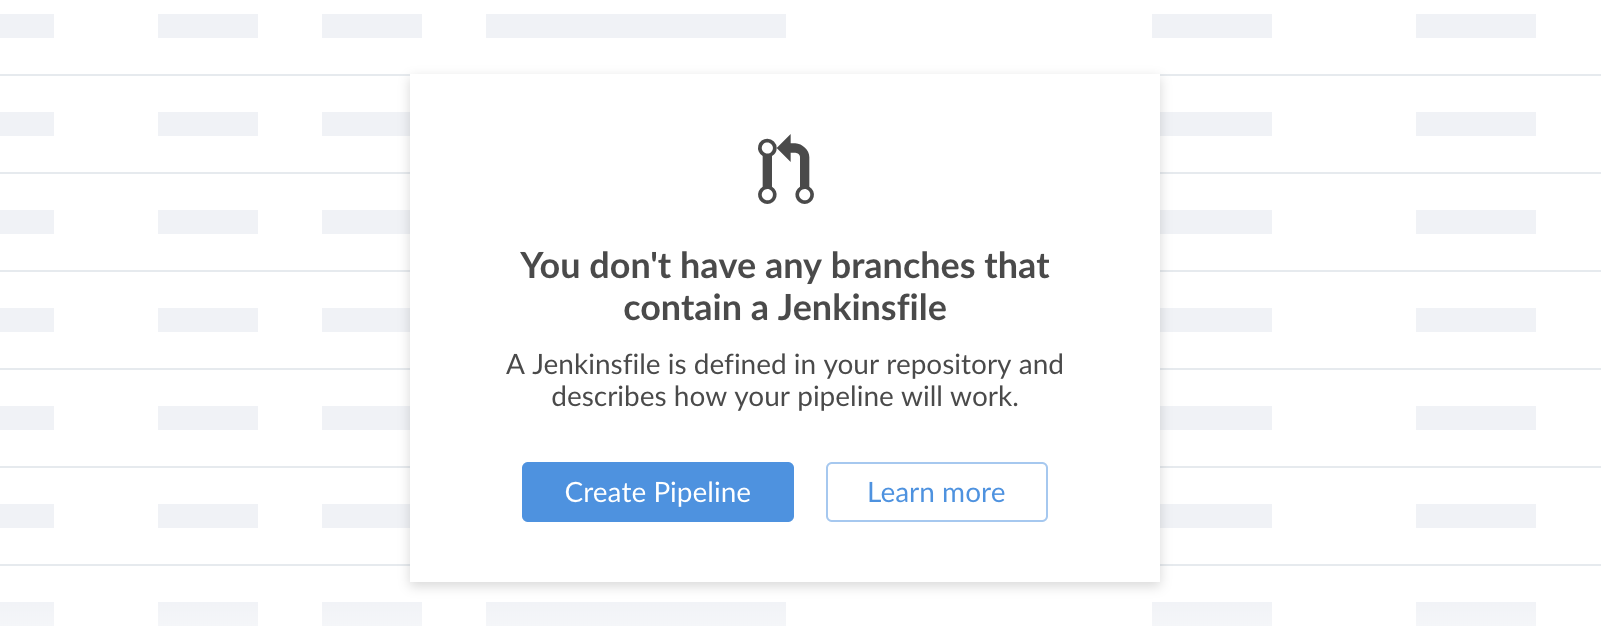
Select the name of your newly created Pipeline. The Create Jenkinsfile interface is displayed:
-
Select Create Pipeline to create a Jenkinsfile in your Pipeline and move on to set up Pipeline stages and steps.
Setting up Pipeline stages and steps
-
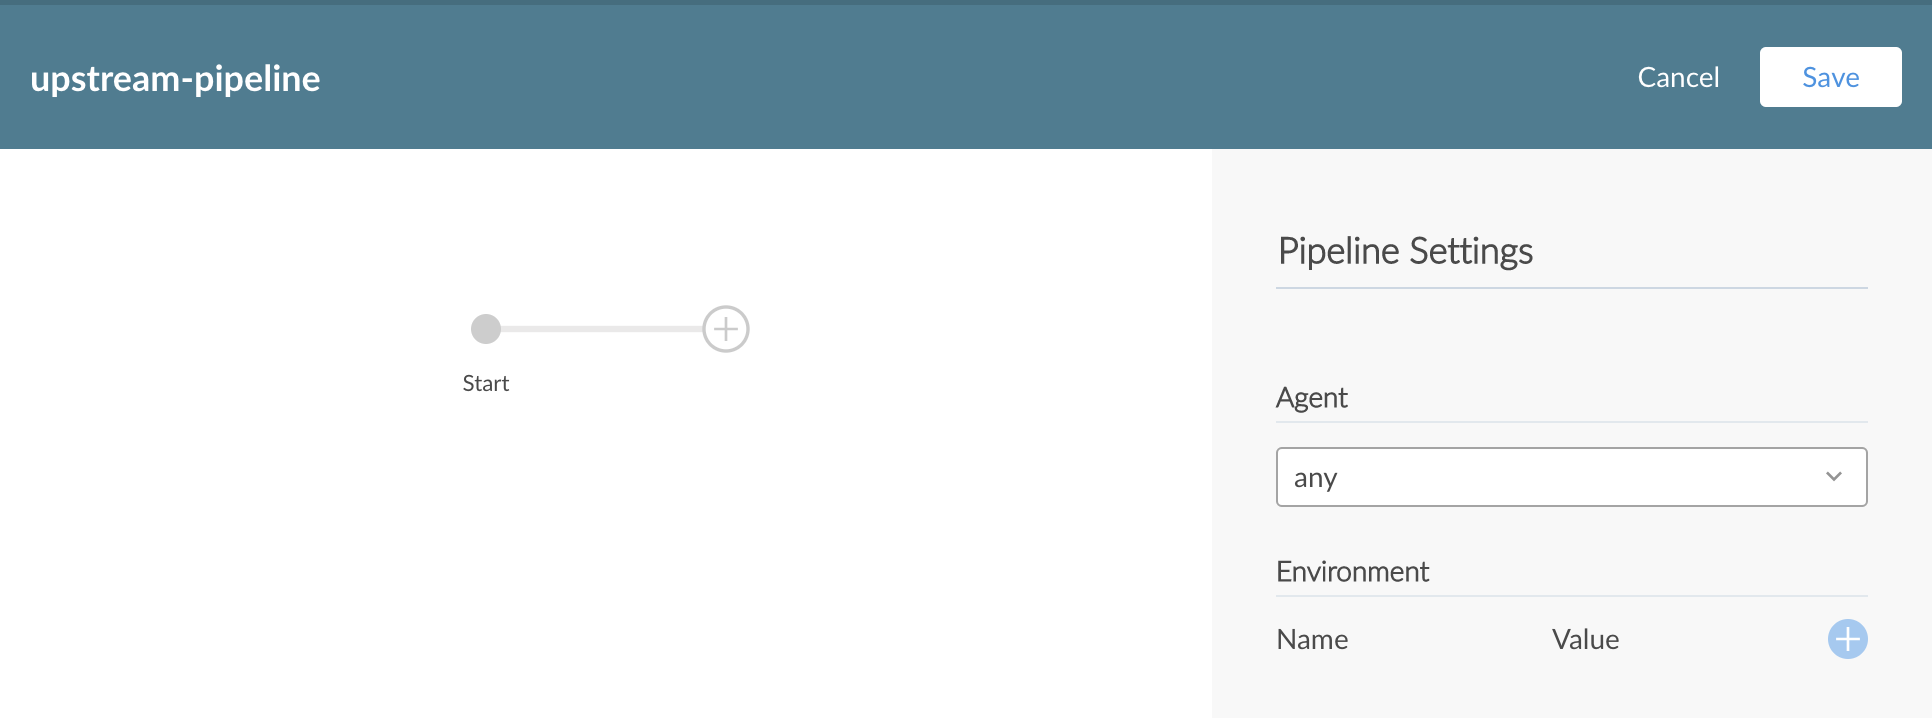
The Pipeline Editor is displayed:
-
The
+icon indicates a point at which a Pipeline stage may be added. To create a new stage, select the+icon: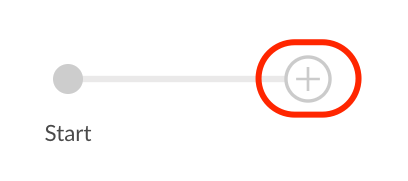
-
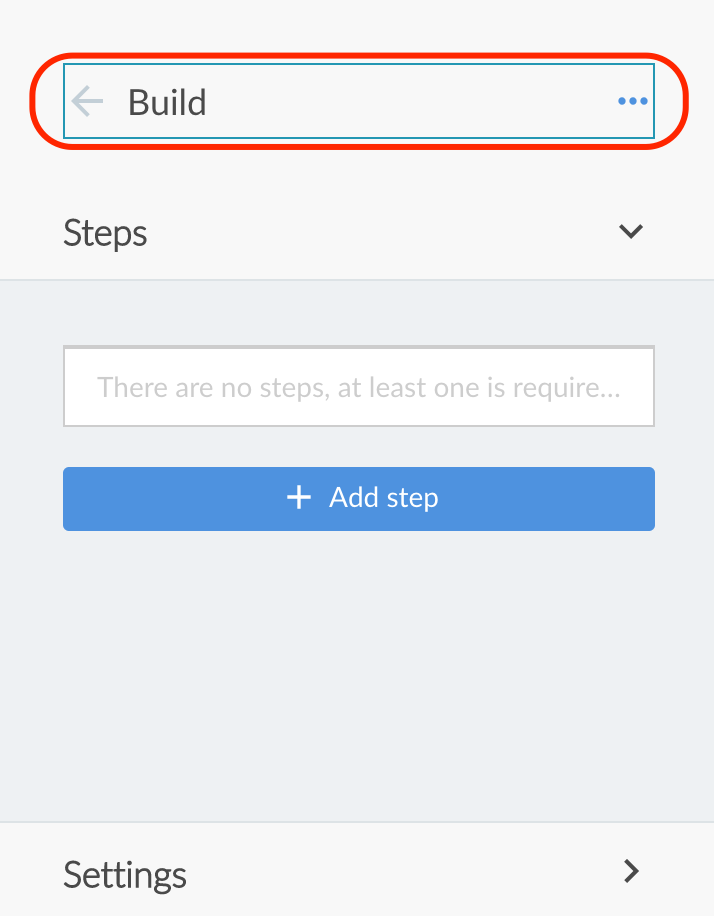
Provide a name for the new stage:
-
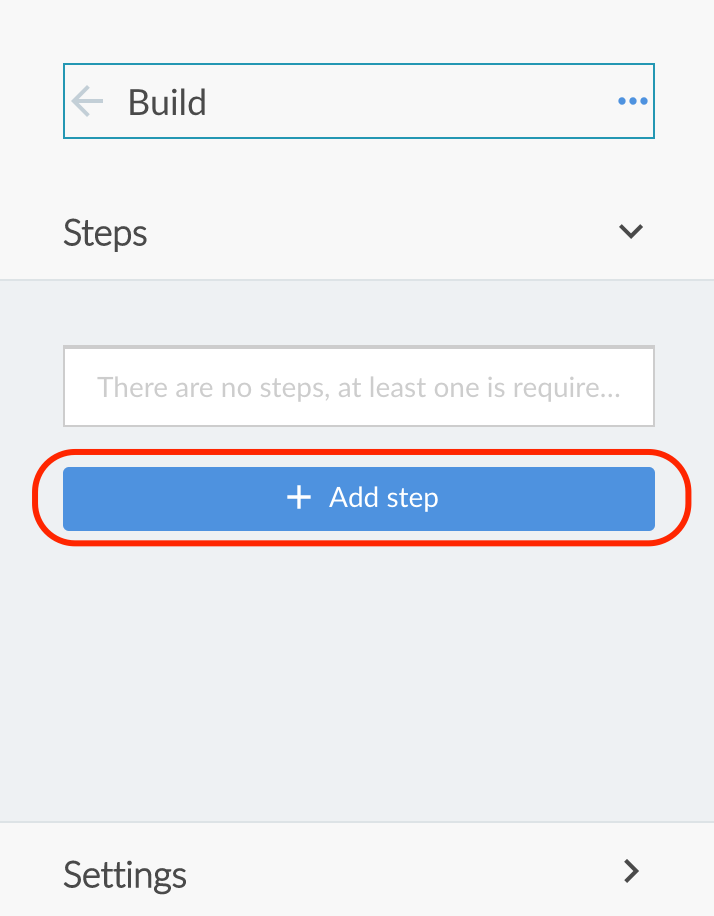
Each stage may contain multiple steps. After naming the stage, select Add step to add a step to the stage:
-
Select a step type from the list. In this case, the step is going to print a message:
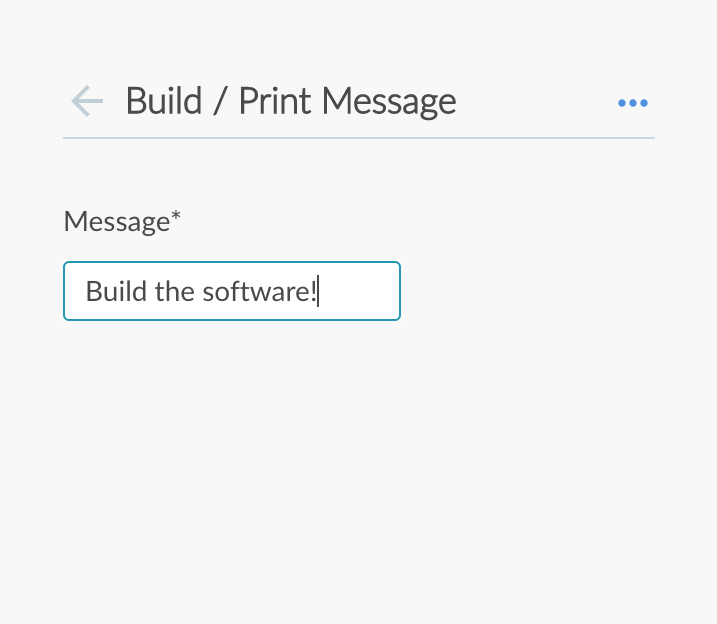
-
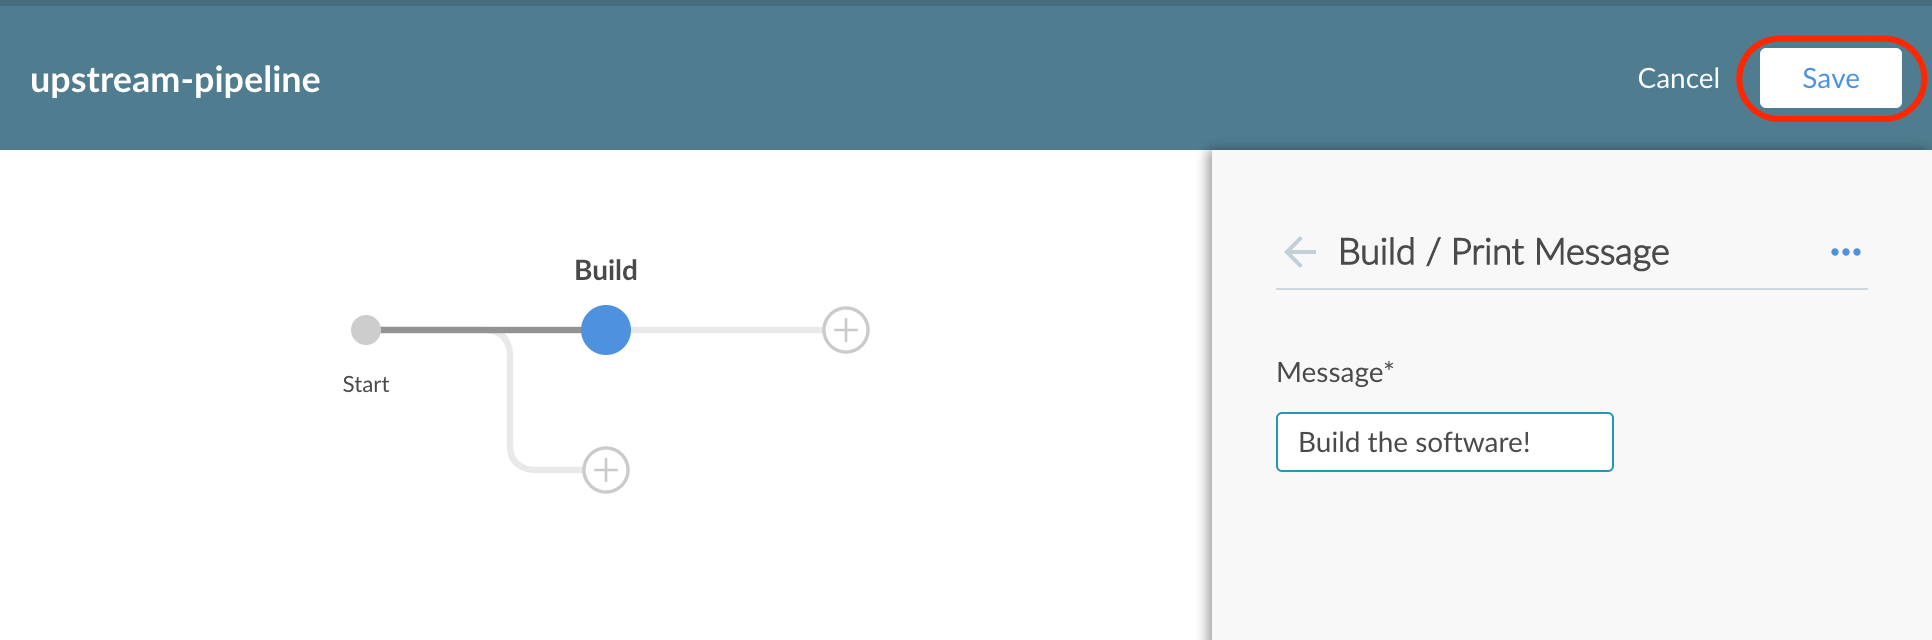
Select Save to save the Pipeline:
-
Because there’s no Jenkinsfile defined in the upstream-pipeline repository, CloudBees CI will create and commit a Jenkinsfile containing your Pipeline’s code to the root of the upstream-pipeline repository:
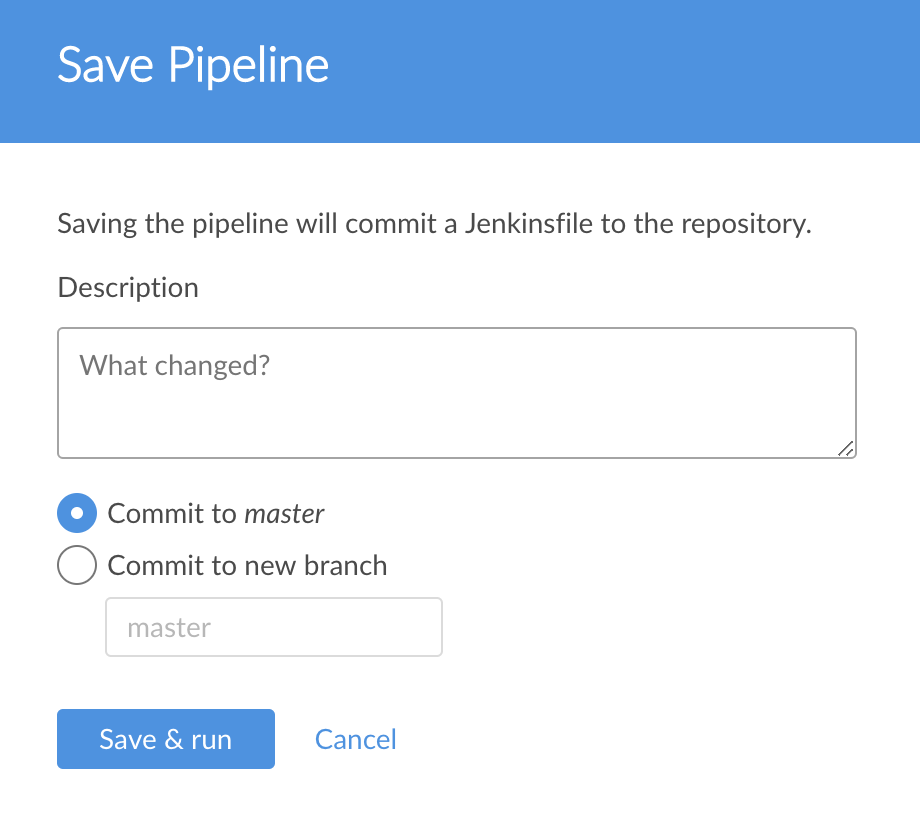
-
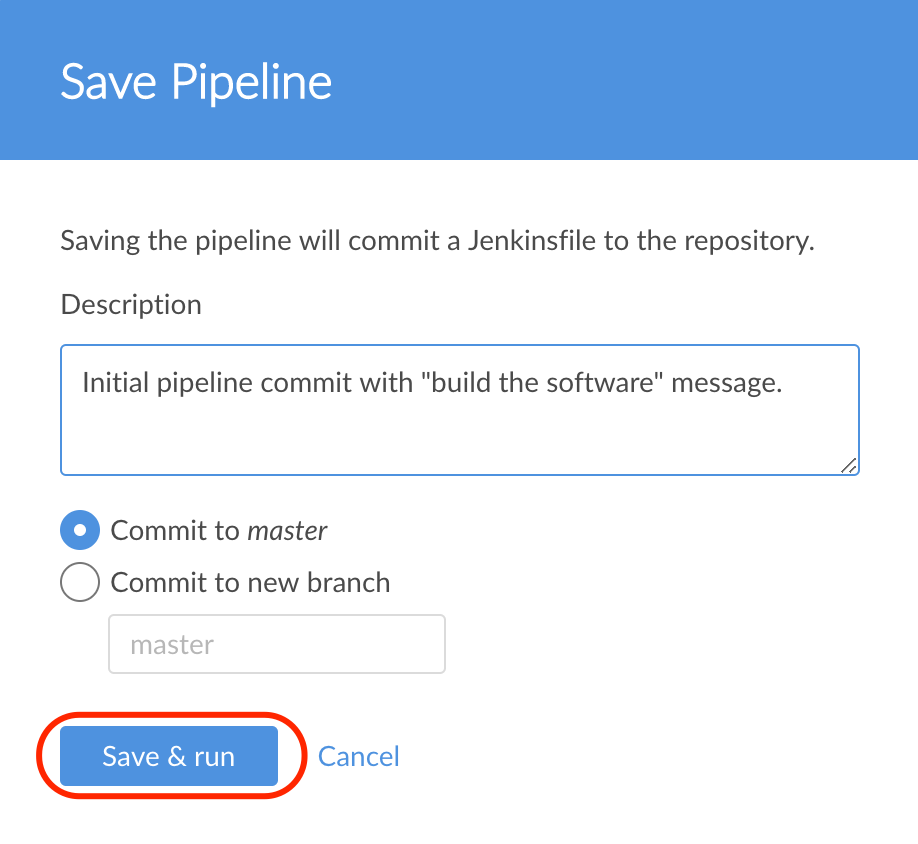
Provide a descriptive commit message, choose where you want to commit the Pipeline code, and then select Save & run:
-
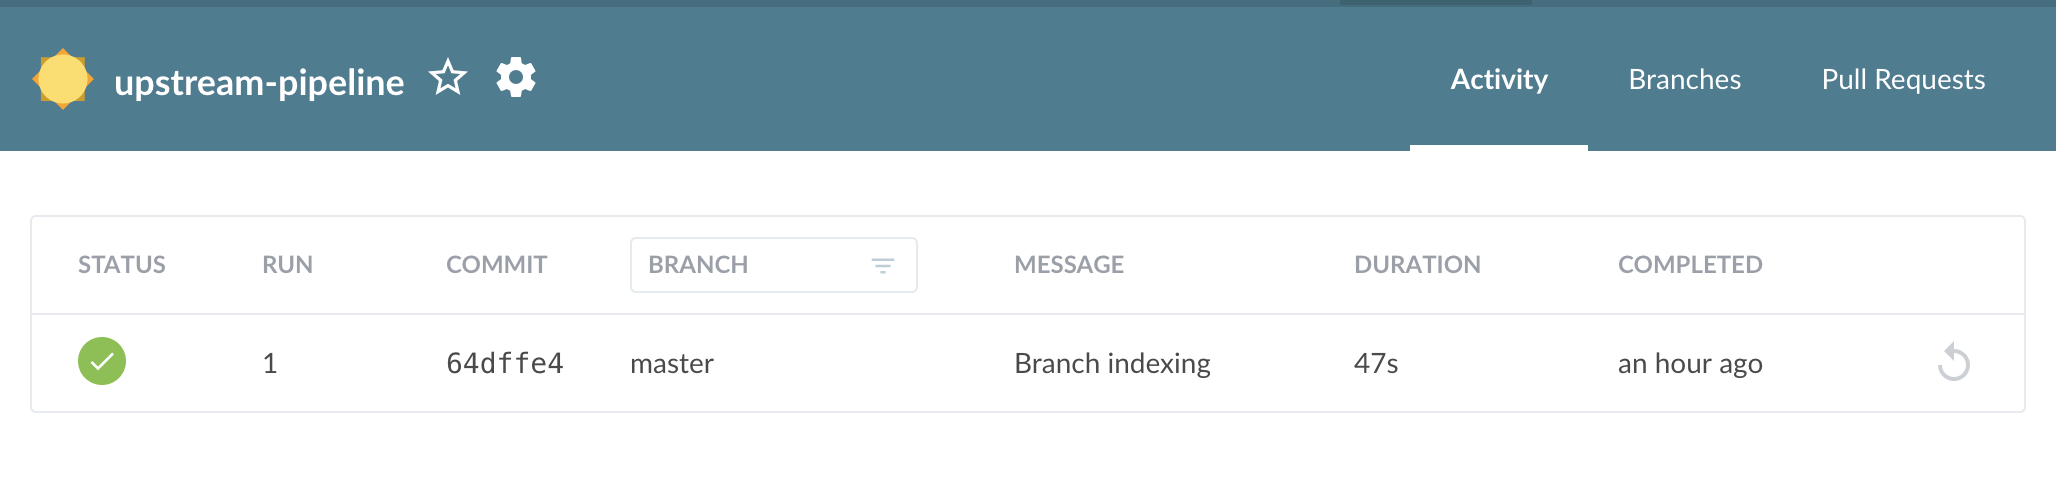
The Pipeline is saved and initialized, and you’re returned to the Activity View for upstream-pipeline:
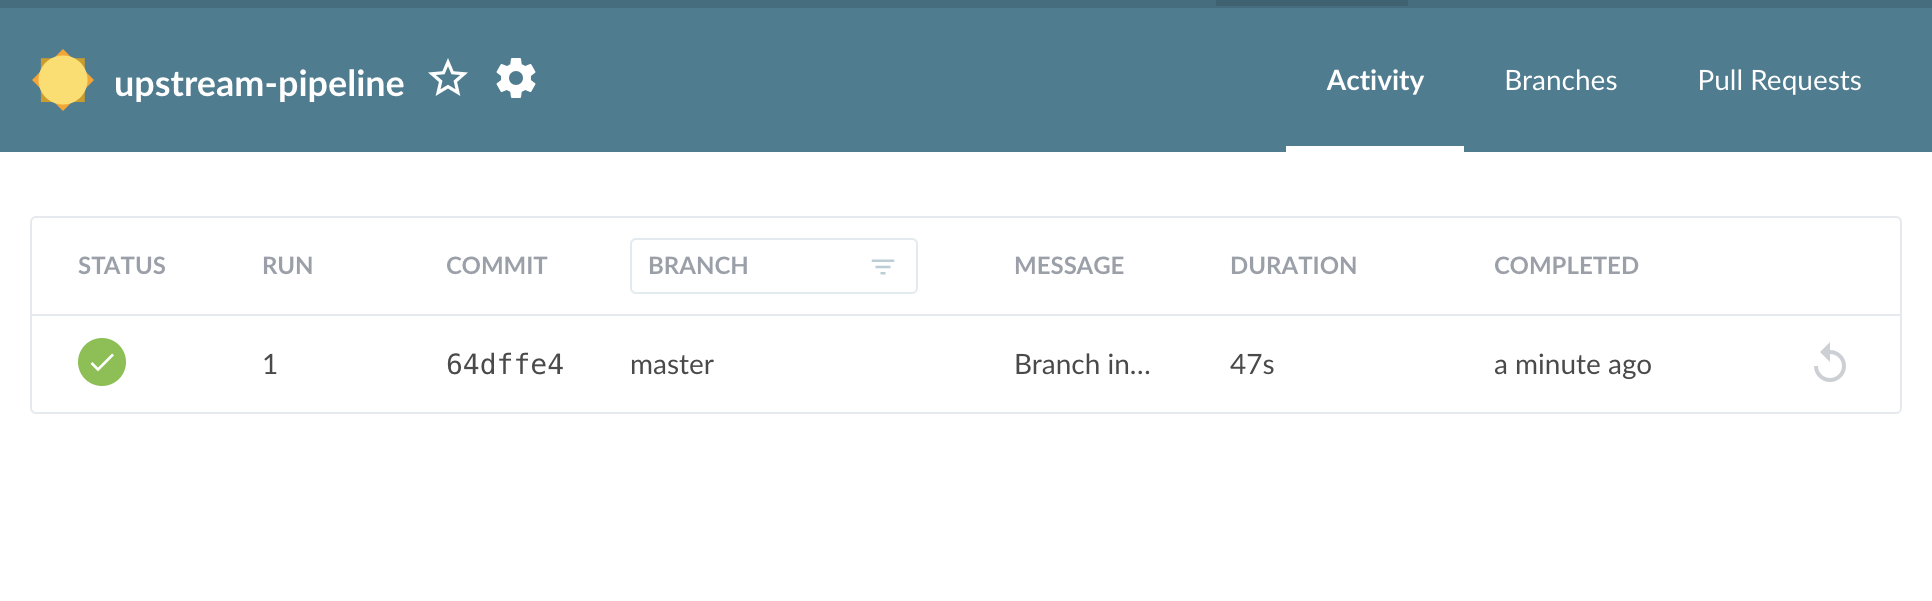
-
Next, see how you can configure Pipelines to execute when they receive events from another Pipeline.
Event-based Pipeline triggers
You may want to set up Pipeline projects that perform operations based on events from other Pipeline projects.
This feature allows you to trigger a downstream Pipeline on another controller. For example, you might be on a security team responsible for scanning all artifacts from development. Rather than waiting for an email from developers, you can schedule your scans to run automatically when the developers have successfully completed a build.
This section covers:
-
How to make sure you’re set up for event-based Pipeline triggers
-
Setting up your upstream Pipeline to emit an event
-
Setting up your downstream Pipeline to receive and act on that event
-
What event-based Pipeline triggers look like in action.
Quick plugin check
Before you can take advantage of event-based Pipeline triggers, you should do a little housekeeping to make sure CloudBees CI is configured to support them.
-
Select Go to classic UI
 icon in the navigation bar at the top right of the page:
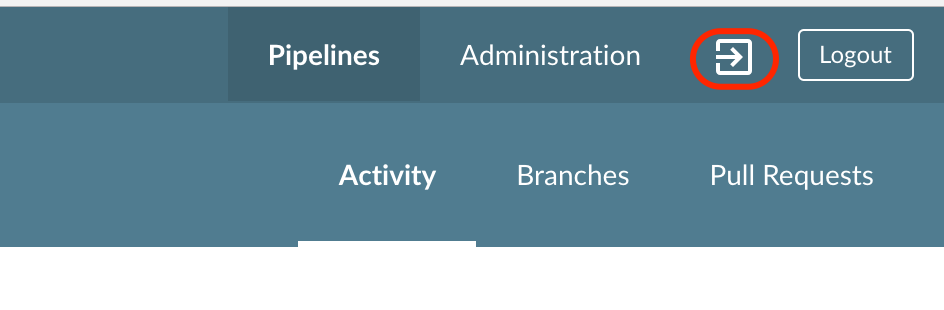
-
In the classic UI interface, select :
-
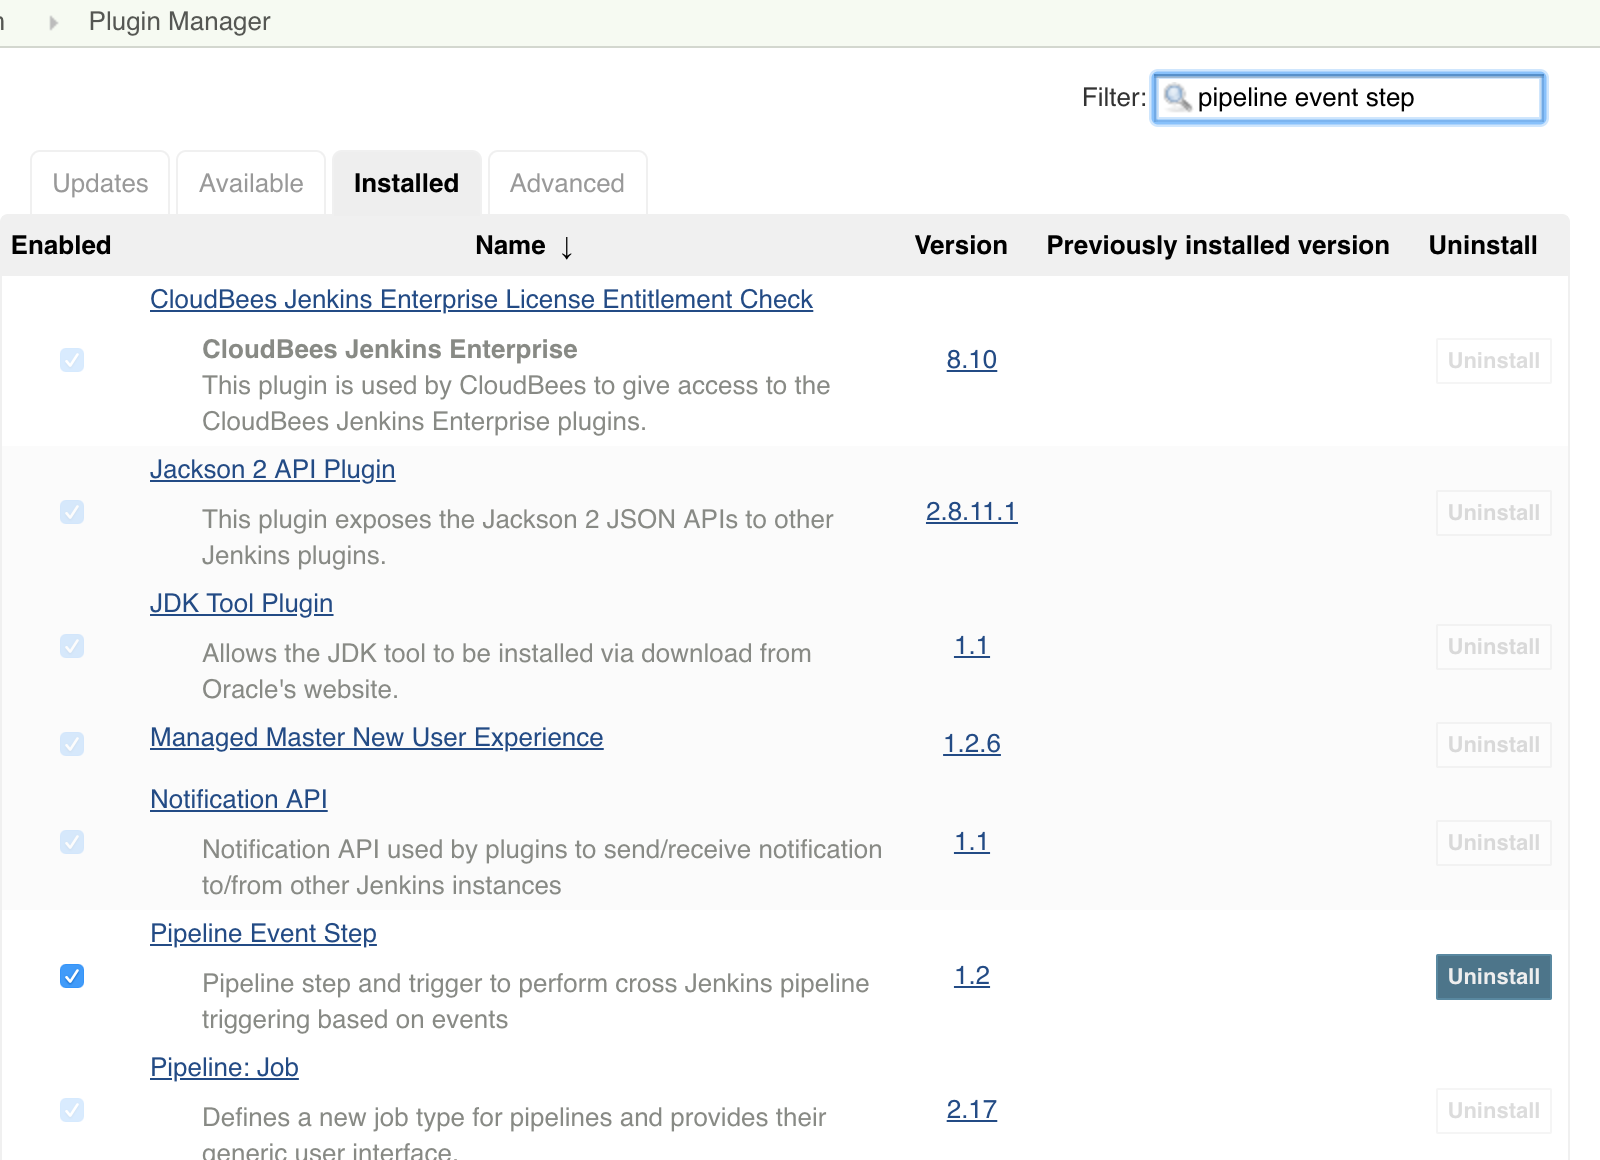
On the resulting page, confirm that you have the required plugins both installed and enabled:
-
Choose the Installed tab and type the names of these plugins (one at a time) into the Filter field at the top right:
-
[ci-plugin:notification-api-plugin not found]
-
If a plugin is not installed (for example, the plugin does not appear in the Installed tab’s list), switch to the Available tab and repeat the name filtering process (as you did above) for this plugin, installing the plugin by selecting its Install check box.
-
If a plugin is installed, ensure its Enabled check box is selected on the Installed tab:
-
Repeat this process from step 'a' (above) for each plugin listed in this step.
-
-
After confirming your plugins, select Manage Jenkins again and select Configure Notification:
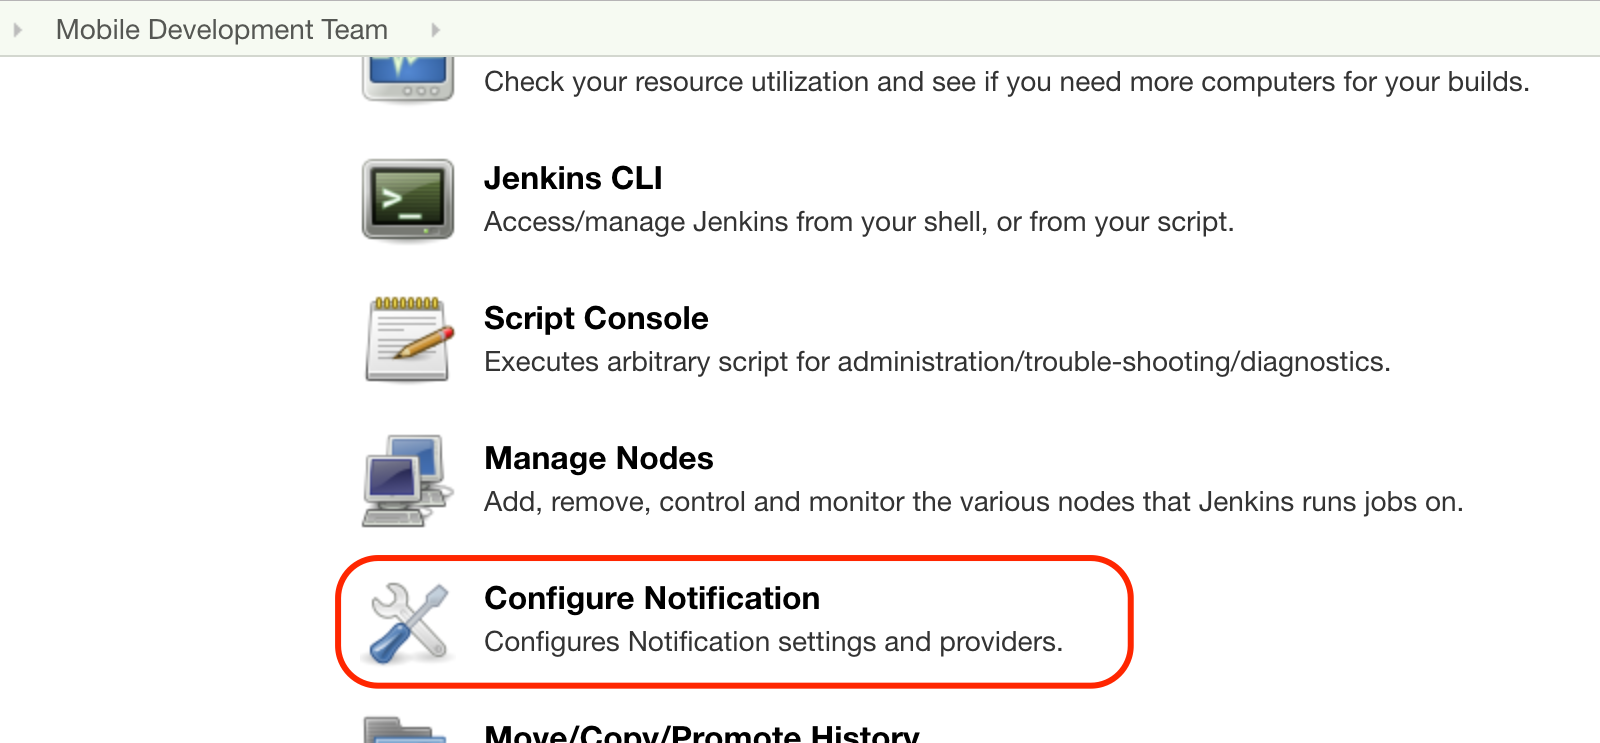
-
Confirm that notifications are enabled and Operations Center Messaging is selected:
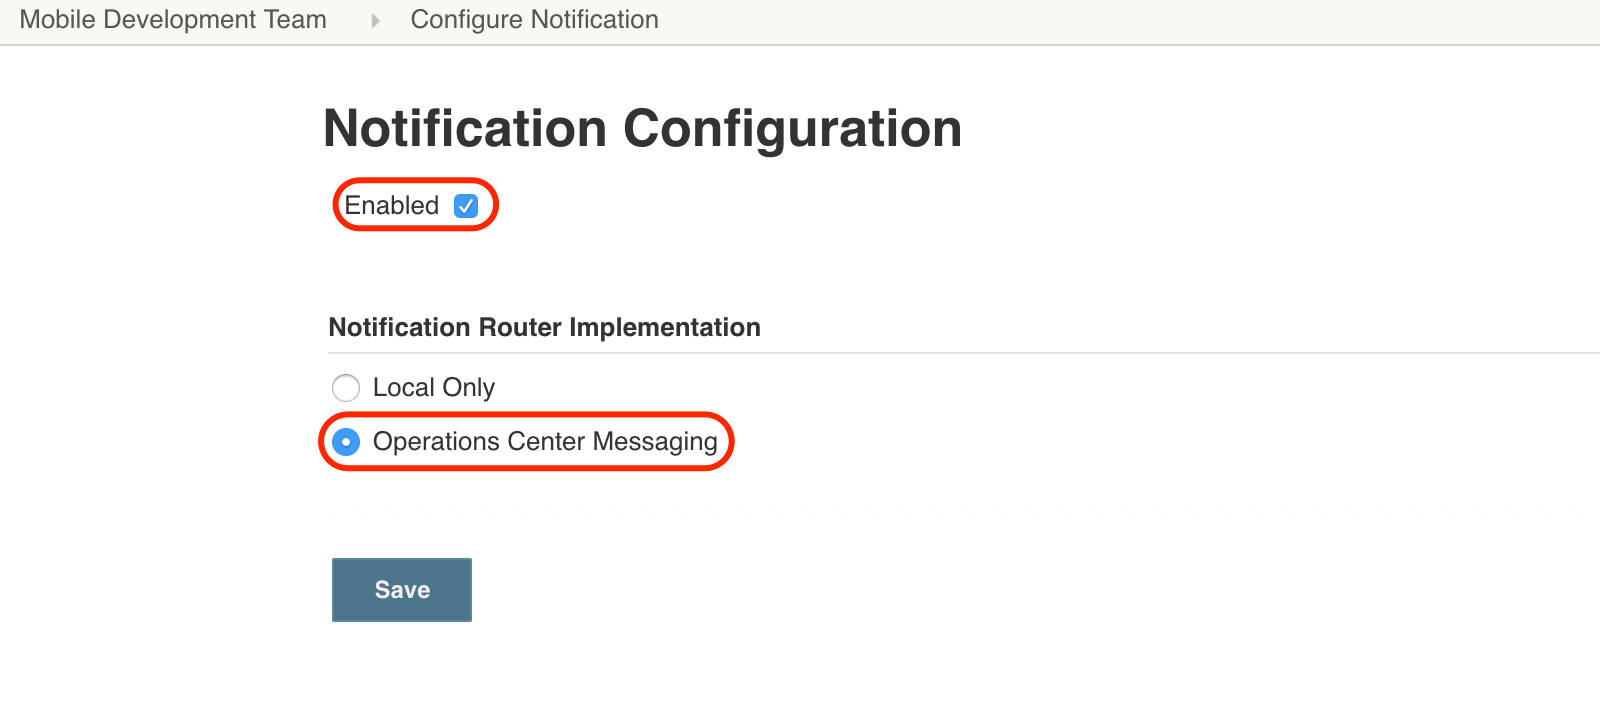
-
After confirming your notification settings, select Save.
-
Return to the Pipelines interface by selecting Open Blue Ocean:

Setting up a second Pipeline
To see event-based Pipeline triggers in action, you’ll need two Pipelines:
-
An upstream Pipeline that produces an event.
-
A downstream Pipeline which, when it receives that event, performs an operation.
Earlier in this guide, you set up the "upstream" Pipeline and called it upstream-pipeline. Now, you’re going to set up the "downstream" Pipeline, using the downstream-pipeline repository you created earlier in GitHub.
-
To set up the new Pipeline, select New Pipeline:
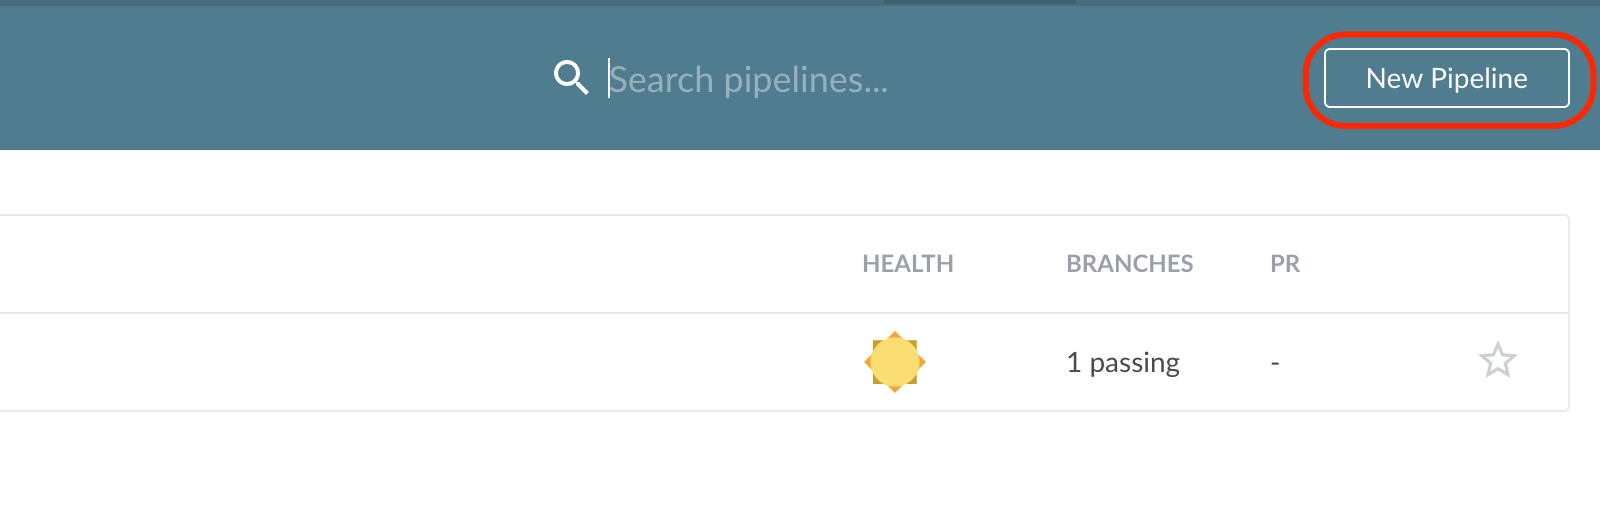
-
Create a Pipeline named
downstream-pipeline, associating it with the downstream-pipeline repository. -
Once the Pipeline is created, on the Dashboard, select downstream-pipeline:
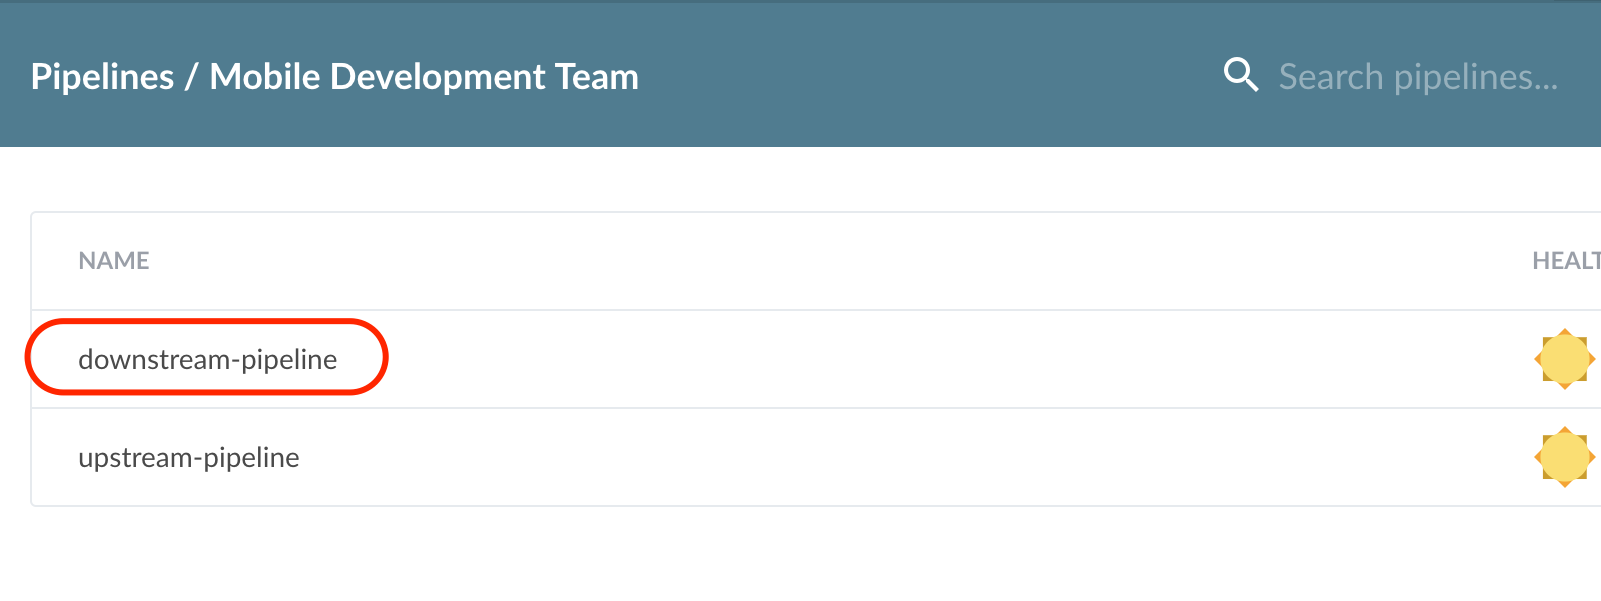
-
After CloudBees CI offers to create the Jenkinsfile, create a stage and name it
Received an event: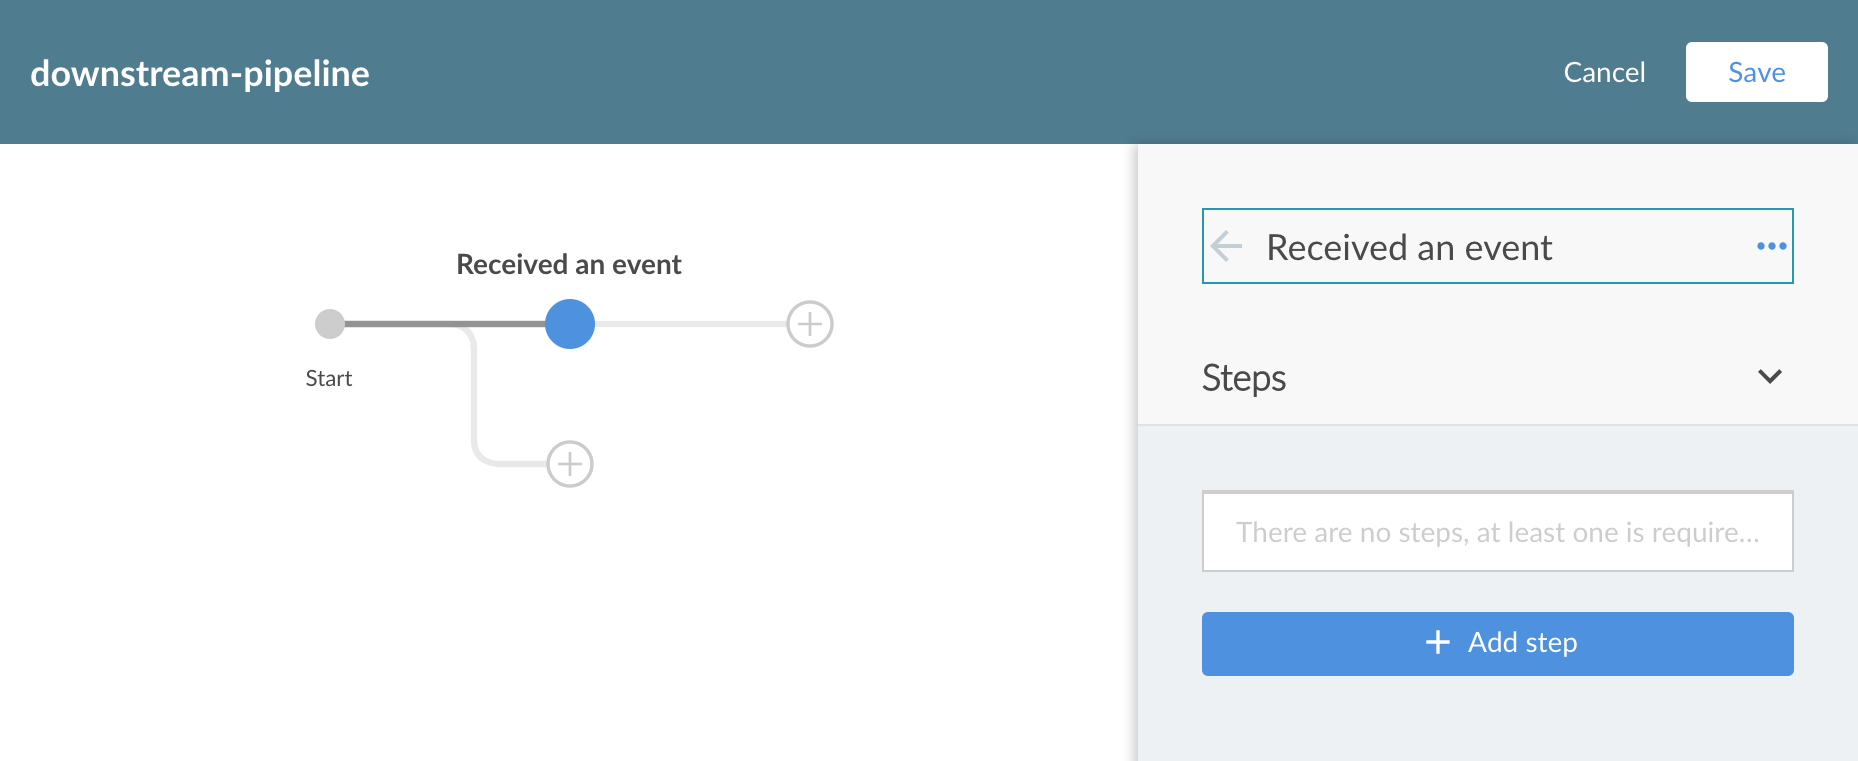
-
Add a Shell Script step, with the following as the content of the script:
echo 'I just received a testingCompleted event' -
Select Save to save and commit downstream-pipeline.
Configuring a second stage for the upstream Pipeline
-
Select Pipelines to return to the Pipelines interface.
-
Select upstream-pipeline. The Pipeline status interface for upstream-pipeline is displayed:
-
Select Branches to switch to the Branches tab:

-
In the Branches tab, hover your mouse over the right-hand side of the Pipeline to bring up the Pipeline activity icons:

-
Select the Edit Pipeline icon to enter the Pipeline Editor:

-
In the Pipeline Editor, select the
+icon after the Build stage to add a second stage:
-
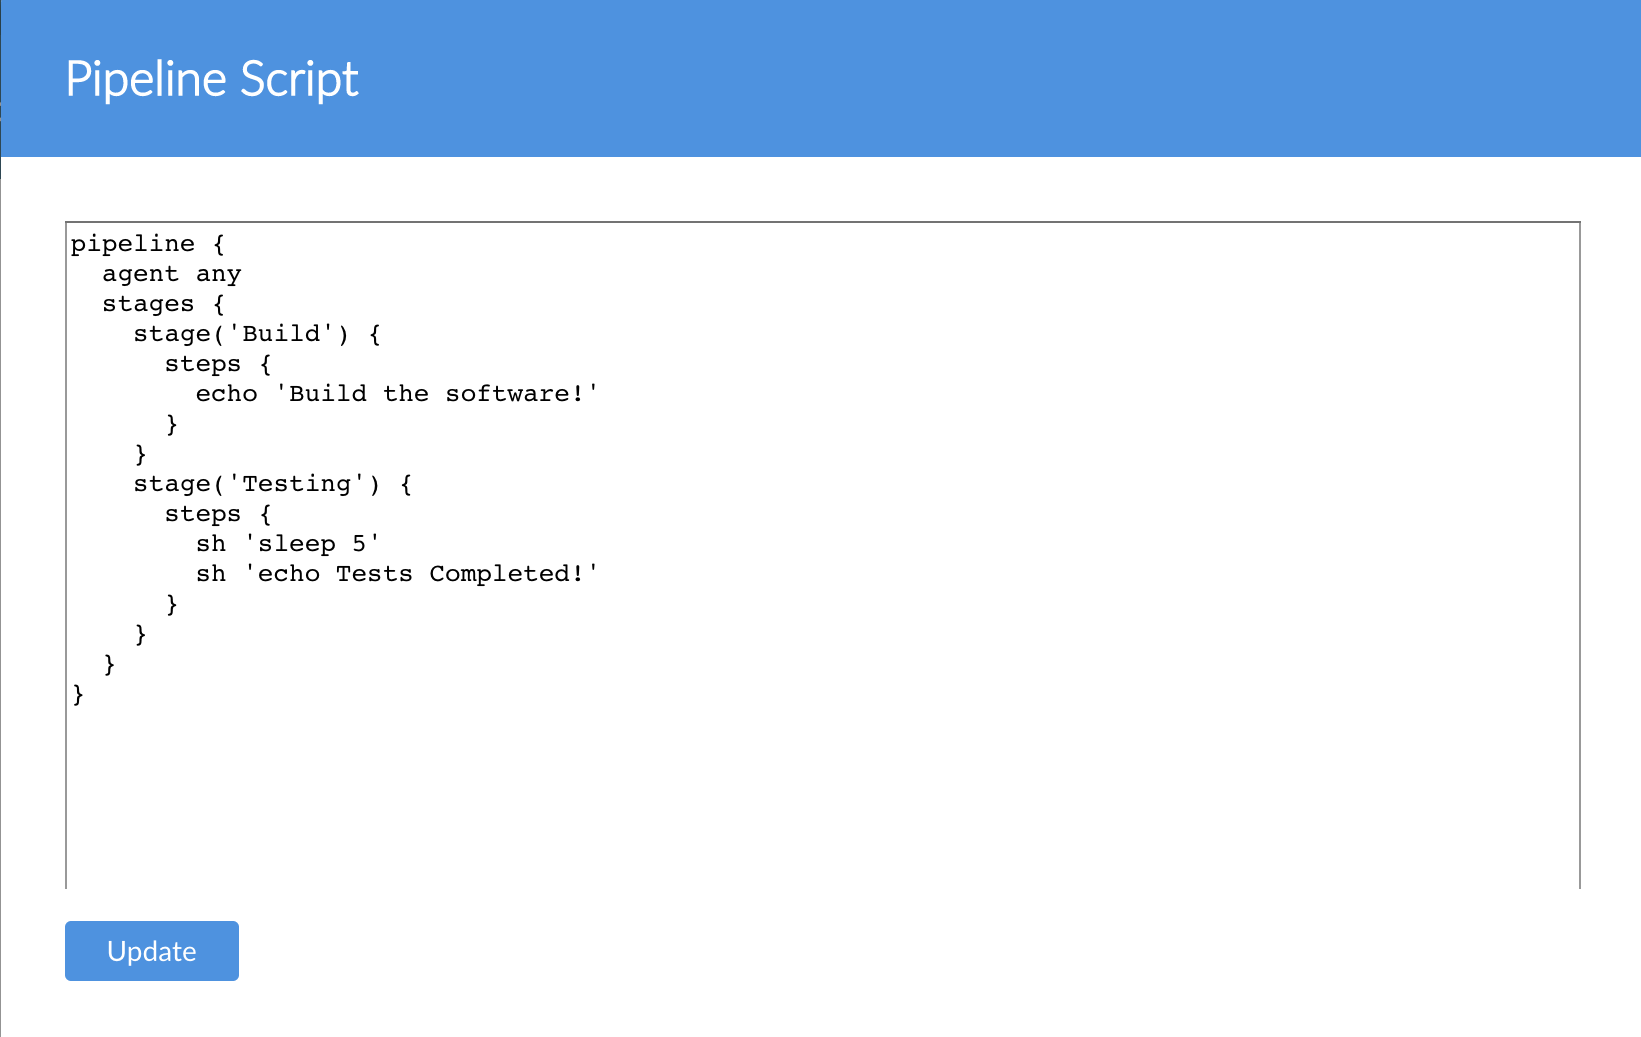
Name this stage
Testing, and add two Shell Script steps, one containing:sleep 5and one containing:
echo Tests Completed!
Configuring the upstream Pipeline to publish an event
-
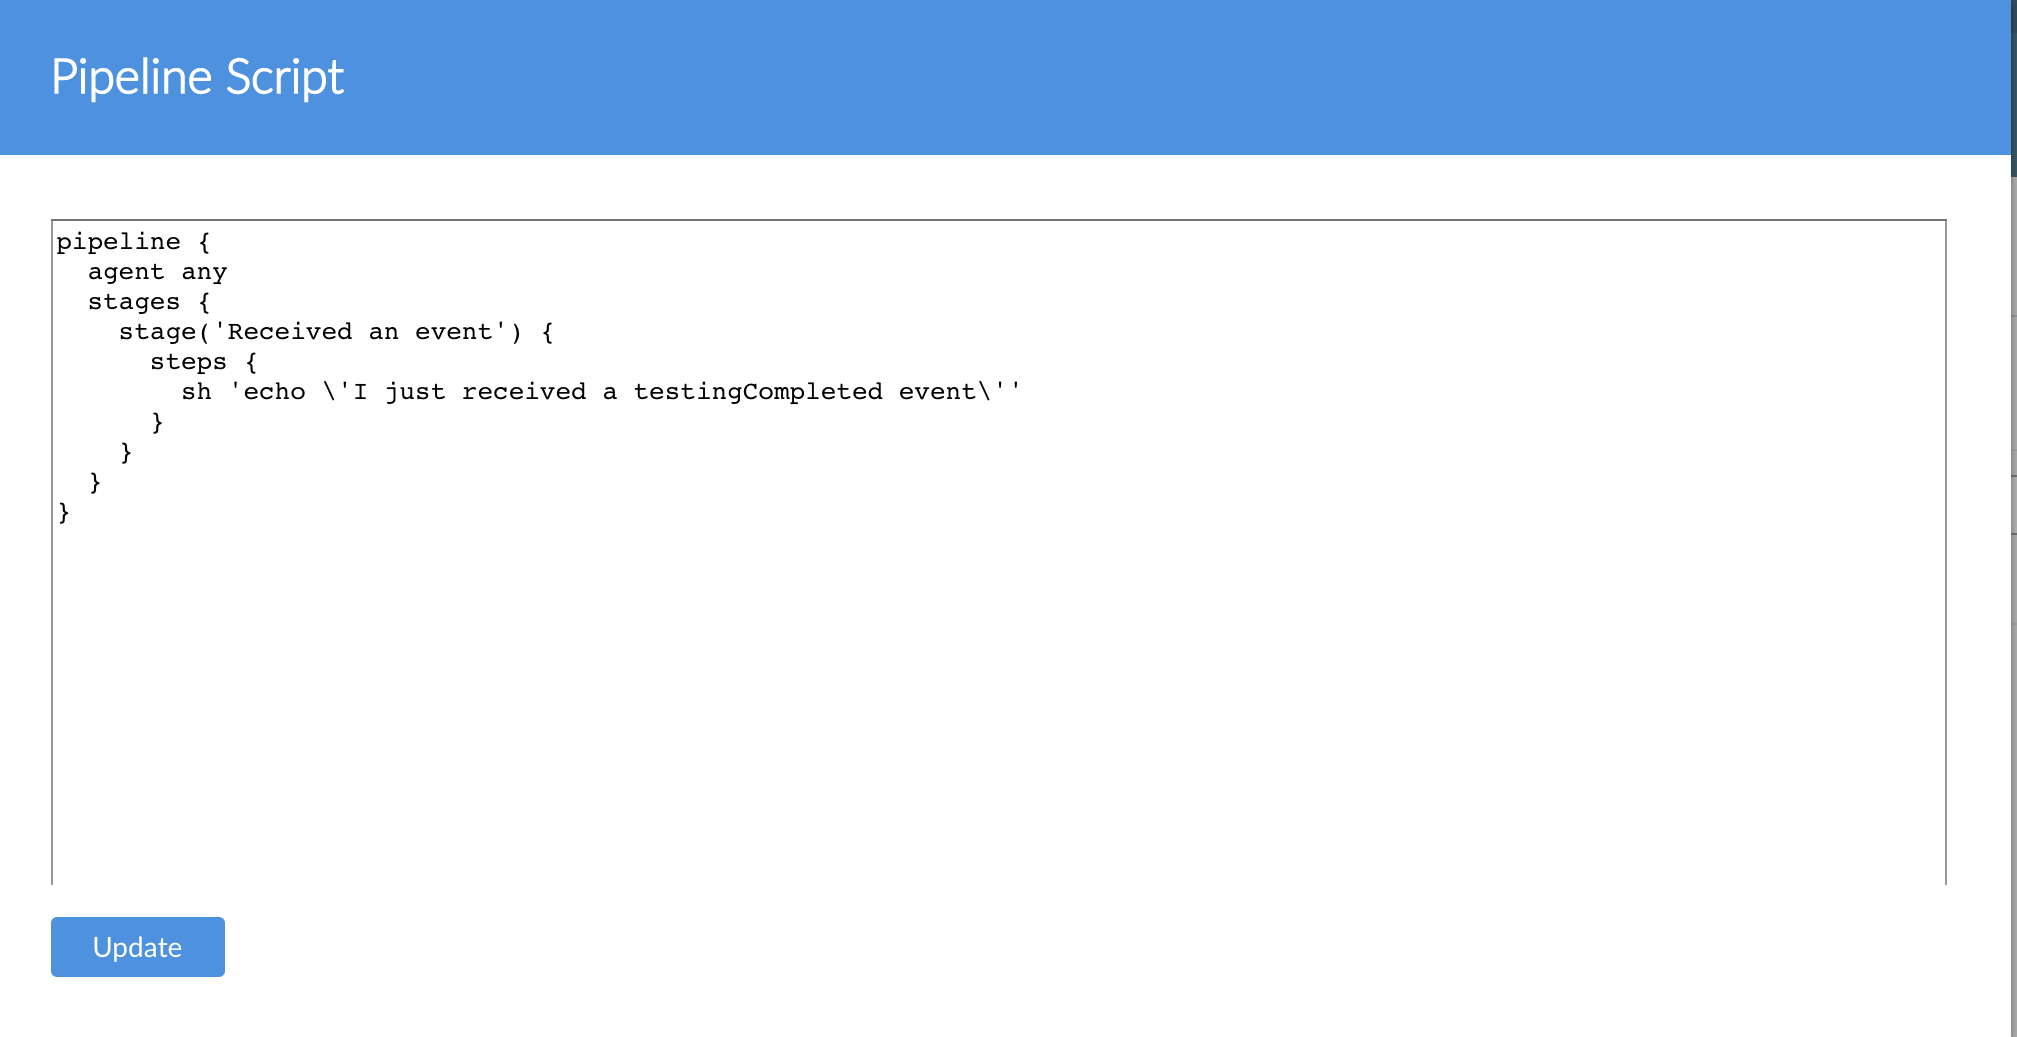
In the Pipeline Editor for upstream-pipeline, enter the key combination Control+S (most OSes) or ⌘+S (OSX) to bring up the Pipeline Script Editor:
The Pipeline Script Editor displays the Pipeline in Scripted Pipeline format, from which you can hand-edit Pipeline configurations.
-
Add the following stage entry to the Pipeline script (after the
Testingstage):stage('Publish Event') { steps { script { publishEvent simpleEvent('testingCompleted') } } } -
The final result should look like this:
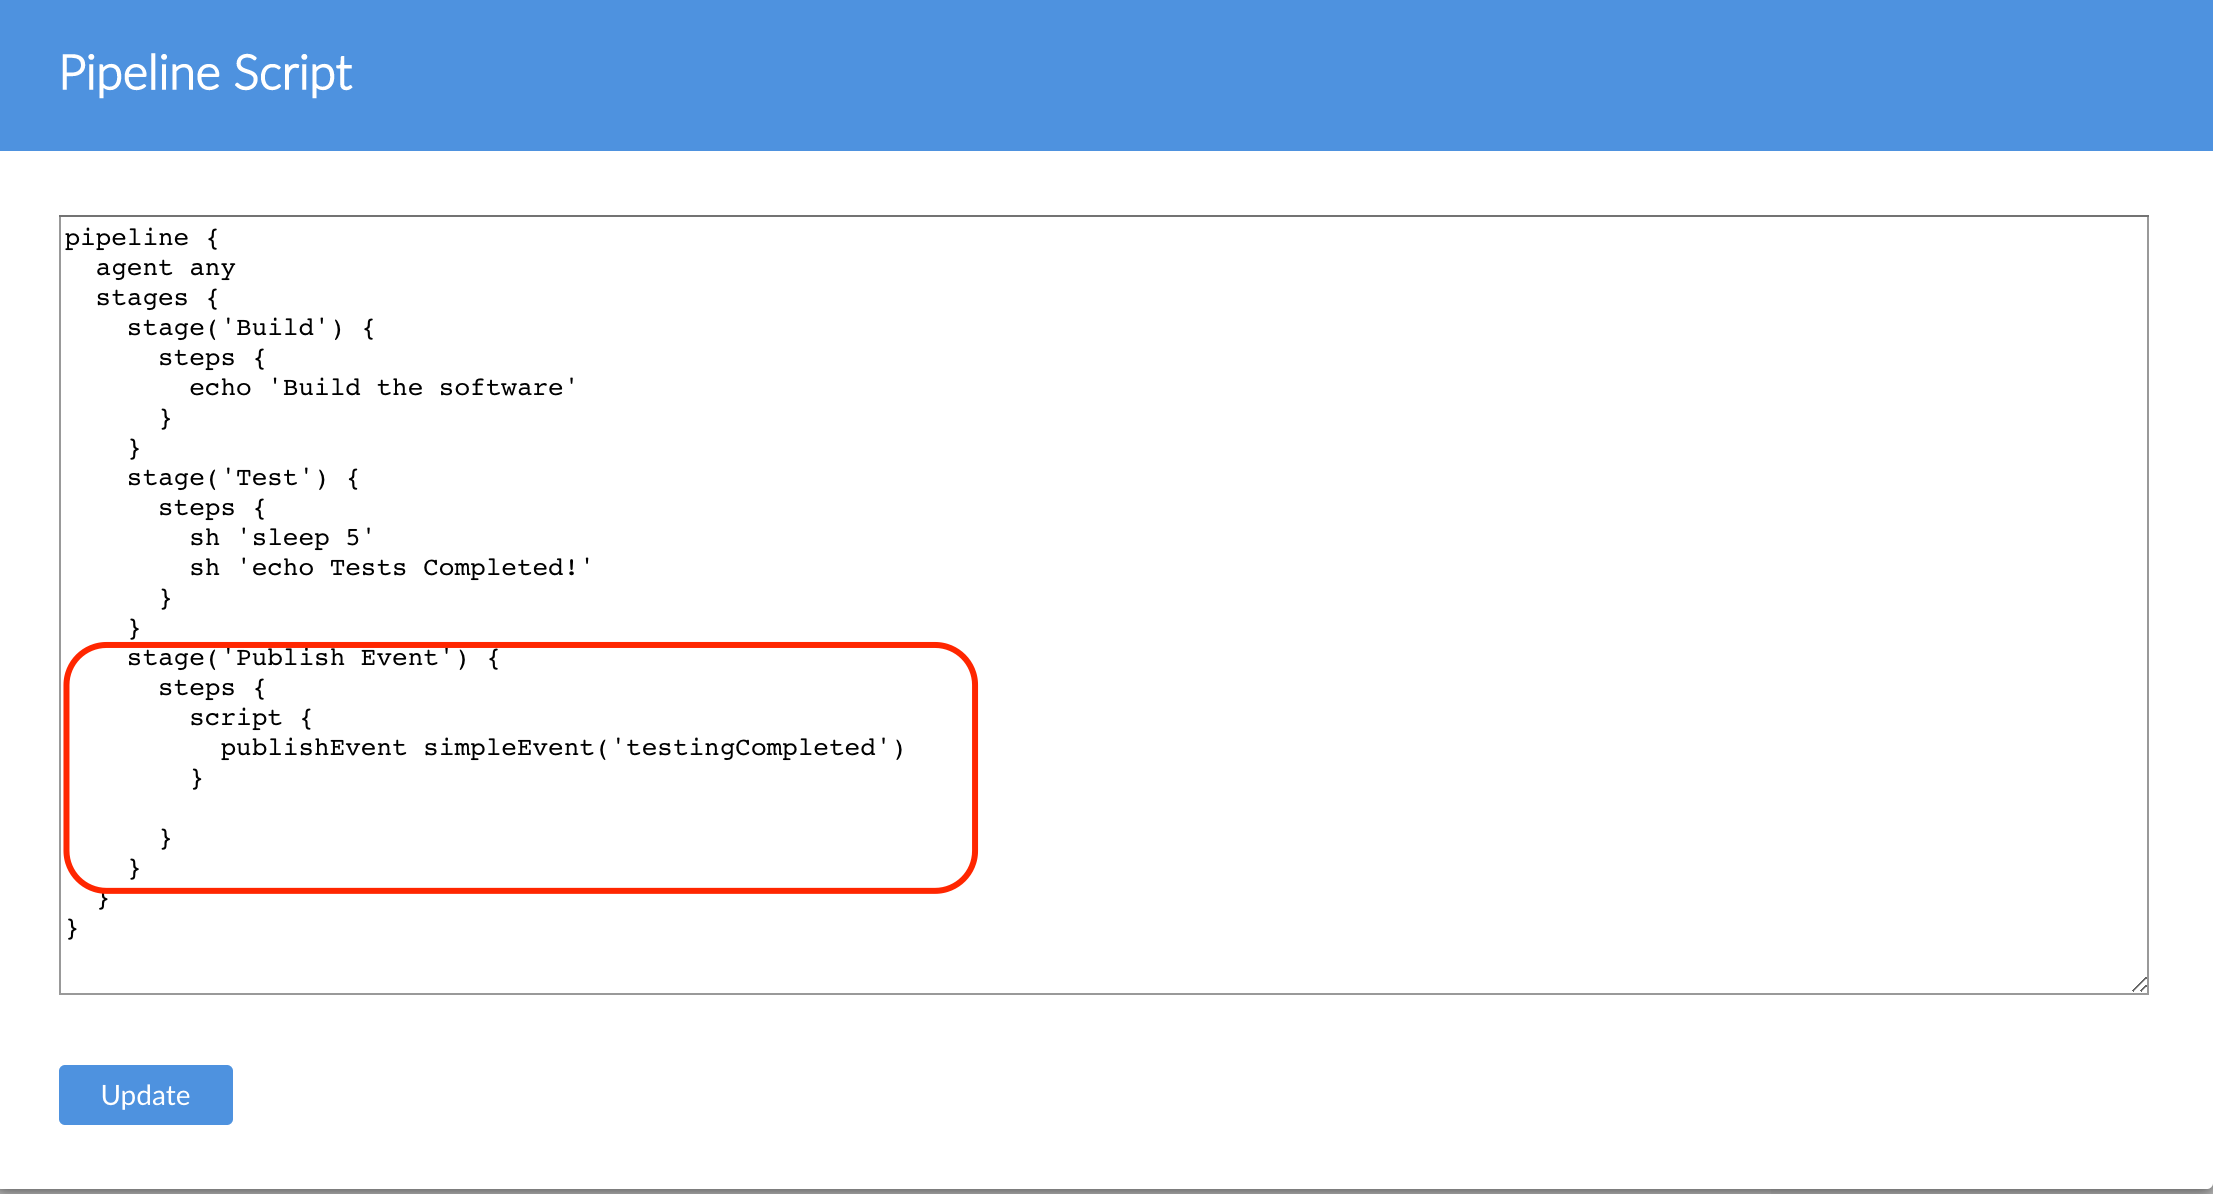
And should read:
pipeline { agent any stages { stage('Build') { steps { echo 'Build the software' } } stage('Test') { steps { sh 'sleep 5' sh 'echo Tests Completed!' } } stage('Publish Event') { steps { script { publishEvent simpleEvent('testingCompleted') } } } } } -
When you are satisfied that the script is correct, select Update to save your changes.
-
Back in the Pipeline Editor, select Save to commit your changes and run the Pipeline.
Configuring the downstream Pipeline to receive and act on an event
-
Select Pipelines to return to the Pipelines interface.
-
Select downstream-pipeline. The Pipeline status interface for downstream-pipeline is displayed:
-
Select Branches:
-
In the Branches tab, hover your mouse over the right-hand side of the Pipeline to bring up the Pipeline activity icons:
-
Select the Edit Pipeline icon to enter the Pipeline Editor:
-
In the Pipeline Editor for downstream-pipeline, enter the key combination Control+S (most OSes) or ⌘+S (OSX) to bring up the Pipeline Script Editor:
-
Add the following trigger entry to the Pipeline script (below the
agent anysection):triggers { eventTrigger(simpleMatch('testingCompleted')) } -
The final result should look like this:
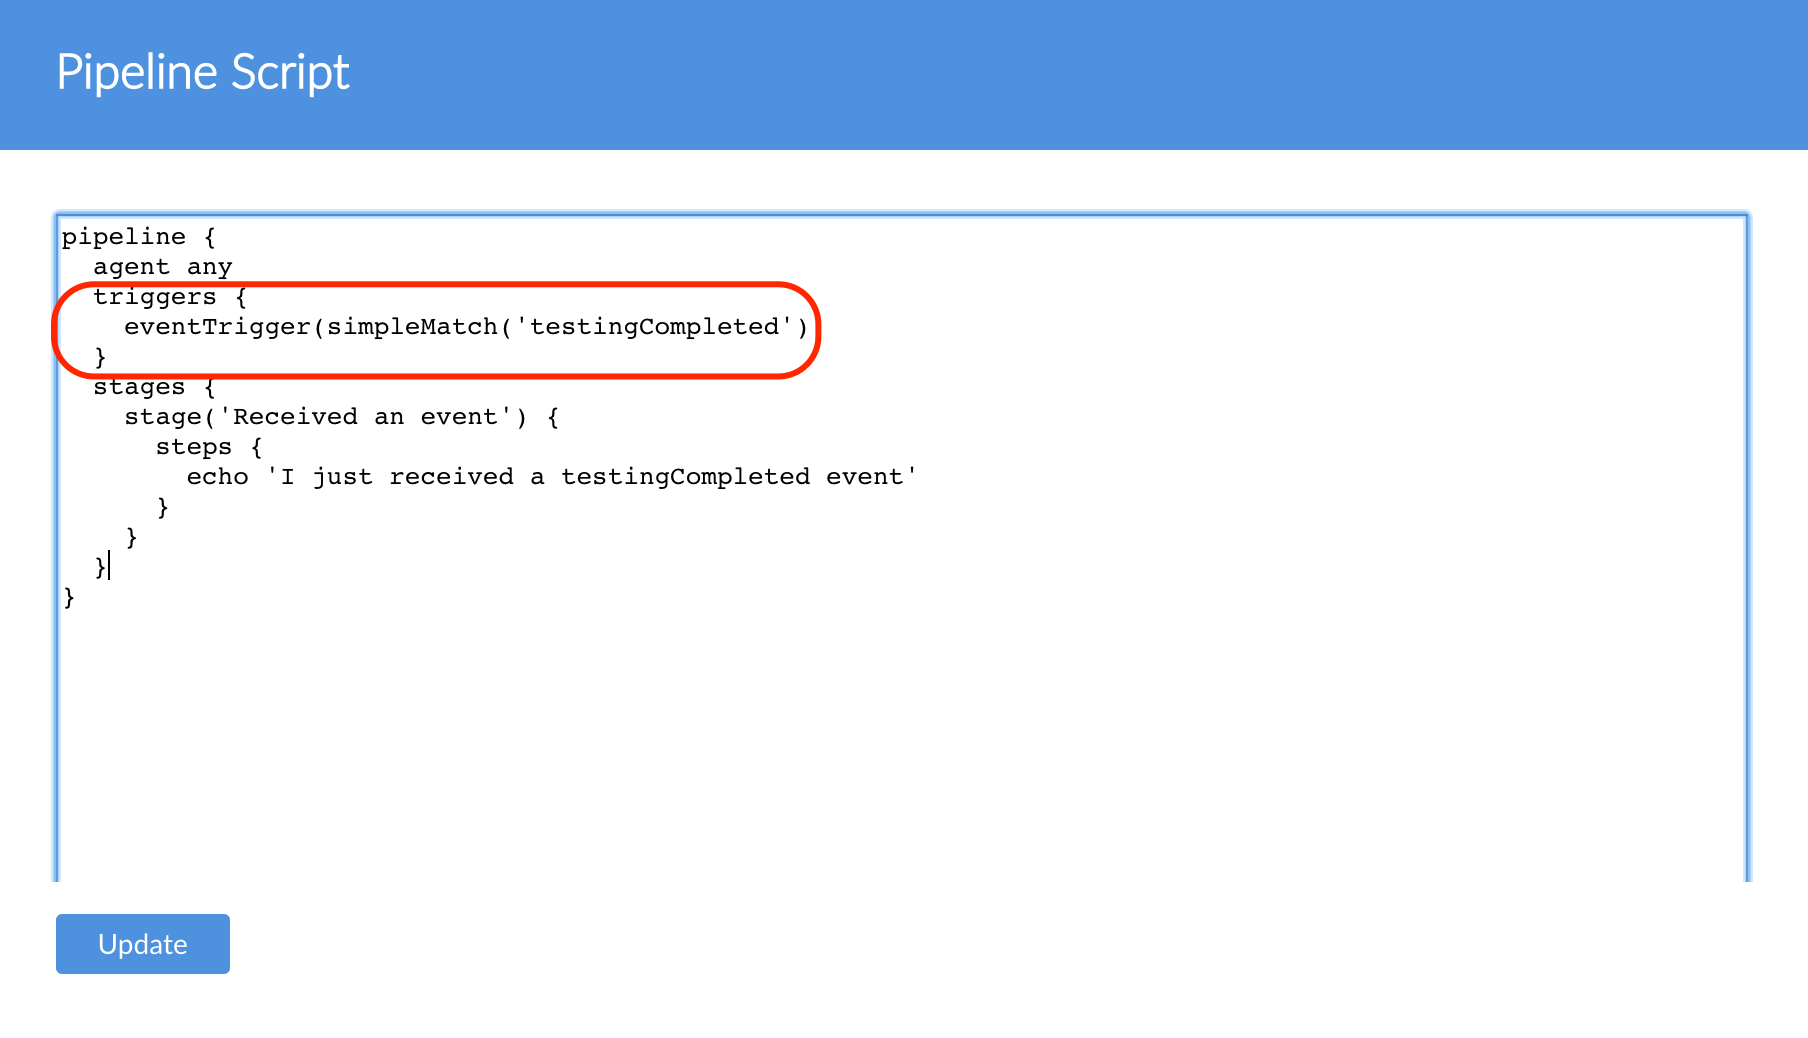
And should read:
pipeline { agent any triggers { eventTrigger(simpleMatch('testingCompleted')) } stages { stage('Received an event') { steps { echo 'I just received a testingCompleted event' } } } } -
When you are satisfied that the script is correct, select Update to save your changes.
-
Back in the Pipeline Editor, select Save to commit your changes and run the Pipeline.
Seeing event-based Pipeline triggers in action
To see the event-based triggers you just configured in action:
-
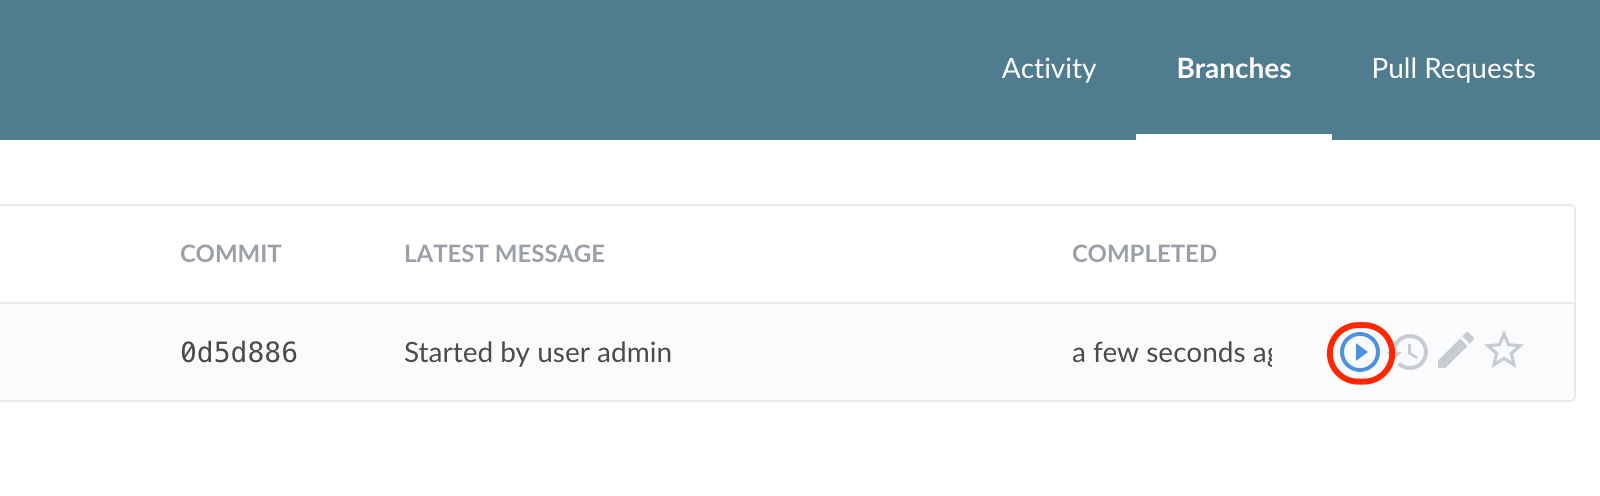
Return to the Branches view for upstream-pipeline. Select Run:
-
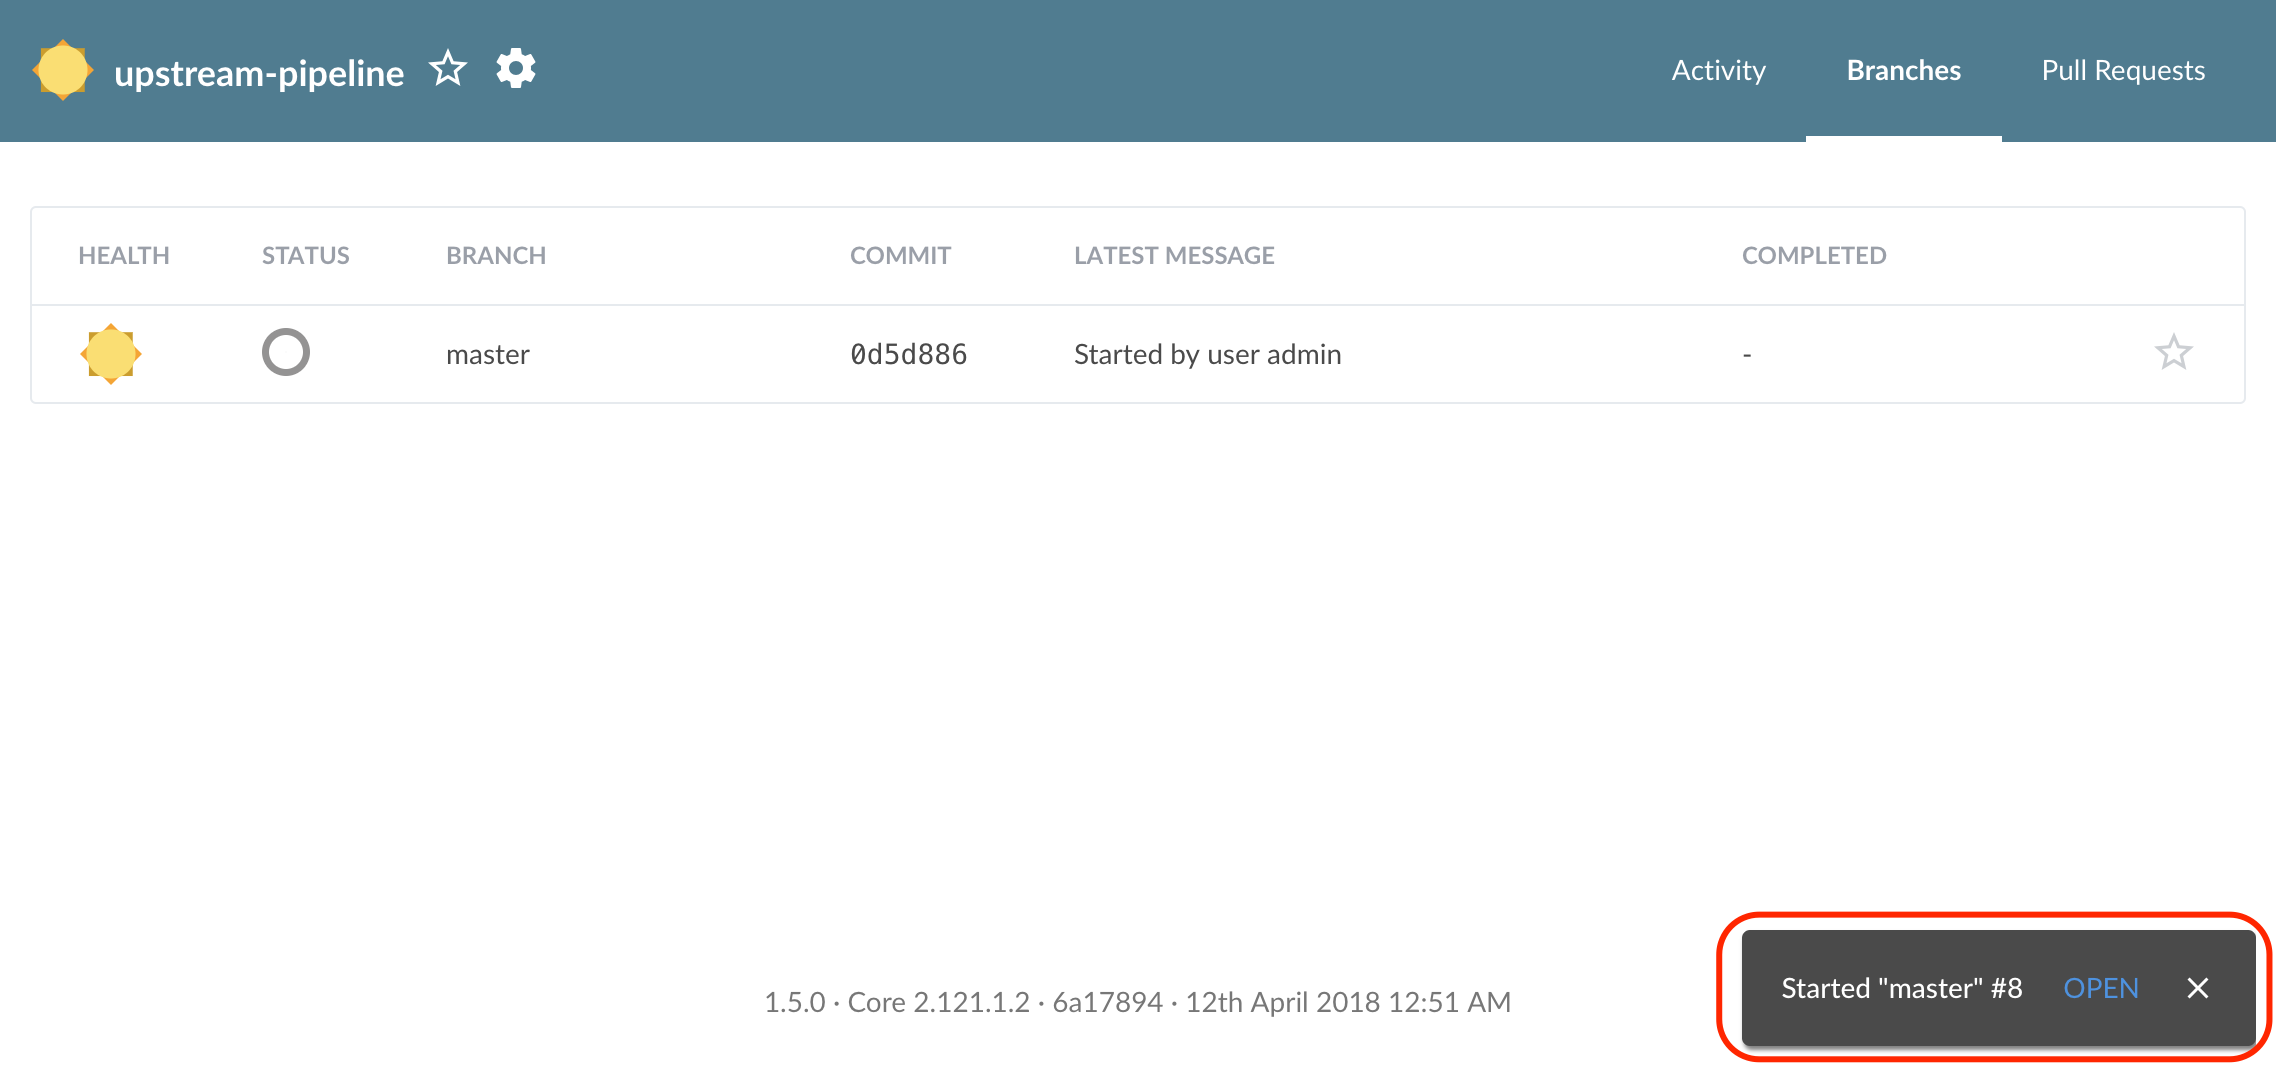
In the lower right corner, select the status indicator to go to the Pipeline’s status page:
-
From the Pipeline’s status page, select the status indicator, which takes you to the Pipeline’s detailed status page:
-
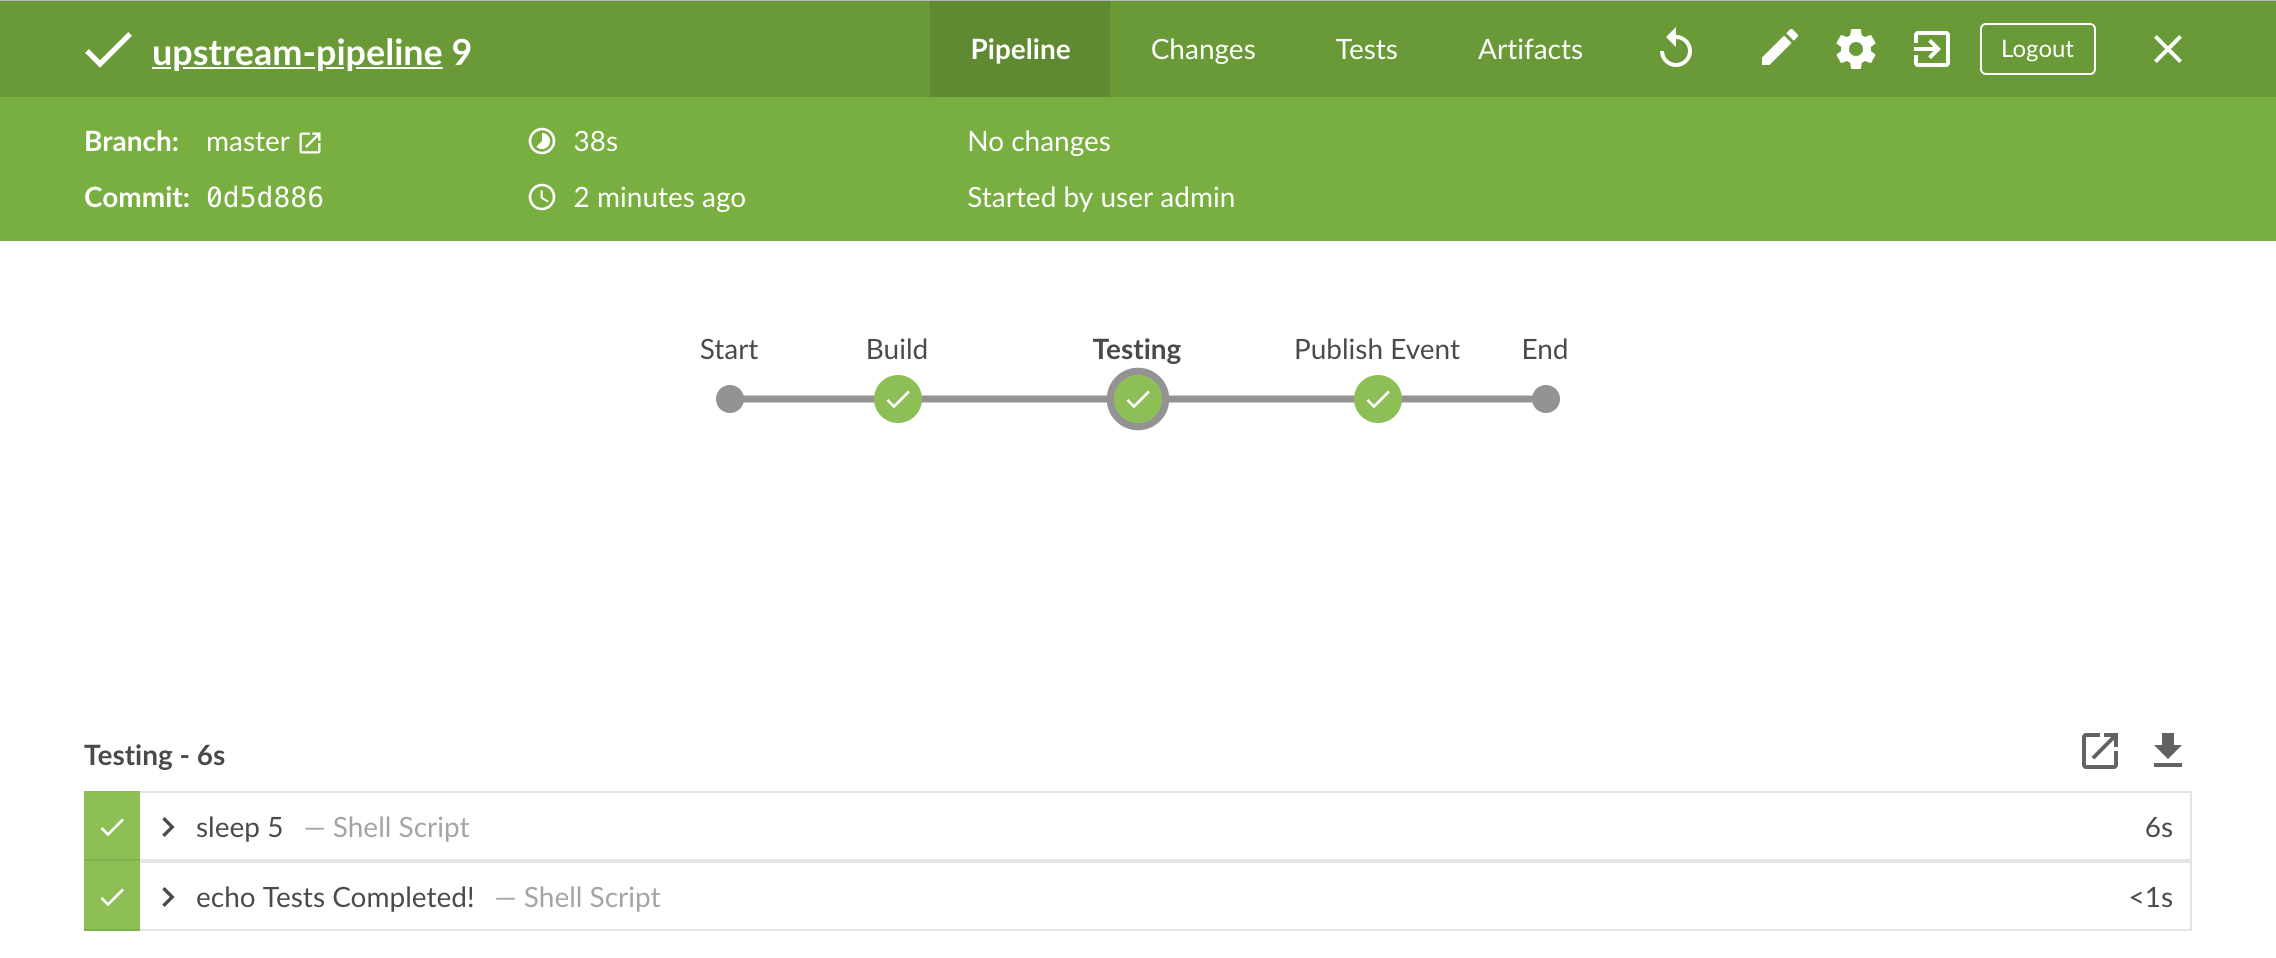
In this interface, you can select any Pipeline stage to see more details of the stage, as well as expand the steps. For instance, this is the expanded view of the Test stage for upstream-pipeline:
-
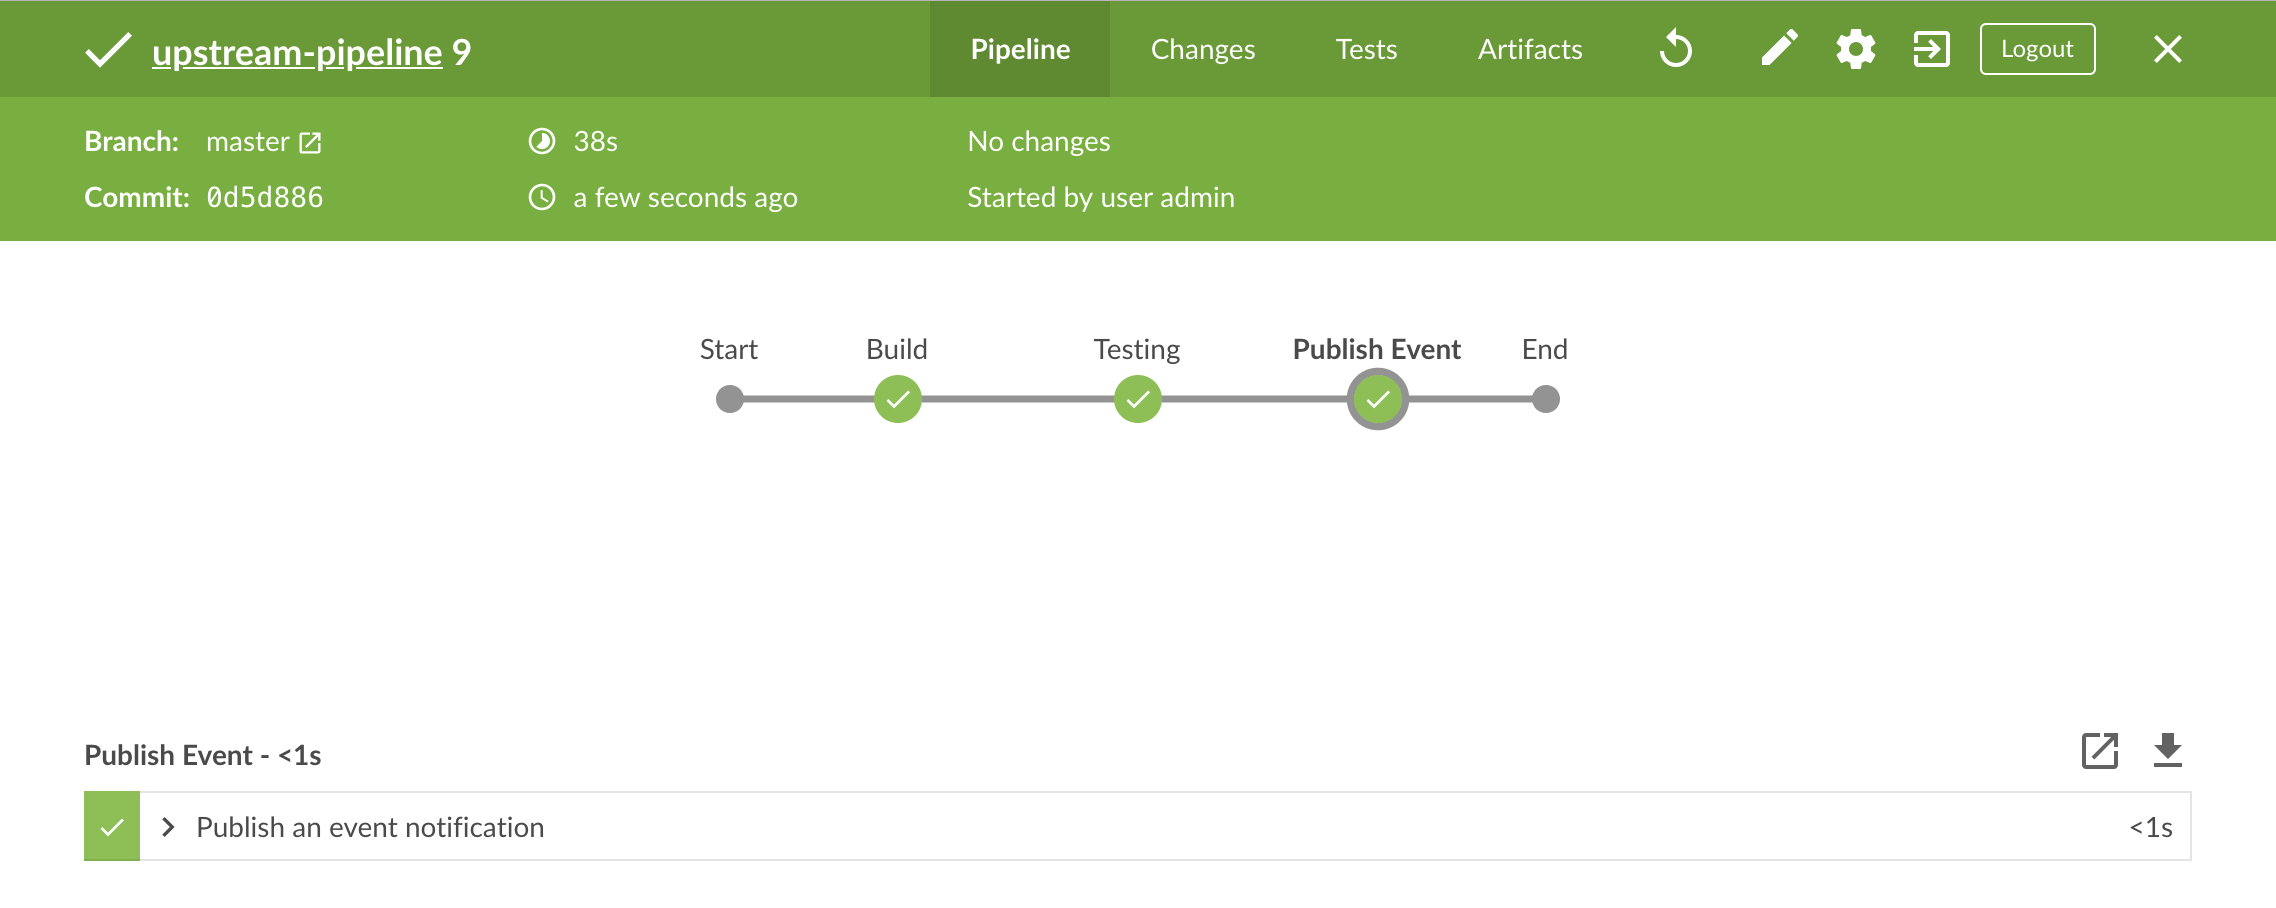
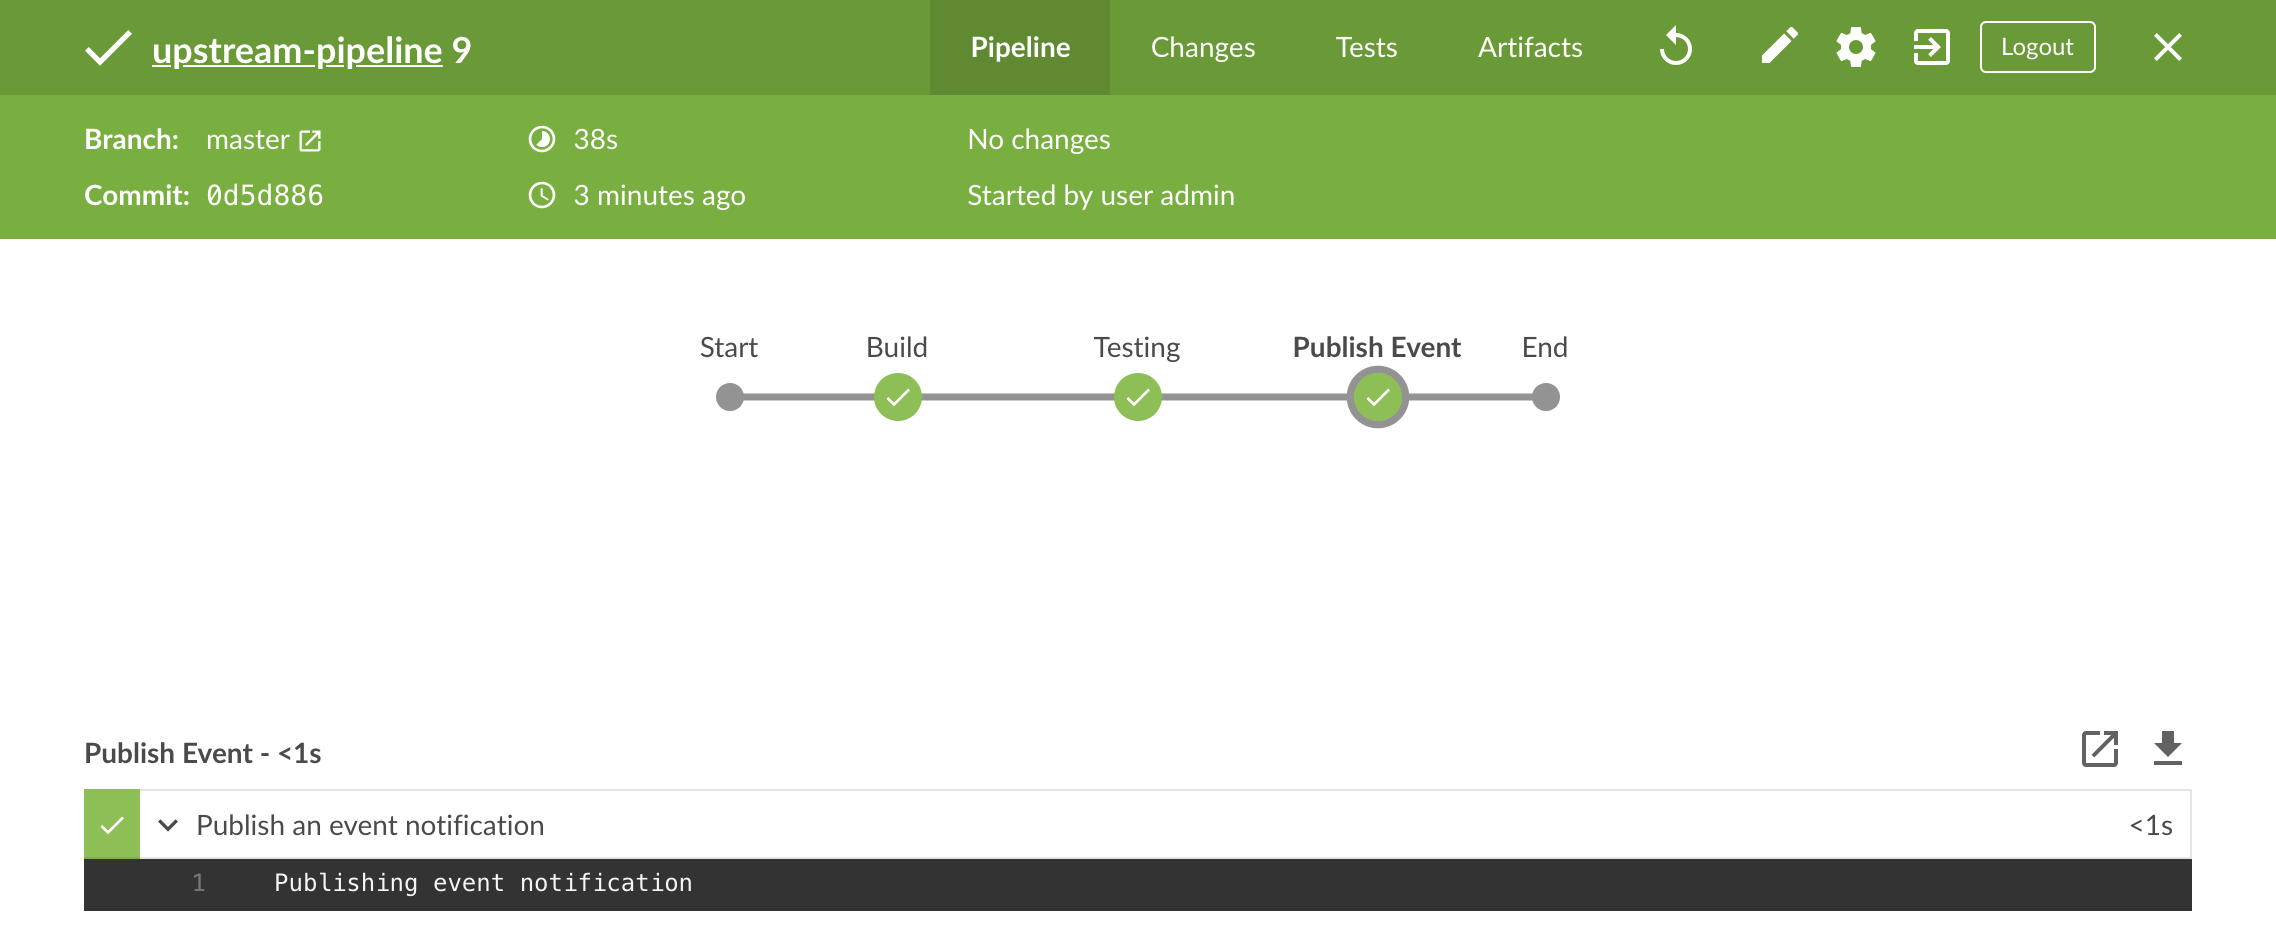
Expand the Publish Event stage and note that upstream-pipeline reports it published an event:
-
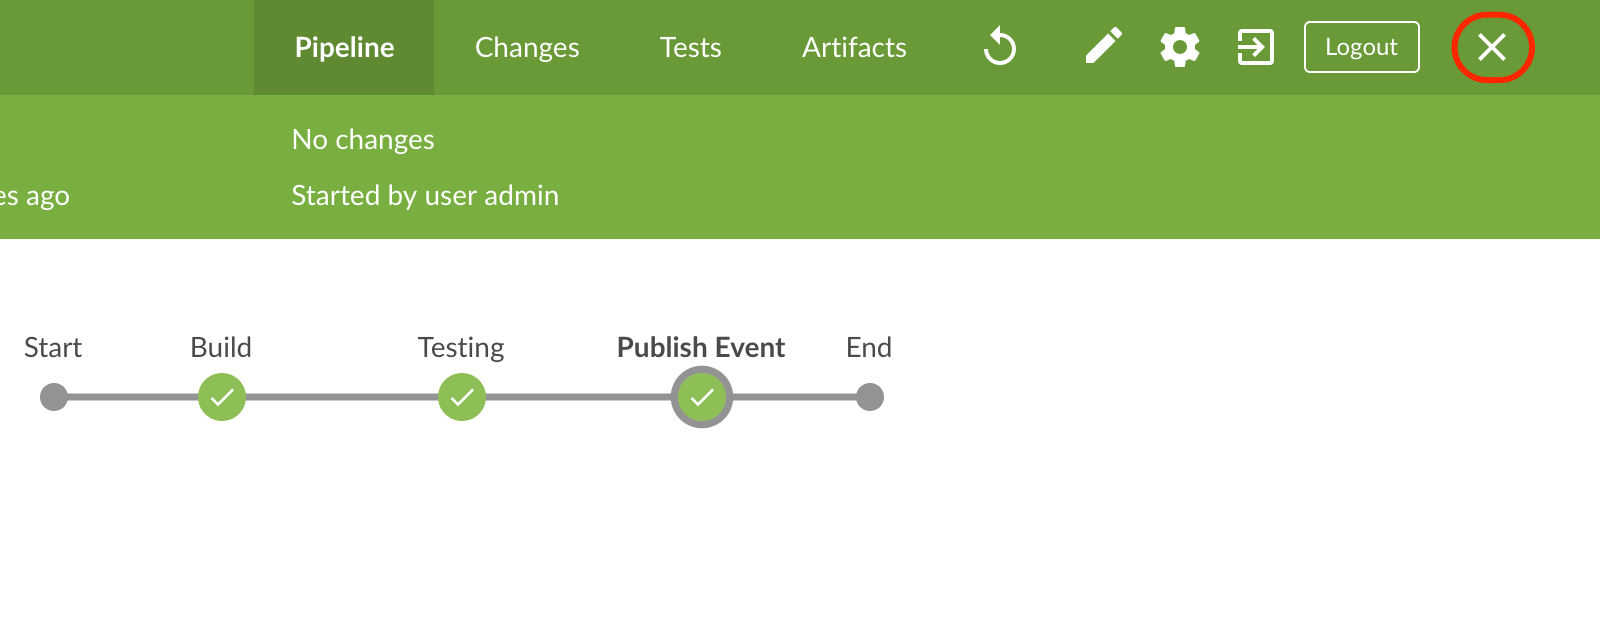
Select the X in the upper right of the detailed Pipeline status page to return to the Pipelines display:
-
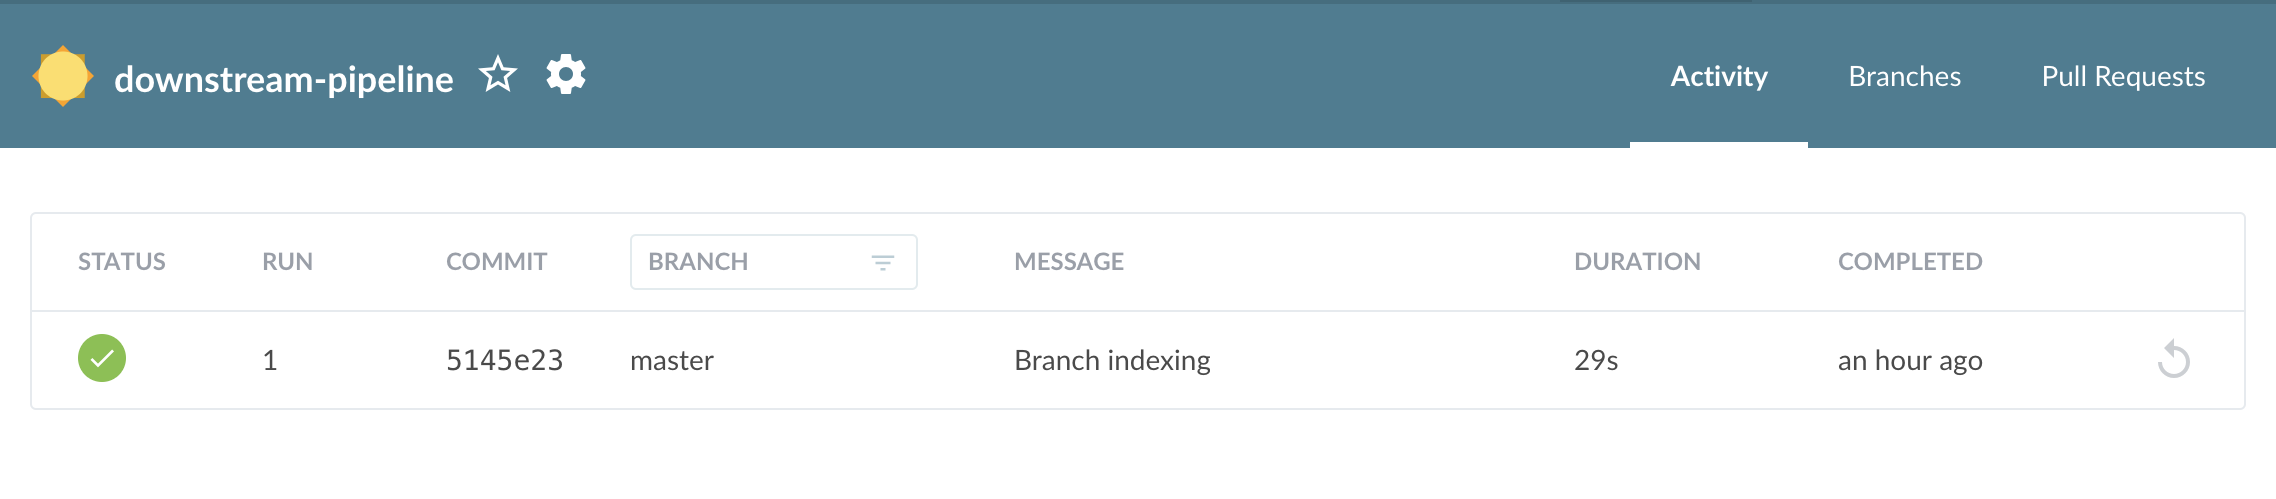
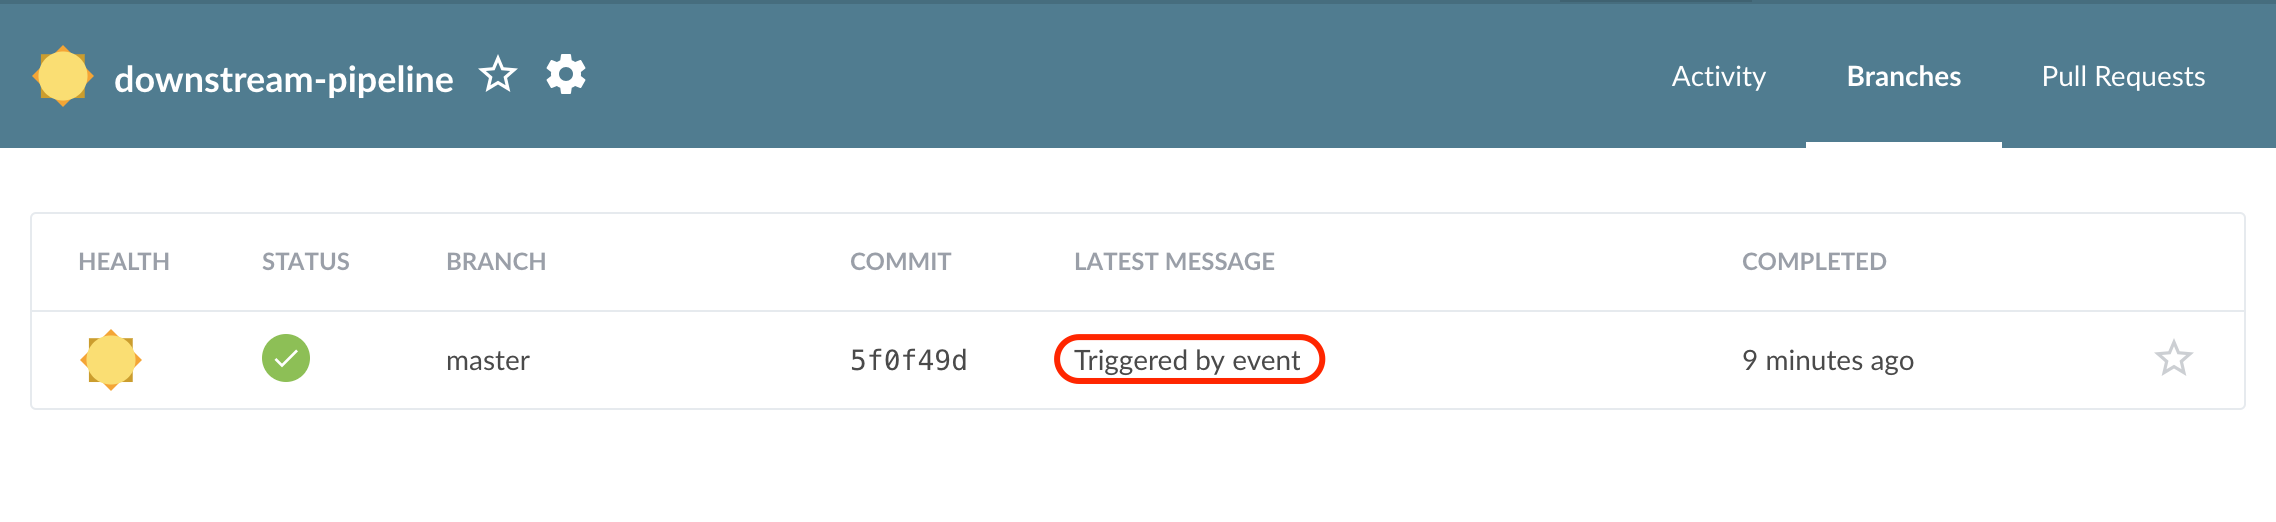
Finally, go to the downstream-pipeline Pipeline status page. Note that the Pipeline has been triggered by a received event:
-
Navigate to the detailed Pipeline page and select the Received an event stage, expanding the steps. The Pipeline was triggered by the
testingCompletedevent sent by upstream-pipeline: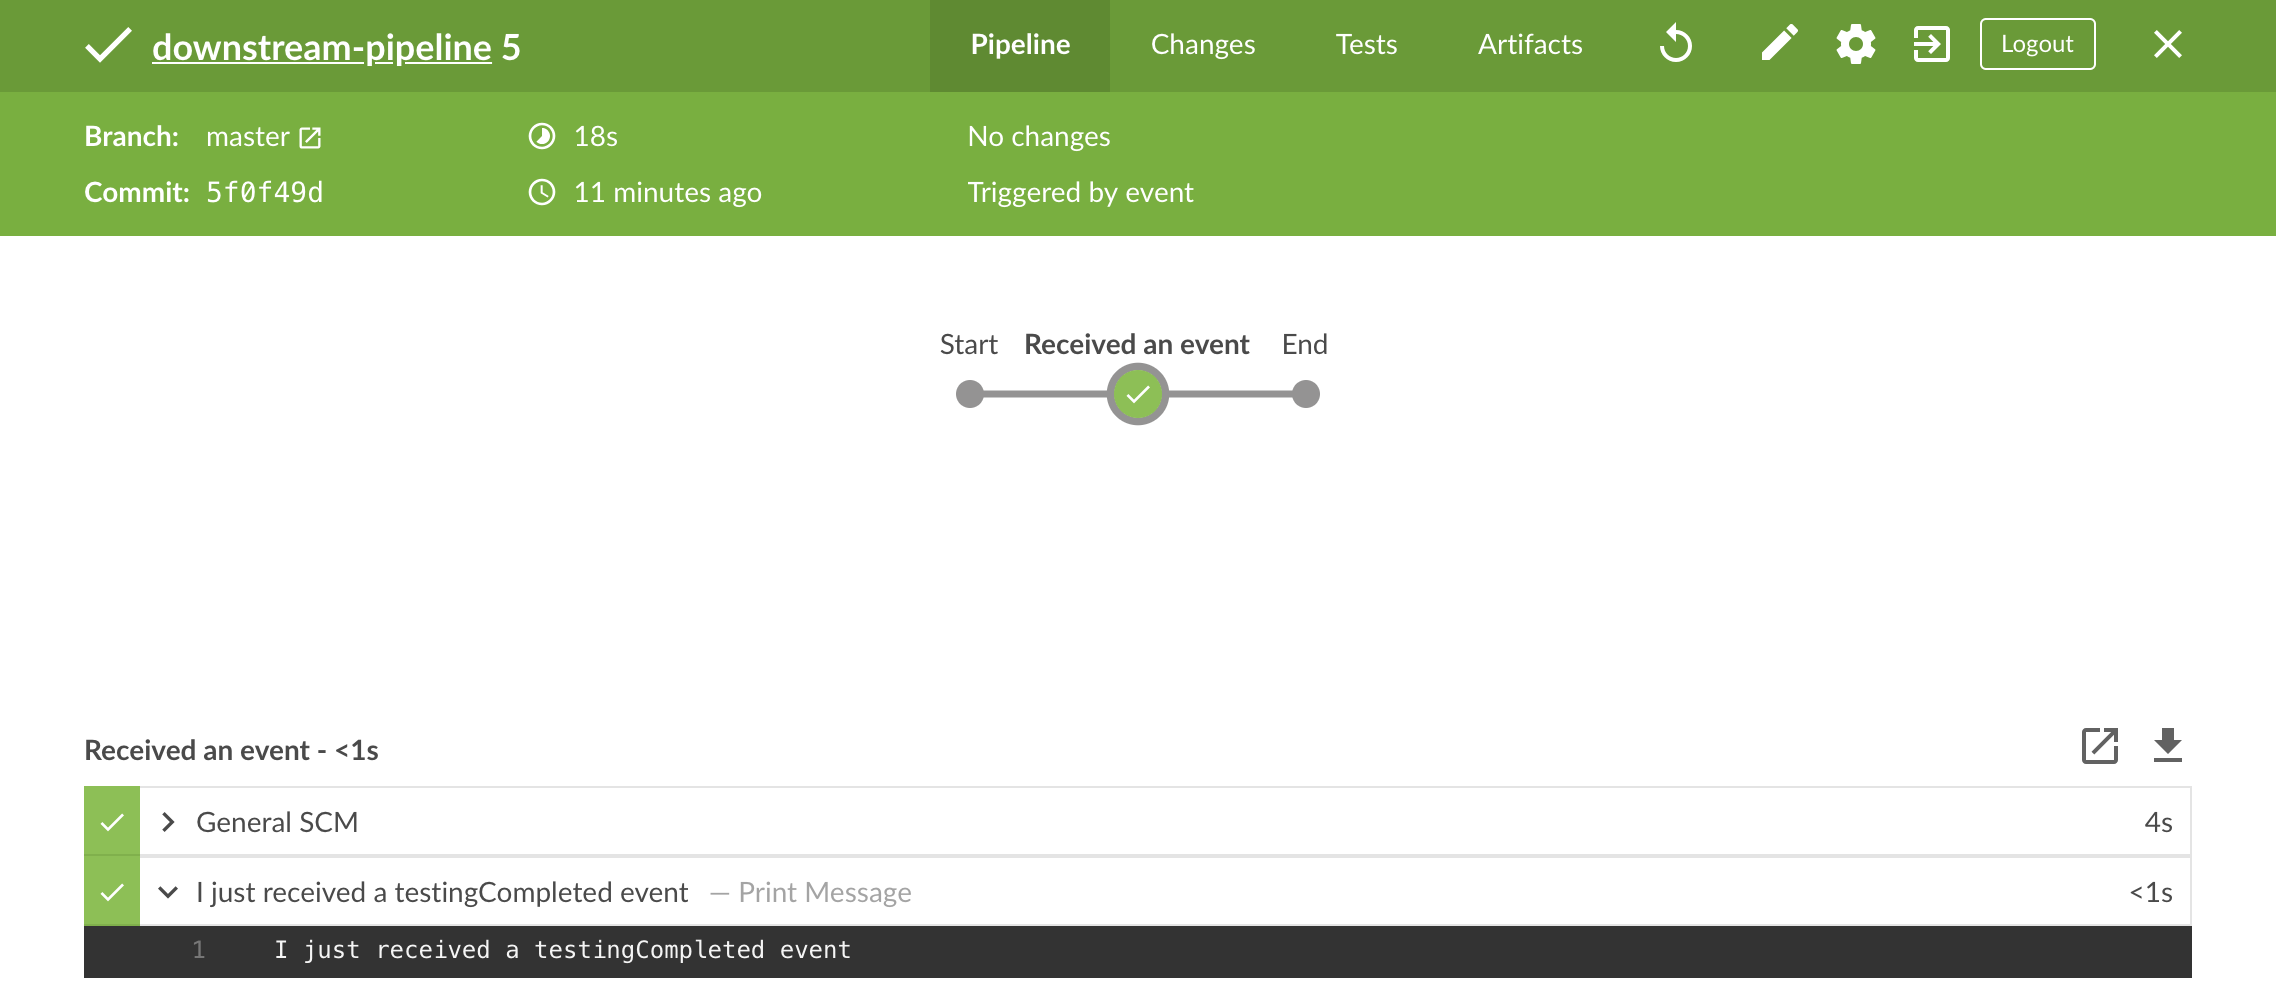
Expanding your CloudBees CI trial
So far, this Trial Guide has taken you through the steps needed to quickly set up a team with its own controller and get code deployed, using a simple team and some simple Pipelines.
By design, the team controller is simplified to make deploying code as fast and easy as possible, and this guide uses a team with only one member, yourself (as the admin user).
To open up your CloudBees CI Trial to others in your organization, you should take a few additional steps:
Adding new users and assigning their roles
When you set up your team earlier in the Trial Guide, you used the CloudBees CI admin user account, which is provided by CloudBees. This is also the account you used to sign in to CloudBees CI.
As a CloudBees CI administrator, you’ll want to add new users to your team. Adding users is straightforward. However, the default security configuration of CloudBees CI means that any new user automatically inherits full, unrestricted access to the system.
This may not be desirable from a security standpoint.
Securing your CloudBees CI instance
To secure your CloudBees CI instance, you’ll need to:
-
Activate CloudBees CI’s Role-based matrix authorization strategy feature.
-
Create an Administrators group and apply the admin role and user to this group.
-
Restrict all other users to the Overall > Read permission.
We strongly recommend that you follow the instructions given in the order shown. Otherwise, while unlikely, you could risk locking yourself out of your instance!
Activate CloudBees CI’s Role-based matrix authorization strategy feature
-
Sign in to CloudBees CI using your CloudBees CI admin user account.
-
You may see the CloudBees CI classic UI, the Blue Ocean/Pipelines interface, or the Teams Dashboard.
-
If you see the CloudBees CI classic UI, select Manage Jenkins on the left:

-
If you see the Blue Ocean/Pipelines or Teams Dashboard, select Go to classic UI
 icon in the navigation bar at the top right to switch to the classic UI. Once there, select Manage Jenkins on the left.
-
-
On the Manage Jenkins page, select Configure Global Security:

-
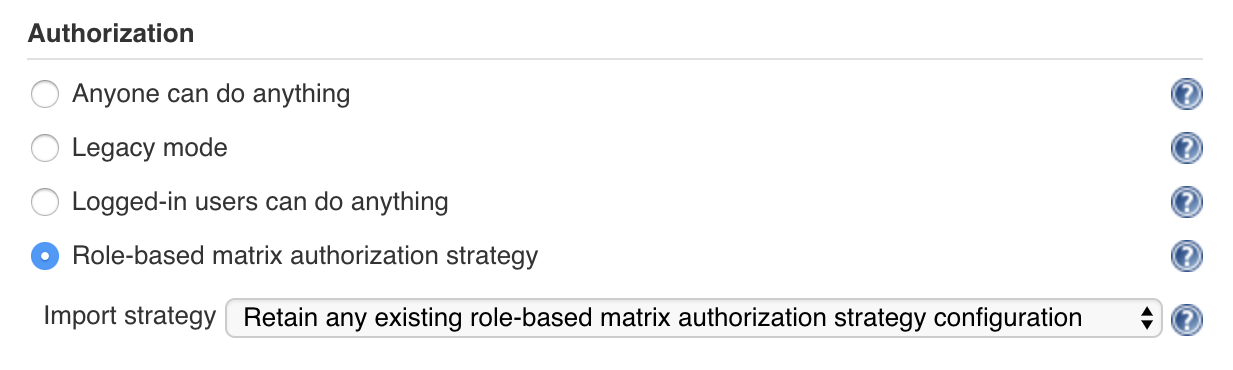
In the section, choose Role-based matrix authorization strategy. Keep the Import strategy drop-down at its default value, which is Retain any existing role-based authorization strategy configuration.
-
Select Save at the end of the page.
You’ll now see two new options in the left-side menu: Roles and Groups, which will also appear as new options on the Manage Jenkins page.
Create a new admin role with appropriate permissions
-
Select on the left.
-
In the Role to add field, enter the new role name
adminand select Add.
Although this role is also called admin, this is not the same as your current user account’s admin username. -
Once the new admin role has been added, scroll to the far right of the page and select this new role’s Select all check boxes
 icon.
icon. -
Scroll back to the far left of the page and select Save.
Create an Administrators group and apply the admin role and user to this group
-
Select on the left.
-
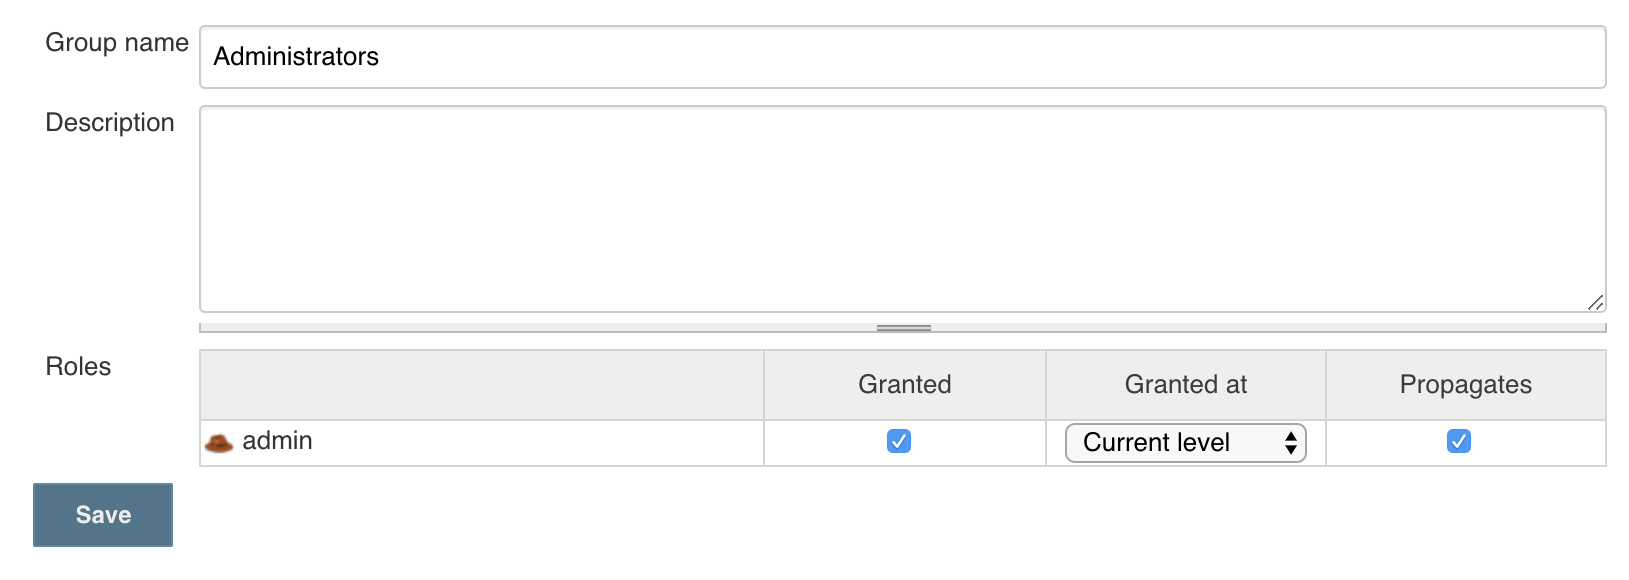
In the Group Name field, enter the new group name
Administratorsand select OK.
-
Select the Granted check box to apply the admin role to your new Administrators group and leaving all other options unchanged, select Save.
-
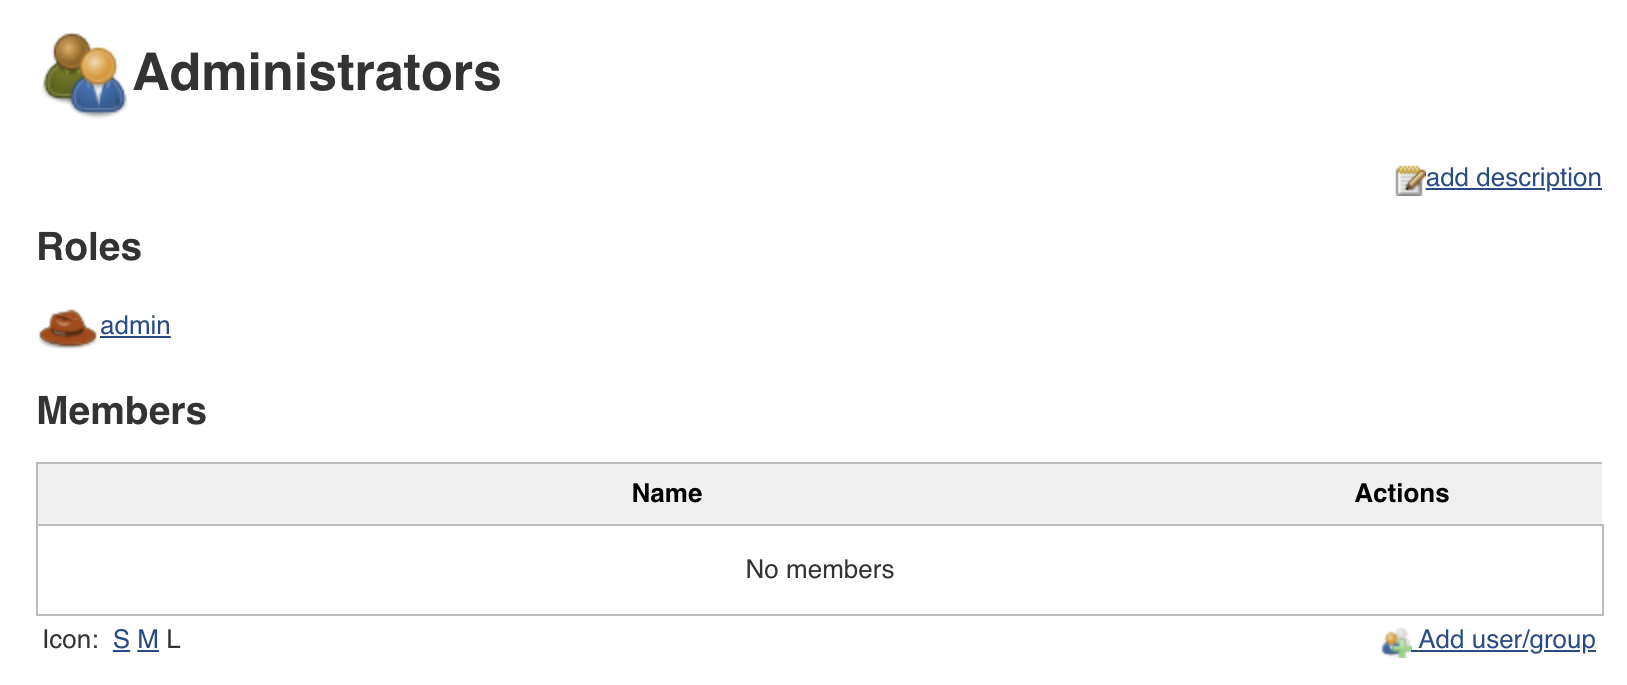
On the Administrators group configuration page, select Add user/group to the right of the page.
-
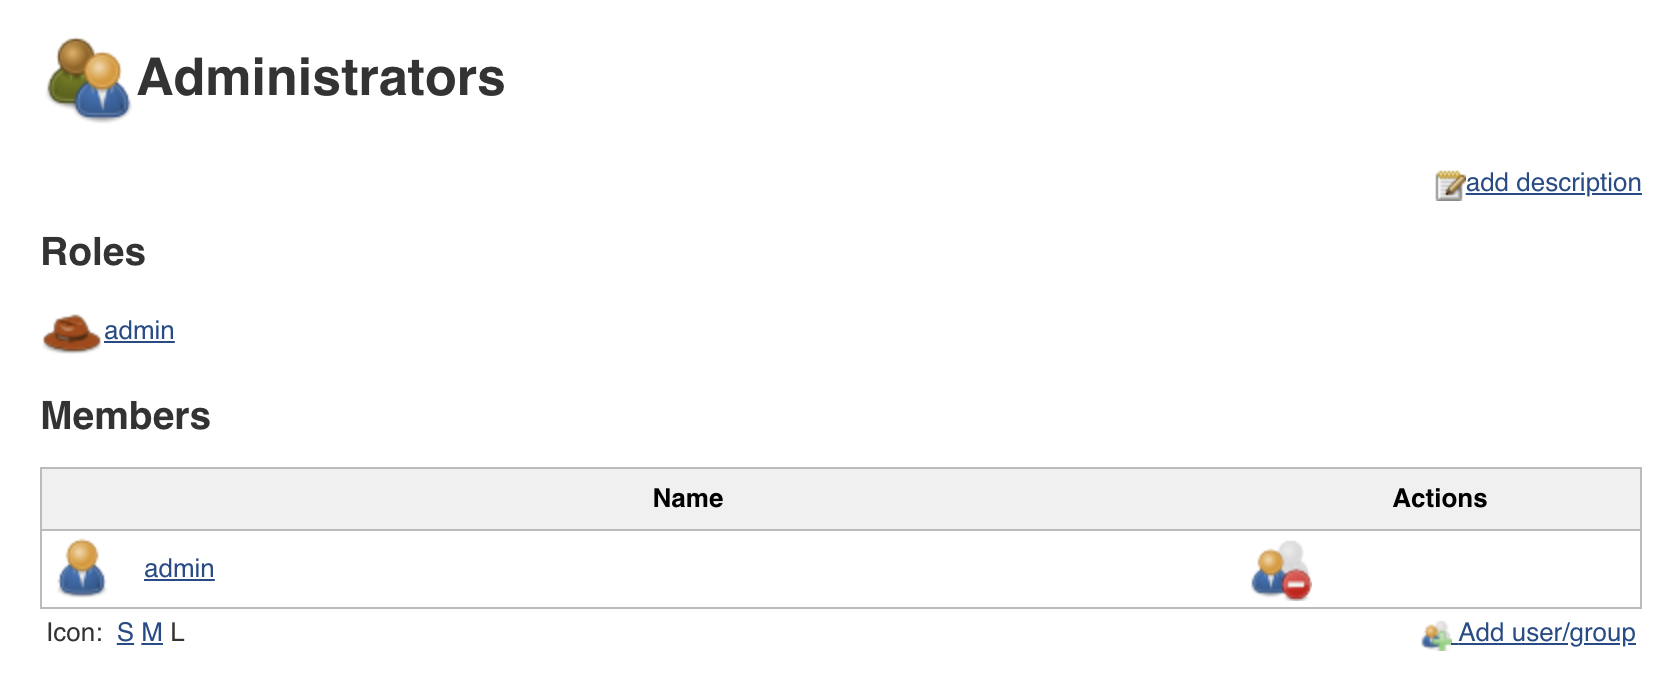
In the resulting field, enter the username of your current admin user account.

-
Select OK to add your admin user account to the Administrators group.
-
Select Back to Groups at the top left to return to the main groups page.

Restrict all other users to the Overall > Read permission
-
Select on the left again.
-
Noting the authenticated role, scroll to the far right of the page and select this new role’s Clear all check boxes
 icon.
icon.The authenticated role is a special, pre-configured role that grants permission to anyone who is signed in to CloudBees CI. -
Once all the authenticated role’s (permission) check boxes have been cleared, scroll back to the far left of the page.
-
Select the authenticated role’s permission.
![Authenticated role’s menu:Overall[Read] permission](_images/adding-users-and-assigning-their-roles/authenticated-role-overall-read-permission.43357ee.png)
This will allow any user to sign in but provides them with the minimum level of read-only access to CloudBees CI. Without this permission, however, a user is prevented from signing in.
-
Select Save.
That’s it: you’ve successfully secured your CloudBees CI instance!
| You won’t need to repeat this process again. However, if you want to grant other users the admin role (and its permissions), add these users to the Administrators group by accessing and following steps 4-6 in the Create an Administrators group and apply the admin role and user to this group procedure (above) but with each of these new users. |
Registering new users
Before new users can be added to a team, CloudBees CI requires those users to be registered in a pre-existing user database. In a typical deployment, this user database would be either an LDAP server connected to CloudBees CI, or CloudBees CI’s own user database (referred to as Jenkins' own user database).
Connecting and configuring a full LDAP user database is beyond the scope of this trial: instead, this guide uses the Jenkins' own user database feature and temporarily enables the Allow users to sign up feature.
To enable the Allow users to sign up feature:
-
Sign in to CloudBees CI using your CloudBees CI admin user account.
-
You may see the CloudBees CI classic UI, the Blue Ocean/Pipelines interface, or the Teams Dashboard.
-
If you see the CloudBees CI classic UI, select Manage Jenkins on the left:
-
If you see the Blue Ocean/Pipelines or Teams Dashboard, select Go to classic UI
icon in the navigation bar at the top right to switch to the classic UI. Once there, select Manage Jenkins on the left.
-
-
On the Manage Jenkins page, select the Configure Global Security option:
-
In the section, keep the default Jenkins' own user database setting but select its Allow users to sign up check box option.
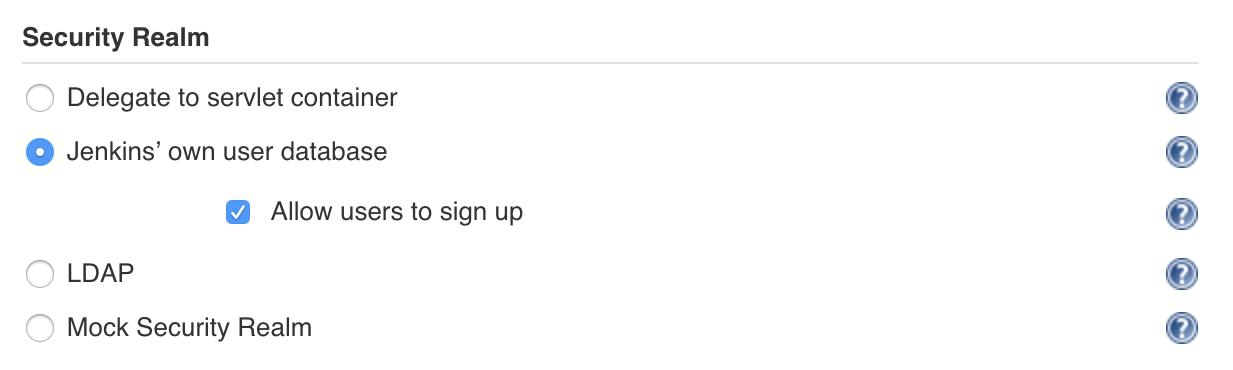
-
Select Save at the end of the page.
-
Sign out of CloudBees CI and on the sign-in page, notice the new Create an account feature.
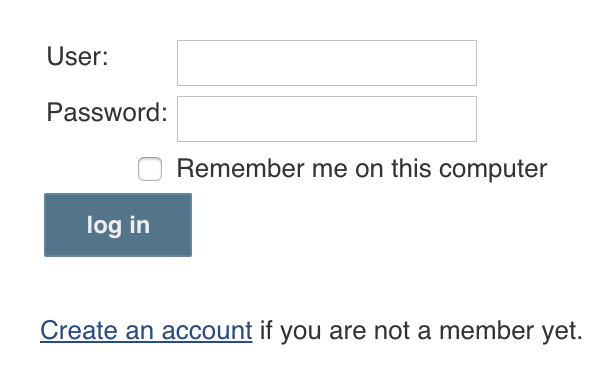
-
Select Create an account and on the resulting Sign up page, specify the details for an additional account (for example, Username
alexfor the purpose of this trial guide). -
Once the details have been added, select Sign up and if you see Success on the resulting page, the user was successfully created.
Be aware that this new user’s access to CloudBees CI is restricted. This is because your CloudBees CI instance has been secured, such that any new users who sign up will only be granted the initial permission (via the authenticated role).
-
Sign out again and create another user (for example, Username
gurwantfor the purpose of this trial guide).
Adding users to your team
To start adding users to your team:
-
Ensure you are signed in to CloudBees CI using your CloudBees CI admin user account.
-
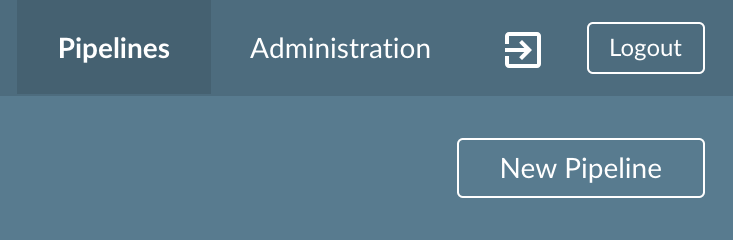
If you see the CloudBees CI classic UI, select Teams on the left:

to open the Teams Dashboard, from which you can access and administer all team controllers you have the Team Admin permission on.
If you have the Team Admin permission on several team controllers, you can filter the list using the Filter teams feature above your list of team controllers. If you see the Blue Ocean/Pipelines Dashboard instead, you’ll most likely be in Pipeline-editing mode. Therefore, select Administration at the top-right of this Dashboard to open the Teams Dashboard.
-
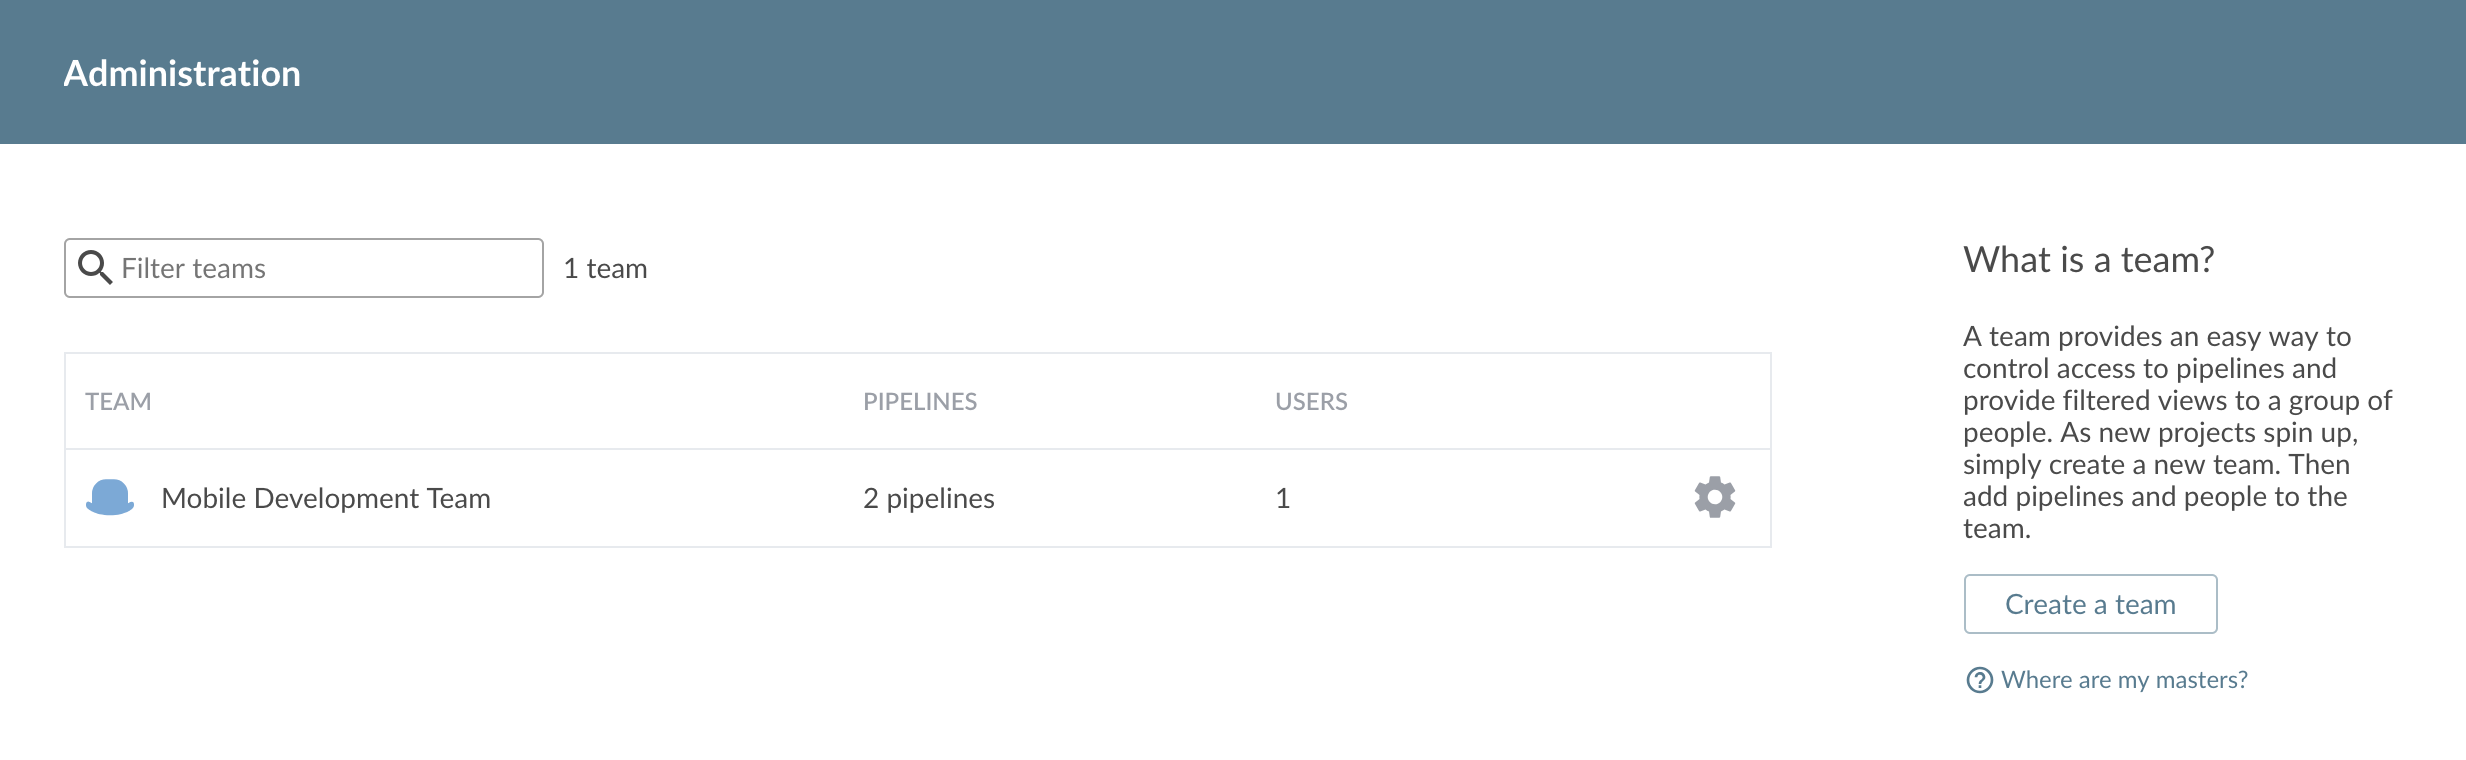
On the Teams Dashboard page, select the Administer Team
 icon to the right of your team controller’s name (which is the team controller you set up earlier) to open the controller’s Team Administration page.
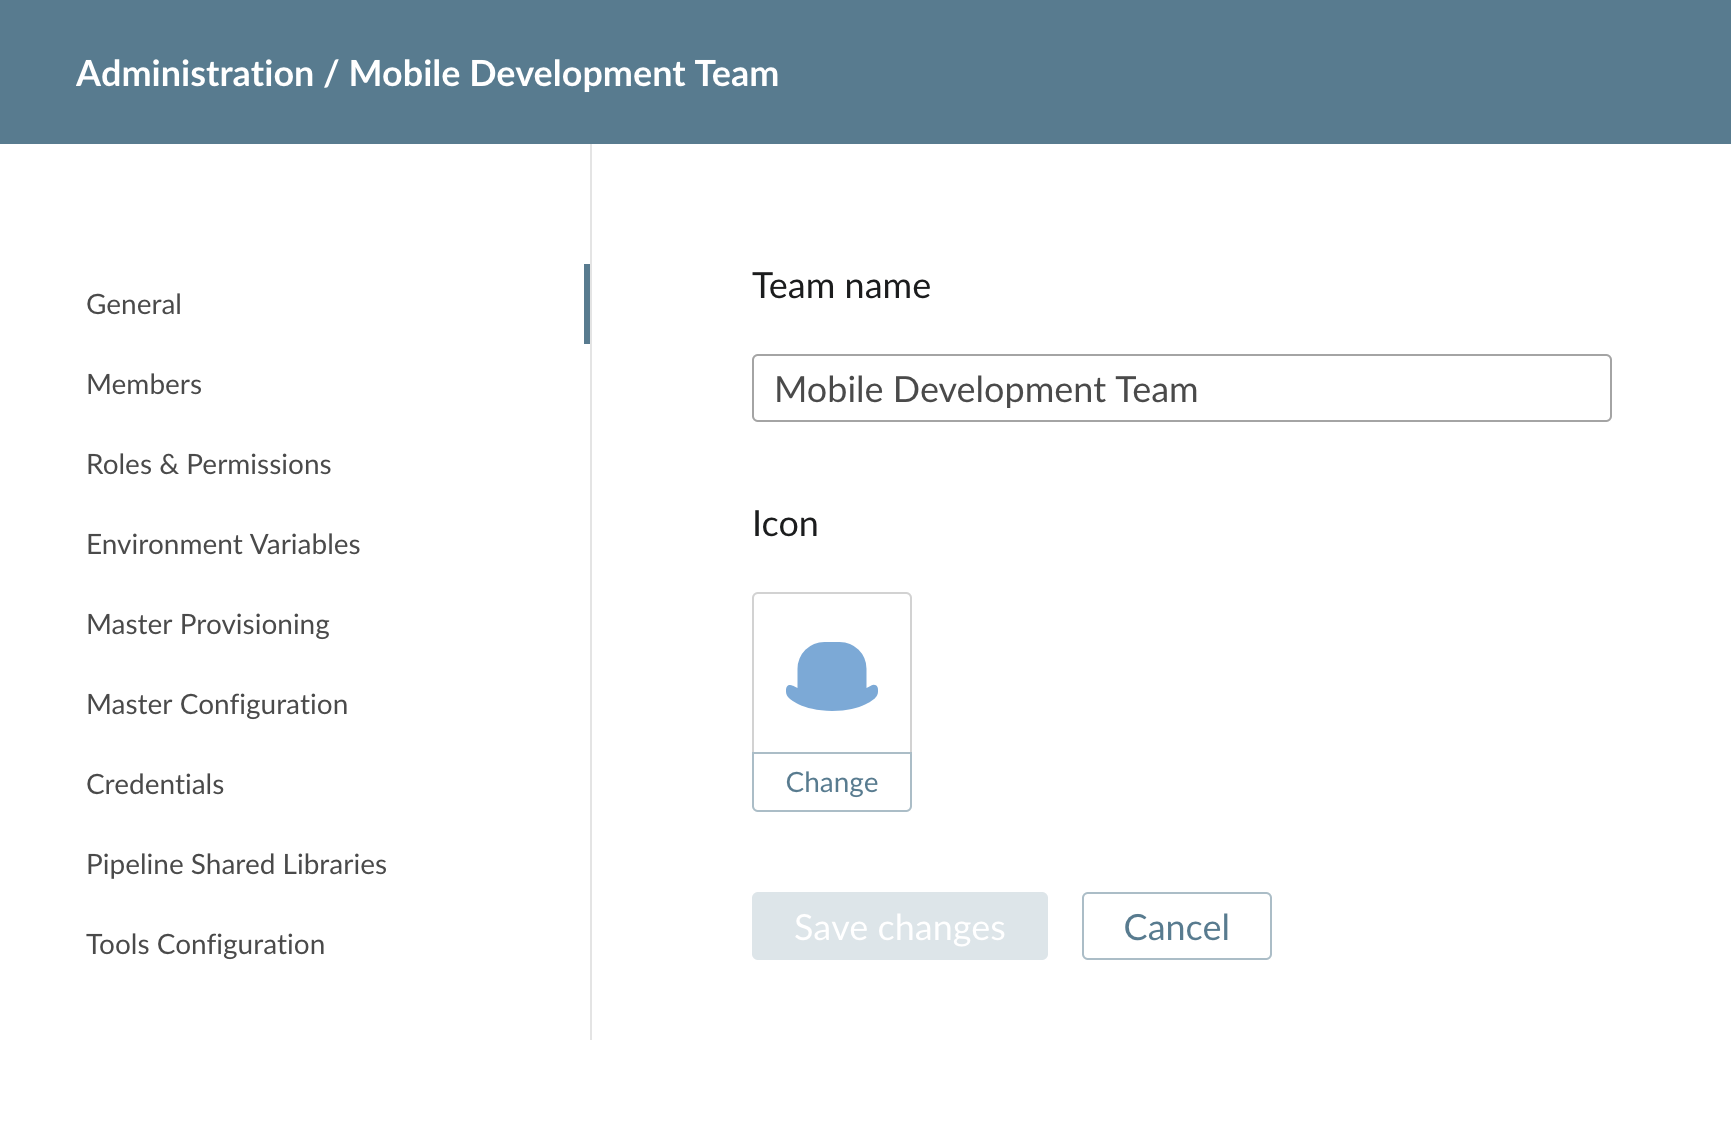
-
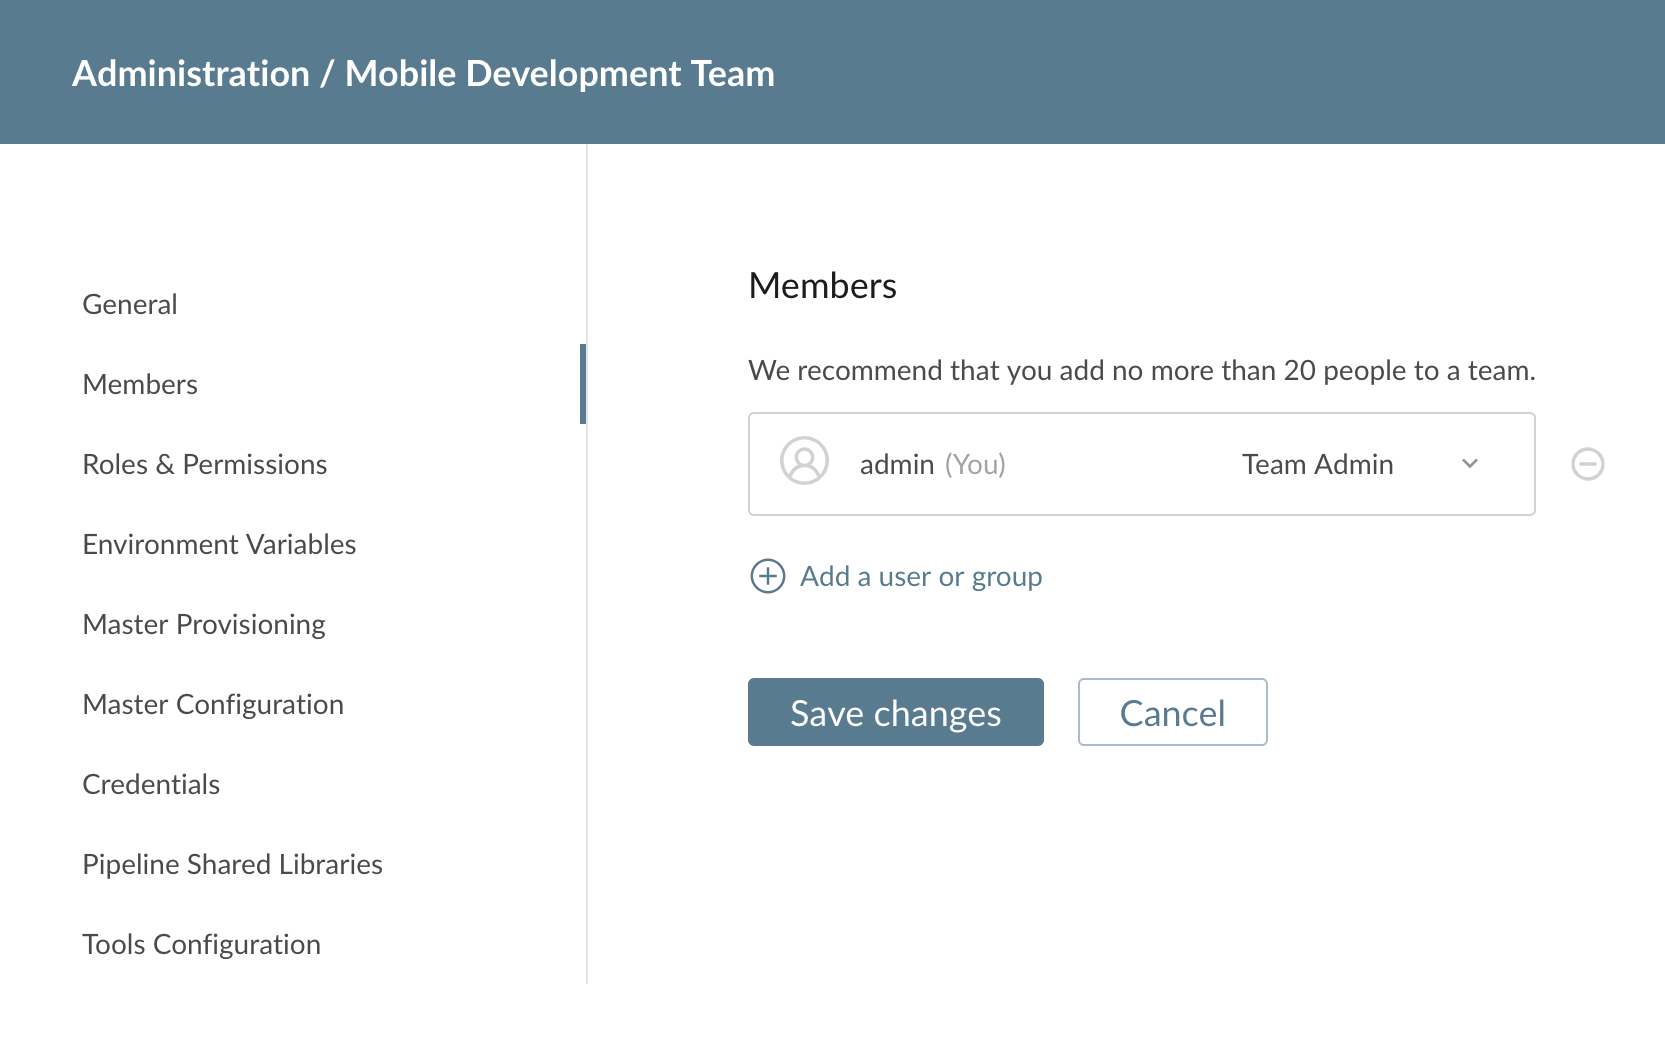
On the Team Administration page, select Members to access the Team Members section and then Add a user or group to add a CloudBees CI user to your team controller.
-
Enter the name of a new user (
gurwant) into the Add a user or group field and select the user’s role on the right (for example, Team Member).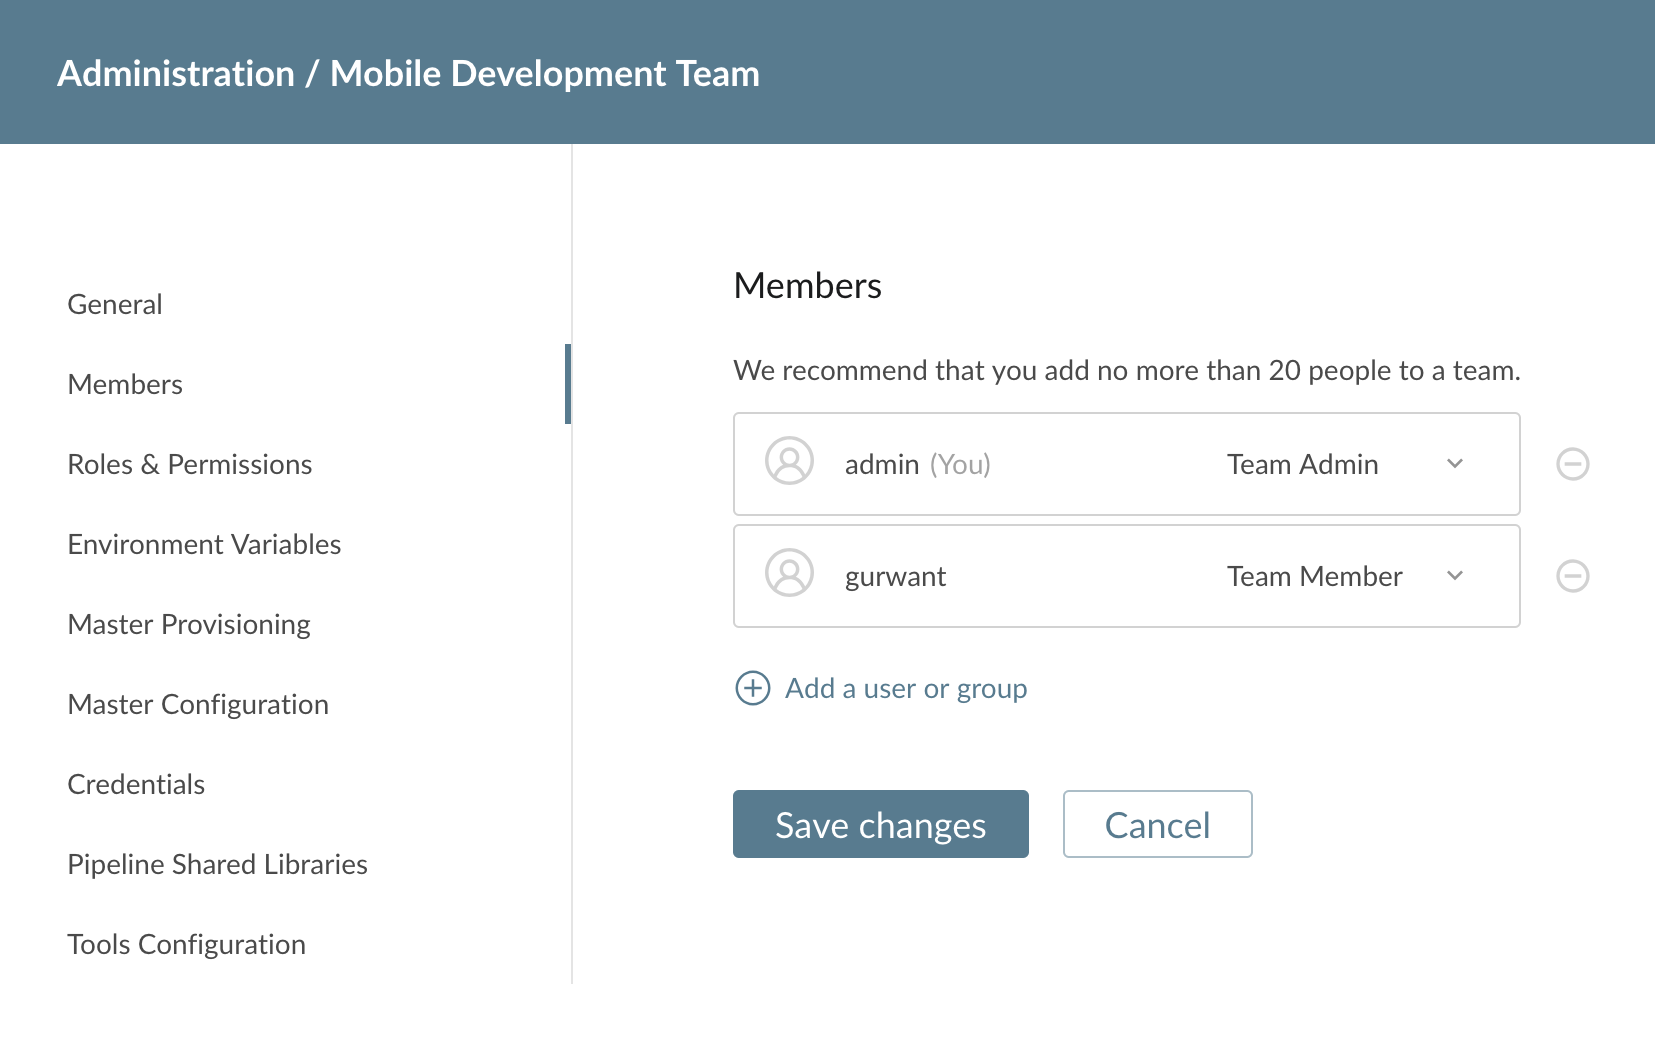
-
Enter the name of another new user (
alex) into the Add a user or group field and select the user’s role on the right (for example, Team Guest). -
Select Save changes.
-
Select Logout at the top right.
-
Sign in as gurwant and access Teams. Notice that gurwant only has permission to create and view existing Pipelines (for example, no access to the Administration area).
-
Sign out again.
-
Now sign in as alex and access Teams. Notice that alex only has permission to view existing Pipelines.
Wrapping up
CloudBees CI provides a flexible, governed CI/CD solution for enterprises.
During this trial, you added a team, and assigned team members and roles in just a few minutes, a process that usually takes hours, if not weeks.
You also connected CloudBees CI to a source code repository and created interconnected Pipelines, which you then extended to allow one team controller to automatically start a Pipeline on another controller, showing you how you can greatly reduce manual handoffs between your teams.
This Trial Guide just scratches the surface of what you can do with CloudBees CI: to see the full breadth of CloudBees CI functionality, check out the documentation at the full CloudBees CI documentation site.
We hope you enjoyed the trial! If you’re ready to purchase, please reach out to the CloudBees contact that gave you this trial.