A filter lets you drill down to a relevant set of information. The Cluster Manager provides a set of predefined filters for commonly requested information such as broken builds, lists of builds for a particular build class, lists of broken agents, and error messages. The Cluster Manager lets you perform filter management tasks such as creating, editing, or deleting filters in lists.
Creating Filters
To create a filter:
-
On the Saved Filters panel on a page that supports filtering, click the
 (column filtering) button at the top of a column whose values you want to filter.
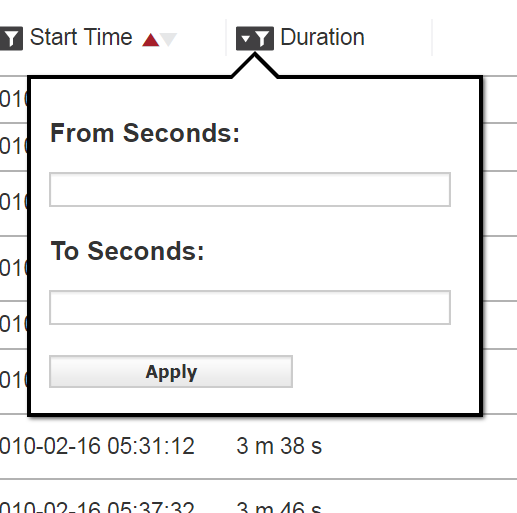
A dialog box appears that lets you select or enter the filtering specifics. For example, for the Duration column, a dialog box appears that lets you filter out builds whose durations (in seconds) are outside of a specific range:
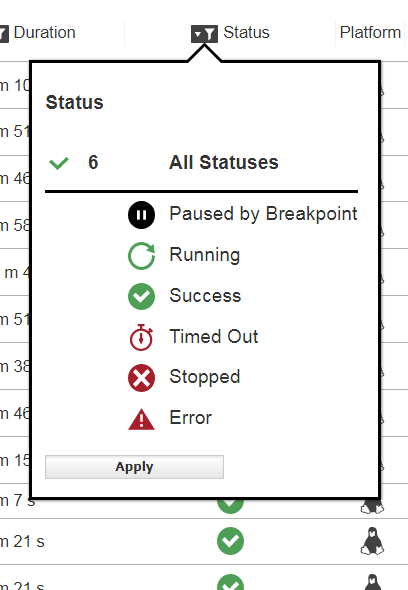
Also, for example, for the Status column, a dialog box appears that lets you filter out builds possessing one or more specific statuses (such as builds that are stopped or timed out):
-
Repeat the prior step for additional columns as needed.
-
Type a name for the filter into the Save field and then click the
 button.
The filter is added to the Saved Filters list.
Editing Filters
To edit a filter:
-
Open the tab containing the filter that you want to modify.
For example, open Builds > Build Classes.
-
From the Saved Filters drop-down menu, choose the filter.
-
Click the
(modify filtering) button for the column for which you want to filter or refilter.For example, click the
button at the top of the Duration column in the Build Classes tab. The filtering details dialog box appears, which lets you filter out builds whose durations (in seconds) are outside of a specific range: -
Enter or modify the filtering details in the dialog box and then click Apply.
See Filters - Create or Edit a Filter for field definitions.
-
Click OK.
The table is refiltered, and the filter changes are saved.
Deleting a Filter
-
Open the tab containing the filter that you want to delete.
For example, open Builds > Build Classes.
-
From the Saved Filters drop-down menu, choose the filter.
-
In the Saved Filters panel, click the
 button.
A popup that asks Are you sure you want to delete this saved filter? appears.
-
Click Delete <filter_name> to confirm.
The filter is deleted and no longer appears in the Saved Filters menu.