About the License File
Your Accelerator license determines the usage to which you are entitled. If you have not received your license file, contact CloudBees technical support. For assistance, go to the CloudBees technical support site at https://support.cloudbees.com/ and submit a support request.
The license file includes the expiration date, grace period, maximum number of agents, maximum number of builds that may take place concurrently, and maximum number of builds that may simultaneously use the JobCache feature. The Cluster Manager reads the information that it displays about your license from the last-imported license file.
JobCache Licensing
JobCache can substantially reduce compilation time. It uses a separate property in the license file.
The maximum number of builds that may use it simultaneously is read from the jobcacheMax property in the license file. For first-time installations of Accelerator or most upgrades to Accelerator 9.1, this number is equal to the number of concurrent builds. Simultaneous builds in excess of this number will occur without using this feature.
If the JobCache license is invalid, or if the number of simultaneous builds has exceeded the license limit, a WARNING EC1181: Your license does not permit object caching message appears when a build tries to use JobCache. eMake will continue to work normally.
Concurrent Builds Licensing
The number of builds that may occur simultaneously is controlled by a separately purchased license. This number is read from the concurrentBuilds property in the license file. Any simultaneous build in excess of this number is added to a queue and will resume when another build stops running. If there is no <concurrentBuilds> property, or if the property is present but the string is unlimited, then the Cluster Manager places no limit on the number of concurrent builds.
If the concurrent builds license is invalid, or if the number of simultaneous builds has exceeded the license limit, a WARNING EC1321: No build license available, waiting… message appears. A WARNING EC1322: Build license allocated, proceeding. message appears when a build in the queue acquires a concurrent build license.
Server License File Example
<?xml version="1.0" encoding="UTF-8"?>

<licenses>
  <license>
    <customerName>Electric Cloud, Inc.</customerName>
    <productName>ElectricAccelerator</productName>
    <featureName>Server</featureName>
    <expirationDate>2017-09-30</expirationDate>
    <gracePeriod>0</gracePeriod>
    <evaluation>false</evaluation>
    <properties>
      <property>
        <propertyName>maxAgents</propertyName>
        <propertyValue>128</propertyValue>
      </property>
      <property>
        <propertyName>jobcacheMax</propertyName>
        <propertyValue>5</propertyValue>
      </property>
      <property>
        <propertyName>concurrentBuilds</propertyName>
        <propertyValue>5</propertyValue>
      </property>
    </properties>
    <signature>[signature]</signature>
  </license>
</licenses>
For details about the properties in the license file, see Licenses.
Importing Your License
-
From the machine where the Cluster Manager is installed, open a browser window and type in
localhostto display the Login page. If you are accessing the Cluster Manager machine remotely, type in the machine name, notlocalhost. If you are not using port 80, use<host>:<port>. The login page appears: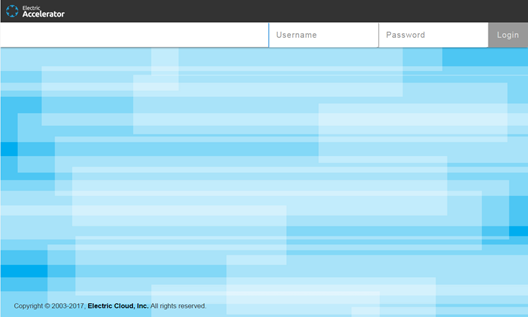
-
Type in your user name and password. For a new installation, the default administrator account user name and password are
adminandchangemerespectively. For an upgrade, the default administrator account user name and password areadminand<previous_password>respectively. -
Click Login. A security warning page appears because a web server certificate is not yet installed. Following is an example in the Chrome browser:
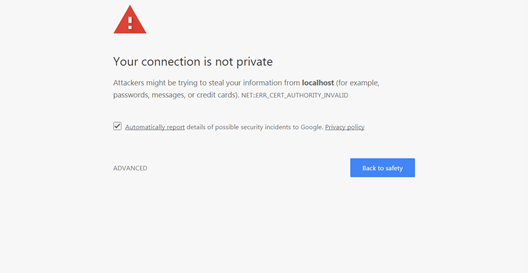
For details about installing a server certificate, see Installing an Apache Server Certificate .
-
Follow the prompts to proceed to the Cluster Manager Home page. If you have not installed an Accelerator license, an
A Server license for ElectricAcceleratorwarning appears: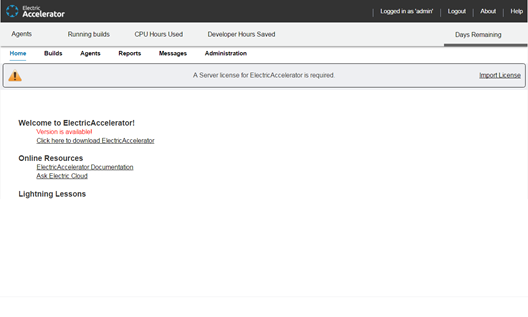
-
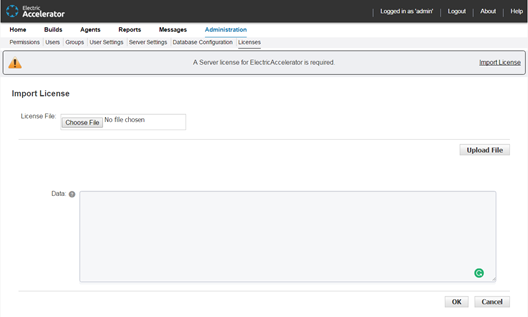
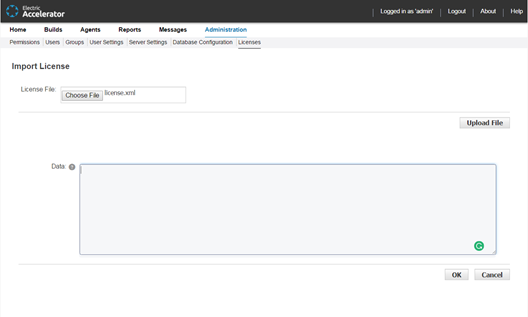
Click Import License. The Import License page appears:
-
Use one of the following methods to install your license:
-
Click Choose File to browse for your license file, then click Upload File, and then click OK.
-
Open your license file, then copy and paste the text in to the Data field, and then click OK.
For example, a license file named license.xml is chosen in the following page:
The Licenses page appears. It displays the details about the license that you imported. For example:
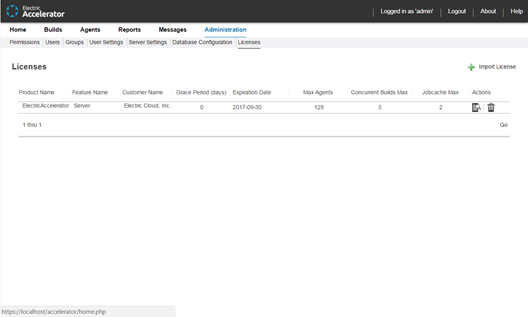
This example uses the license file in the >>Server License File Example>> section above.
-
After the Accelerator license is imported, you can get familiar with home page features, complete the remaining Configuration tasks such as installing a server certificate, and begin using Accelerator.