Follow these steps to start a search in the Change History.
You can start a Change History search from most pages in the CloudBees CD/RO UI.
-
Click the Search button or click Change History.

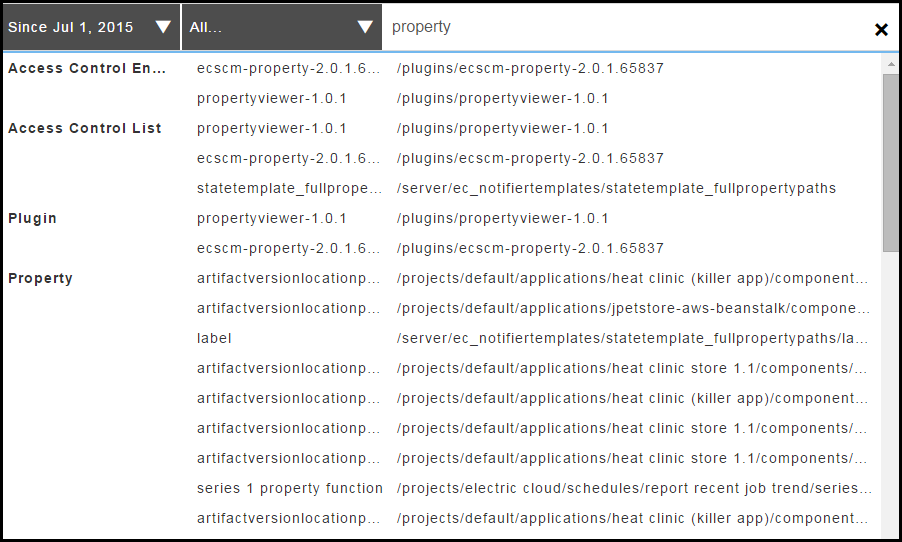
The Change History—Search dialog box opens.

1 |
Time range field. Click the down arrow to open the drop-down list of start times. The end time is the current time. |
2 |
Objects field. Click the down arrow to open the drop-down list of objects to include in the search. You can select All or specific objects. By default, seven of the most commonly tracked objects are selected. |
3 |
Search criteria. After you type, the system starts searching for objects based on the time range and objects that you selected. The search results are in the Change History. |
-
To select a time range for the search:
-
Click the down arrow in the Time range field to open the drop-down list.
-
Select a time range.
-
If you want to use a time increment longer than three days, do the following:
-
Click Select Date.
The Date Picker opens.

-
Select a date.
The Date Picker closes and the date that you selected appears in the Time Increment field.

-
-
-
To select an objects for the search:
-
Click the down arrow in the Object field to open the drop-down list.
-
Select the objects for the search.
-
-
Enter the search criteria.
As you type, the system starts to search for objects that match your search criteria.
A list of objects matching your search criteria appears in the results section.
-
Select an object in the list.
The change history for the object that you selected appears.
