The Deploy UI lets you create a project from the very beginning or create a project by copying another project. This copying capability lets you maintain a “library” of projects from which to create new ones.
-
Browse to https://<cloudbees-cdro-server>/flow/. If you have not already signed in, see Signing in to CloudBees CD/RO. After successful sign in, you are directed to your home page.
-
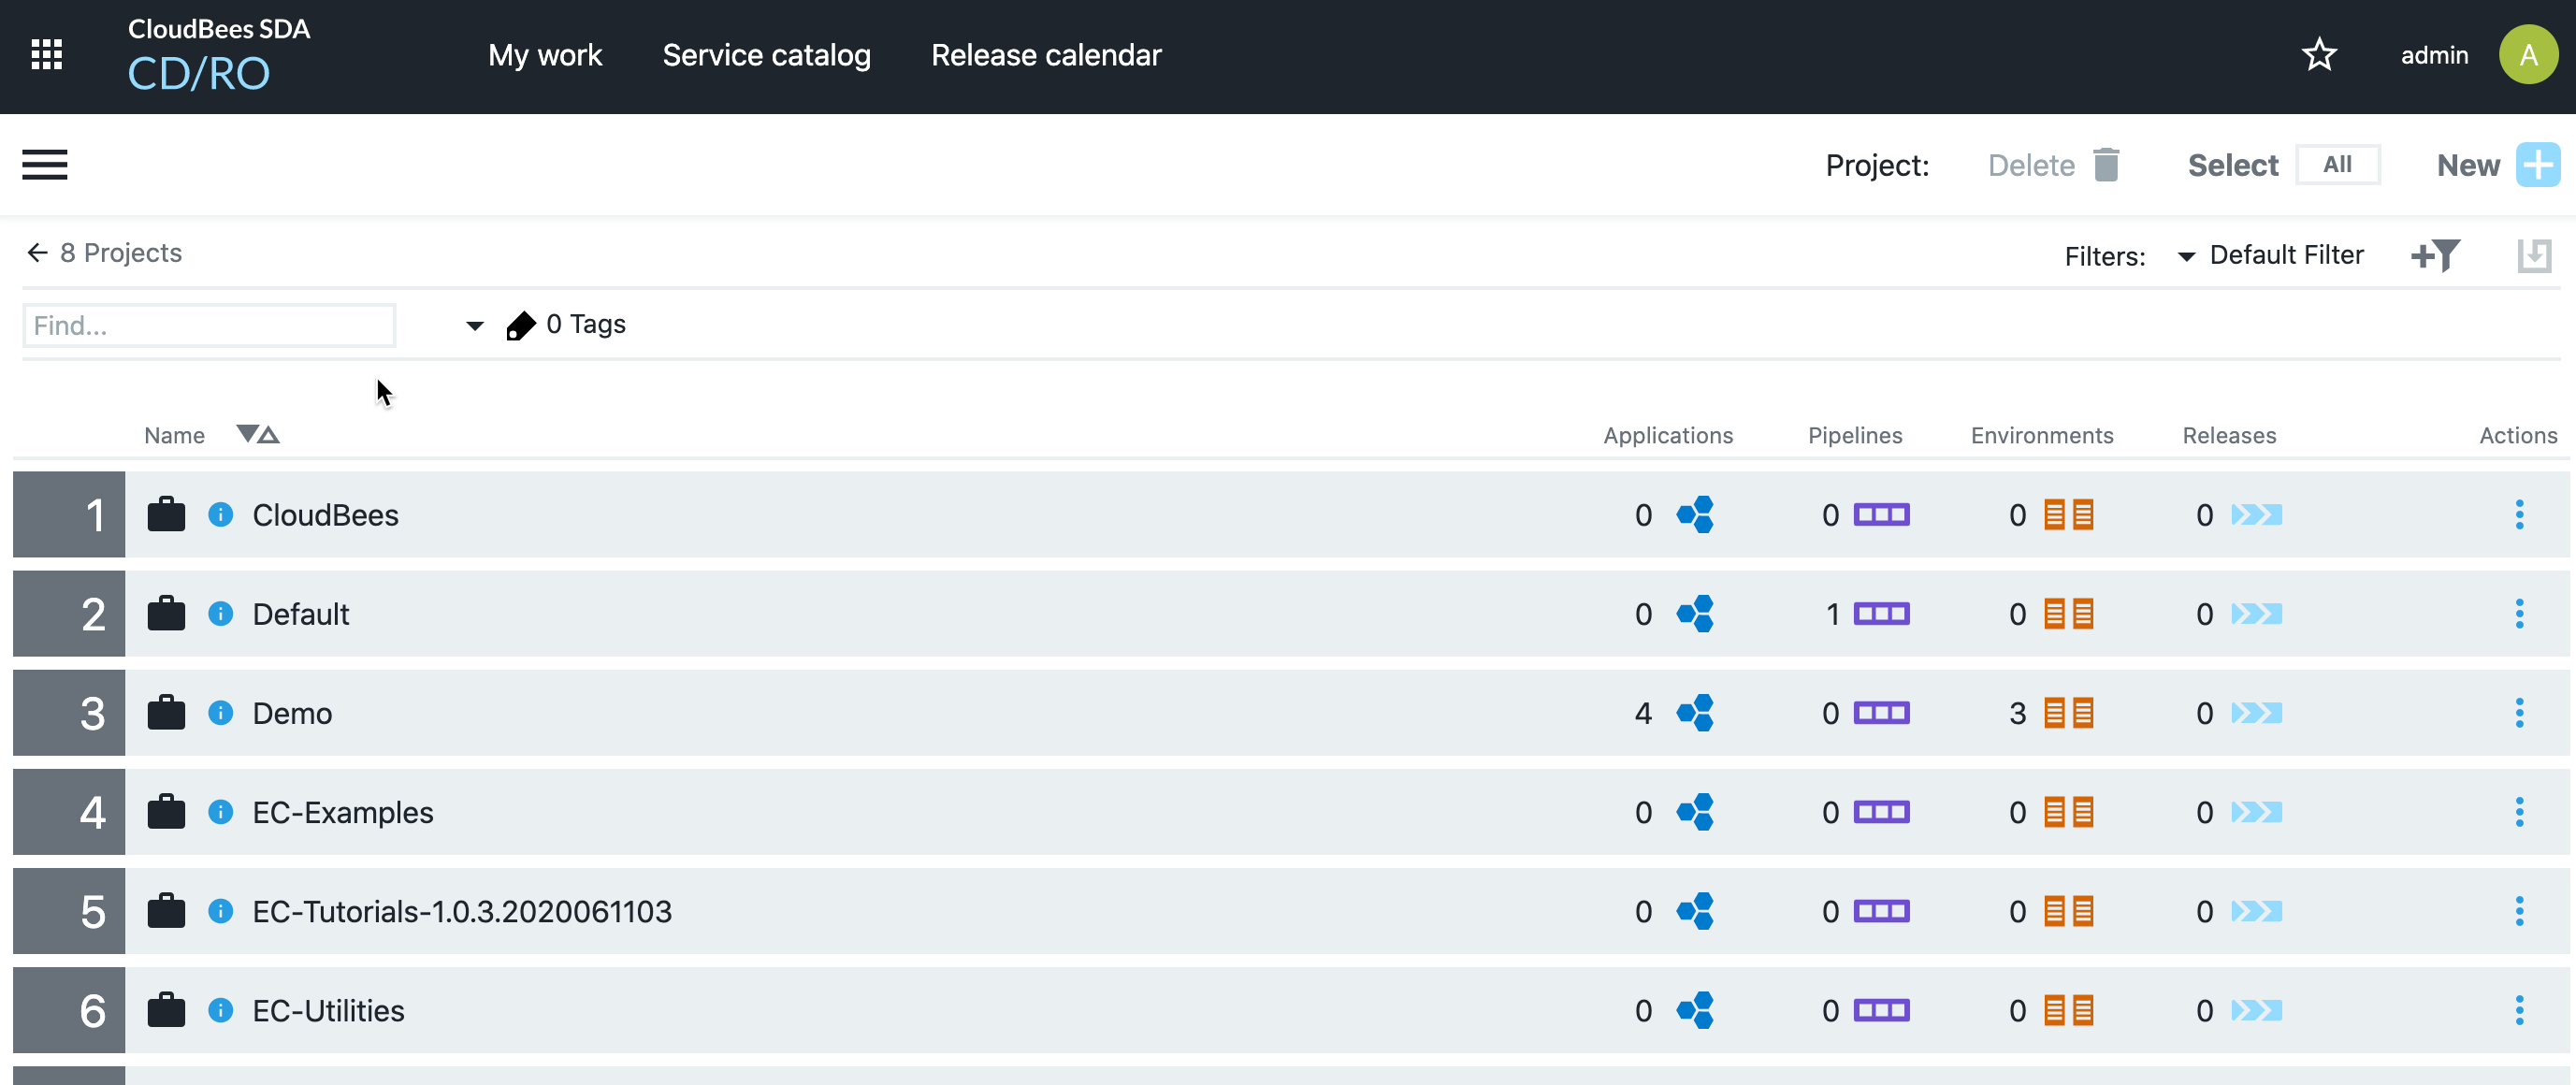
From the main menu, select . The project list page appears:
Creating a Project
-
Click the new project button. The New Project dialog box opens.
-
Click either Create New or Copy Existing to create a new project from scratch or copy (clone) another project, respectively. The respective dialog is displayed based on your choice.
-
If you are copying an existing project, select that project from the list. The next dialog box is prefilled with the settings from the copied project.
-
-
Enter information into the fields as follows:
Field Name Description Name
Enter a unique project name. Use a meaningful name such as a work group or product.
To avoid conflicts, do not use CloudBeesor any other CloudBees CD/RO-supplied project name. Also, theEC-prefix is reserved for CloudBees CD/RO-supplied project names.Description
(Optional) Plain text or HTML description for this object. If using HTML, you must surround your text with
<html> … </html>tags. Allowable HTML tags are<a>,<b>,<br>,<div>,<dl>,<font>,<i>,<li>,<ol>,<p>,<pre>,<span>,<style>,<table>,<tc>,<td>,<th>,<tr>, and<ul>.For example, the following HTML:
<p>
<span style="font-family: Arial;">
  <i>Note:</i> For more information about the <b>abc</b> object, see
         <a href="https://www.google.com/">\https://www.google.com</a>.
</span>
</p>
renders as follows:
<i>Note</i>: For more information about the <b>abc</b> object, see \https://www.google.com.Enable Change Tracking
Disable or enable change tracking for this project. This feature records every change between every state of non-runtime objects and lets you revert to an object’s prior state.
Tracked objects include applications or microservices, procedures, workflows, workspaces, resources, and project-owned components such as library components. For more information, see Change Tracking.
Tags
(Optional) Object tagging provides a way to group related objects with a user-defined term. See Object Tags for further information.
Credentials
(Optional) Credentials and impersonations available to this project. For new projects, you are prompted to create project credentials on a subsequent dialog after project details are entered. See Credentials and User Impersonation for further information.
Select Default Resource
(Optional) Default resource for all jobs that run under the project. This is a convenient way to use a single resource for an entire project.
You can specify resources in several other places such as in procedures and individual job steps. A workspace specified elsewhere takes precedence.
If you have not set up resource names or locations yet, see Configuring Resources for instructions.
Select Default Workspace
(Optional) Default workspace for all jobs that run under the project. This is a convenient way to use a single workspace for an entire project.
There are several other places where you can specify workspaces, such in as procedures and individual job steps. A workspace specified elsewhere takes precedence.
If you have not set up workspace names or locations yet, see Workspaces and Disk Space Management for more information.
-
Click OK. You are prompted to create or edit project credentials. If you choose Yes, the Credentials dialog appears. Your new project name appears on the project list page.
Editing a Project
-
Click the action menu corresponding to the project that you want to edit and then click Details. The Edit Project dialog box opens.
-
Update the information in the fields as needed. See the table in Creating a Project above for field descriptions.
-
Click OK to save your changes. Your changes appear on the project list page.