Experiments are how CloudBees Feature Management releases flags at certain times. Experiments are made up of both Flags and the Audiences, including user segmentation and rollout type, you’d like to release the flags to.
Creating an Experiment
-
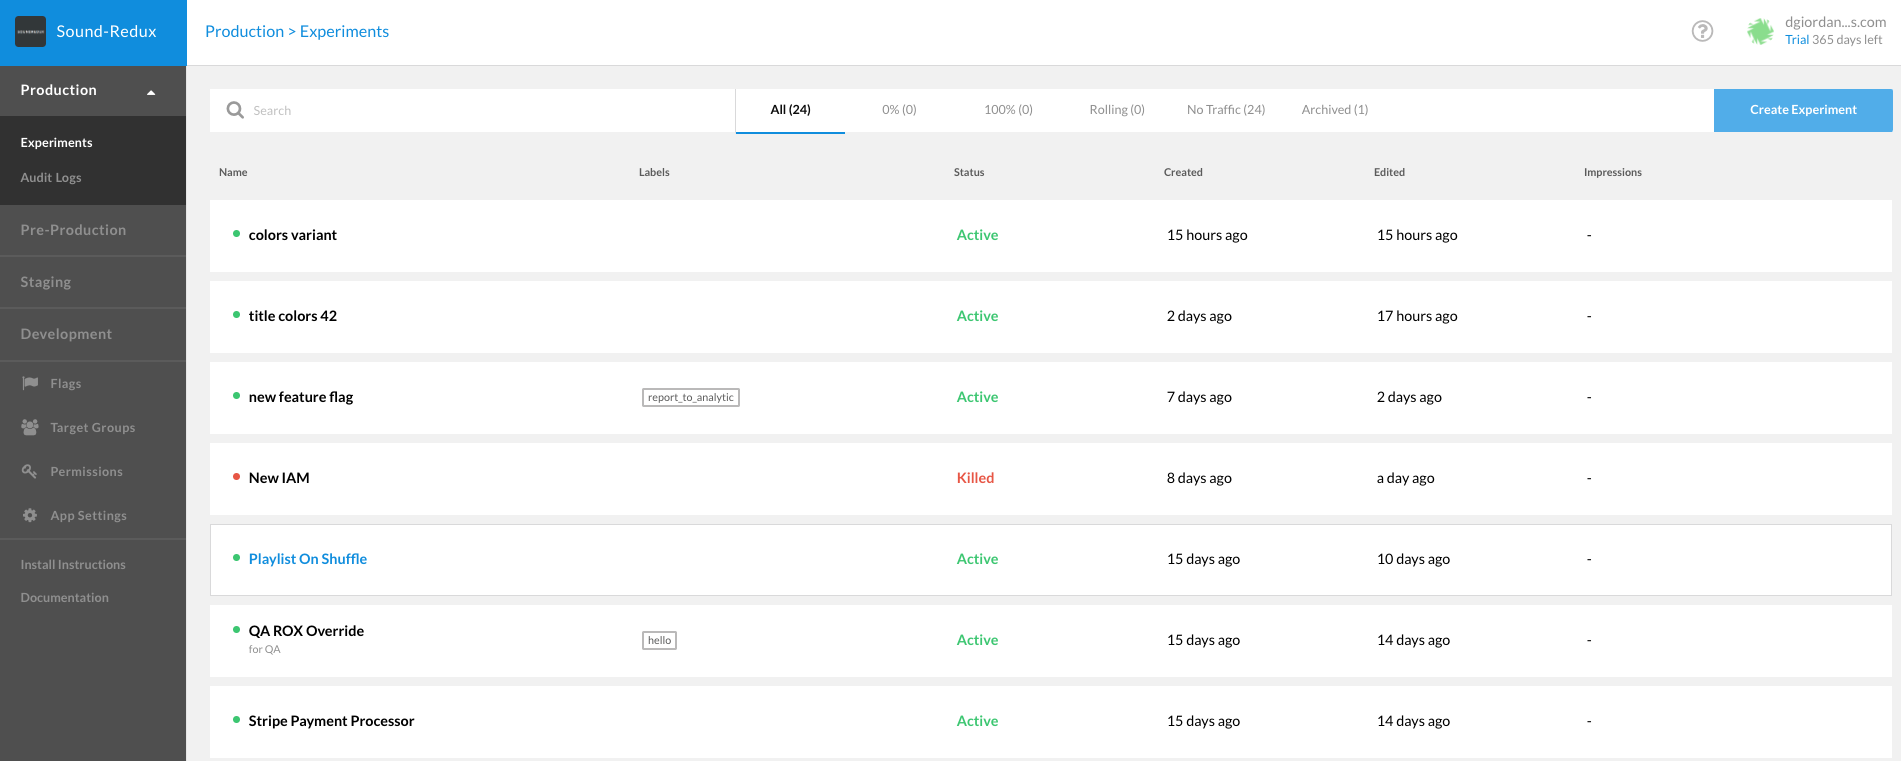
Go to the CloudBees Feature Management dashboard, on the left sidebar, click on Experiments, at the very top of that list. This will bring you to the Experiments page.
-
This will show you any experiments that you have defined.
-
To create a new experiment, click the Create Experiment button at the top, right-hand corner of the screen.
-
This will launch a dialog that walks you through experiment creation.
-
First, under Flag, choose your platform, and then select the flag itself. The list of flags is generated automatically after you add a flag to your code base and run your application.
-
If you want a refresher on how to add a flag to your code, please see: Creating feature flags.
-
Next, pick a name for the experiment, and type that under Name.
-
When you’re ready, click the Set Audience button, which will finish the creation of the experiment and send you to the Experiment Details screen, where you select the deployment rules.
Deleting an Experiment
-
Go to the CloudBees Feature Management dashboard, on the left sidebar, click on Experiments, at the very top of that list. This will bring you to the Experiments page.
-
From this page, pick the experiment that you wish to delete, and click it.
-
Now, click on the Delete Experiment tab at the top, next to Settings.
-
You’ll be taken to the screen for deleting an experiment, which gives you a warning about what this implies: that deleted experiments cannot be restored.
-
If you wish to proceed, click the red Delete button. You will receive another warning in the form of a modal dialog.
-
This will return you to the Experiments page, and you will notice that your experiment is now gone.
Modifying Experiment settings
-
Go to the CloudBees Feature Management dashboard, on the left sidebar, click on Experiments, at the very top of that list. This will bring you to the Experiments page.
-
Select an experiment.
-
To get to the experiment settings, click the Settings tab at the top, next to Audience.
-
To set your experiment’s name, type in the Name text box. This cannot be empty.
-
You can change the Stickiness Property of an experiment, before changing the stickiness property, please read: stickiness property.
-
If you wish to add a description, enter that in the Description field.
-
You can also look at the experiment’s flag in the Flag text box. You cannot, however, edit this field.
-
Finally, at the bottom, you can hide this experiment by clicking Hide Flag.
-
Hiding a flag will cause the flag not to appear in the active experiments on the Settings page. This is usually used for experiments which are in a steady state, either fully deployed or fully rolled back.
-
When editing the settings for an hidden flag, you will see an Show Flag link. You can click this to make the flag active once again.
-
When editing the settings, you do not need to take any kind of explicit action to save; your modifications are saved automatically.
Editing variations
For multivariate flags, you can add/remove variations from the experiment setting tab:
-
Go to experiment settings.
-
Edit Variations → Edit.
-
Delete Variation by clicking on the garbage icon.
-
Click
+ Add another variationto add another possible value.
Please notice that you can only remove variants that are not actively being used in the audience screen.
Labels
Labels help you categorize and mark experiments. This is helpful for managing different stakeholders of an experiment, different deployment types or any external marking for experiments. For example, you can add a label to an experiment with the name of a specific group that "owns" specific experiments.
Working with labels
-
To add a new label to the system, go to App Settings > Labels tab.
-
Click on the Add a new label button and give the label a name and a description.
-
To add a label to an experiment, go to the Settings tab of an experiment and select the label from the drop-down menu.
-
You can add many labels to an experiment.
-
On the main Experiments dashboard, click on the label to filter for experiments with the same label.
-
You can also use the search bar at the top of the experiments page to search for experiments with a specific label (i.e: label:"Gradual Rollout").
-
Note - Labels are available on the end device/server in the experiment object. When using Impression handler you can access/report the label as well.