About the example in this topic:
The example in this topic consists of an application called "Hello World" application with one application process called Test1 , which has two steps.

Test1 will be deployed in a dynamic environment called CloudEnv . You model the CloudEnv environment using the AWStest environment template.

The AWStest environment template has three tiers:
-
Tier 1 and Tier 3 have cloud resources defined in resource templates. These resource can be provisioned when you deploy the application.
-
Tier 2 has static resources, which cannot be provisioned.
-
Open the CloudBees CD Home page at https://<cloudbees-flow-server>/flow/.
-
Enter your username and password and click Login.
-
Go to the Applications List using one of the following methods:
-
Starting from the Main menu, click the Menu button, and then select Applications.
-
Starting from the Home page, click Applications.
The Applications List opens.
Example:

-
-
Choose an application, and click the Run process button for that application.
Example:

-
Click New Run.
The New dialog box to deploy the application opens.
See the messages in this dialog box for hints about what you need to do to deploy the application.
Example:
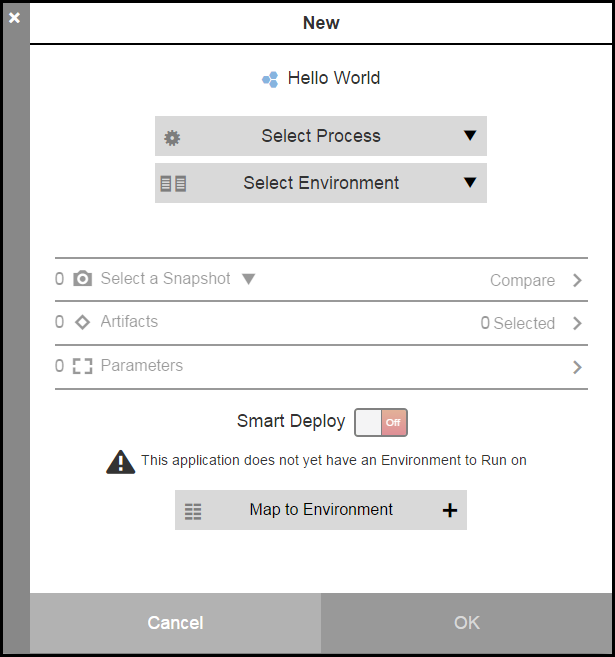
-
Select the application process to deploy.
-
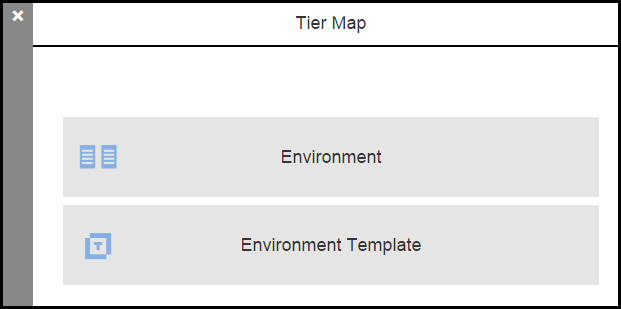
Click Map to Environment + to create a tier map for the application.
The Tier Map dialog box opens.
Example:
-
Select Environment Template.
The Tier Map dialog box to select an environment tier opens.
Example:
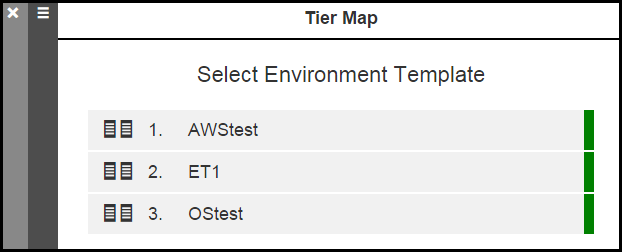
-
Select an environment template.
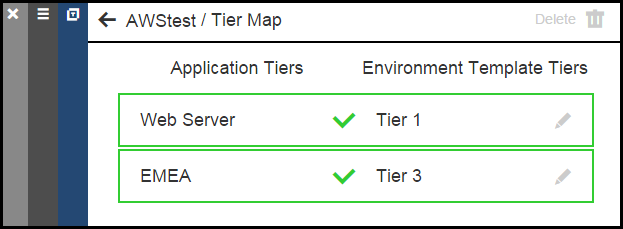
The <Environment template>/Tier Map dialog box opens.
-
For each application tier, click the Menu button to select an environment tier to which the application tier is mapped.
Example:
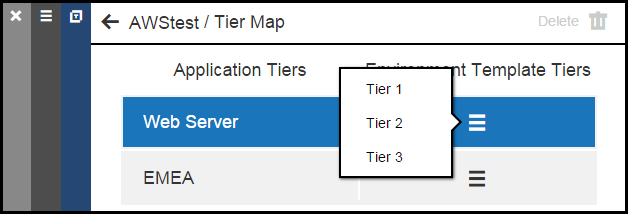
Example:
-
Click OK.
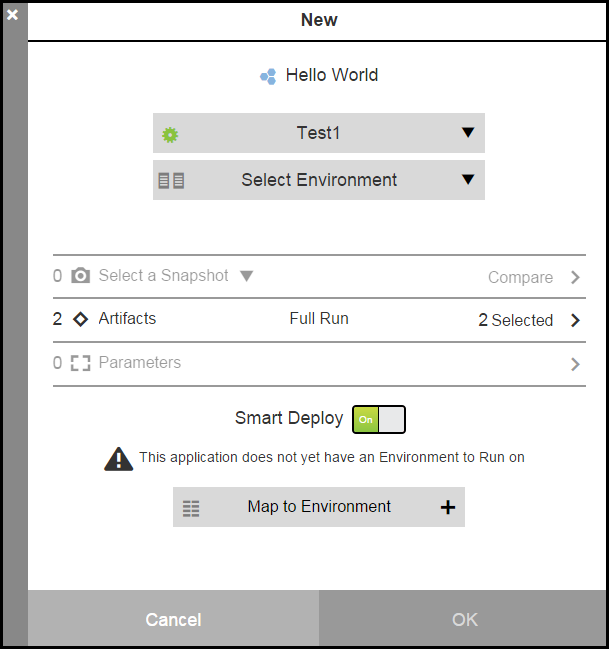
The New dialog box to deploy the application re-opens.
Example:
-
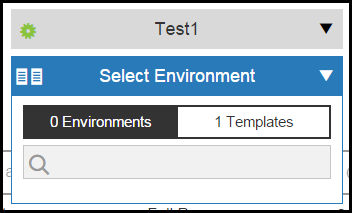
Click Select Environment to select an environment template.
A list of available environments and environment template based on the tier map opens.
Example:
-
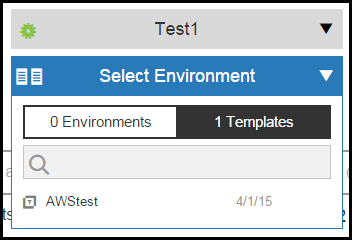
Select 1 Templates.
A list of available environment templates appears.
Example:
-
Click the environment template that you want to use.
-
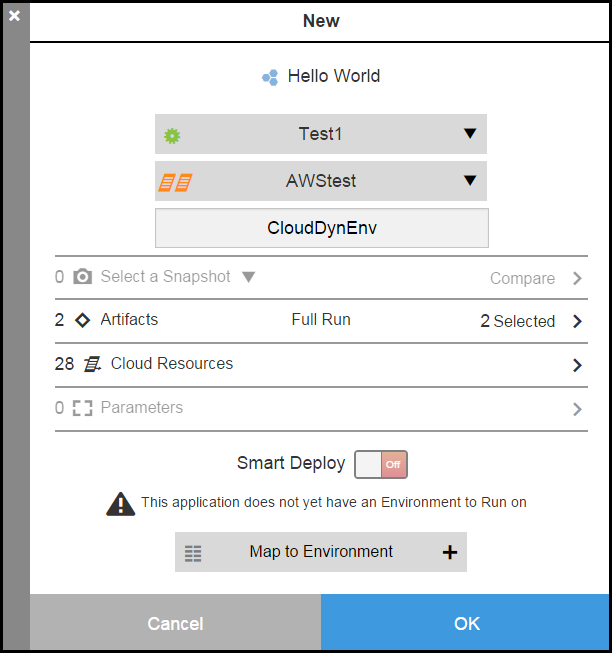
Enter a name for the dynamic environment that will be created from the selected environment template.
The New dialog box to deploy the application now shows the environment template name below the application process name. It also shows the number of cloud resources provisioned in the environment templates.
Example:
-
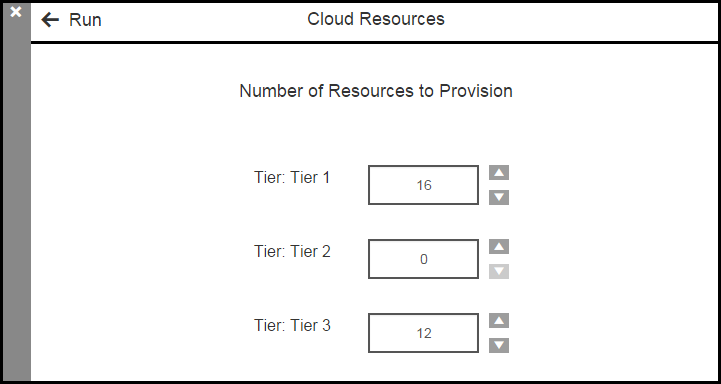
Click in the Cloud Resources row.
The Cloud Resources dialog box opens.
Example:
-
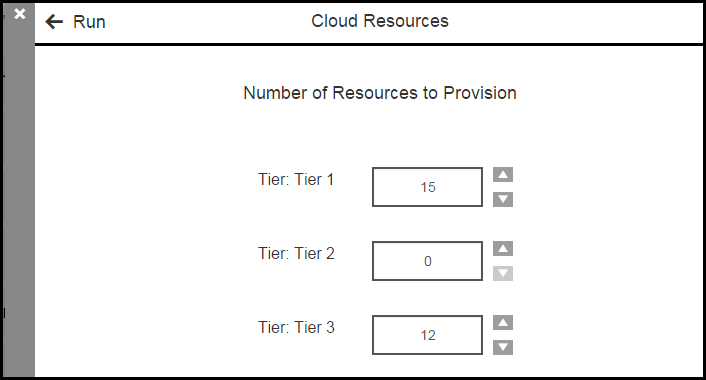
Change the number of cloud resources to provision
Example:
In this example, Tier 1 and Tier 3 have one or more resources to provision because they have cloud resources. You cannot provision resources in Tier 2 because it has only static resources.
-
Click OK.
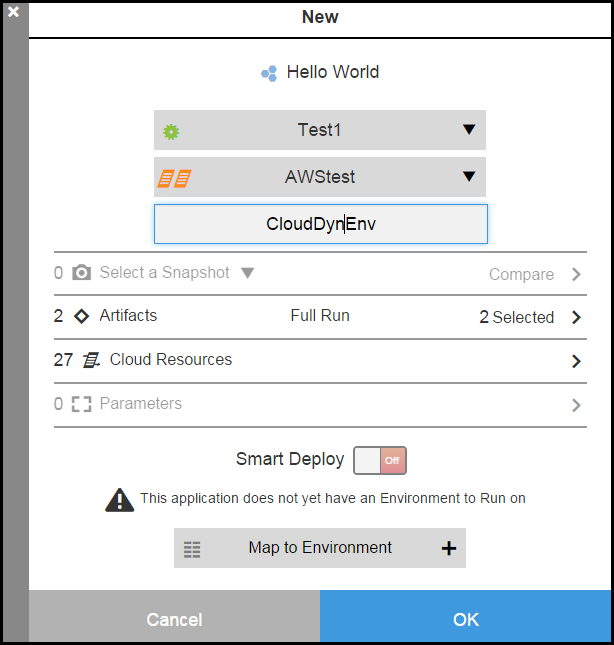
The New dialog box now shows the new number of resources to provision.
The message "This application does not yet have an Environment to Run on" still appears.
When you click OK, CloudBees CD first attempts to create the dynamic environment. If this is successful, it deploys the application.
Example:
The Applications List opens.
-
To view the job details, click the View Details button to open to the Job Details page.
CloudBees CD first runs the job to create the dynamic environment. If this job is successful, it deploys the application.
Example:

You can also see the status of jobs as they progress in the Applications List.
Example:
This example shows the Application List when the job starts.

If you provision resources that are not available, such as 20 cloud resources in Tier 1 and 3 static resources in Tier 2, the job to create the dynamic environment fails and the application is not deployed.
-