CloudBees CodeShip makes it easy to deploy your application to Heroku using CodeShip’s integrated deployment pipelines.
|
Note that this documentation refers to the new Heroku
Deployment template, which uses the Heroku API instead of the older
For more details on how the Heroku Platform API works, see the Heroku Dev Center |
Setup Heroku Deployment
Step 1 - Navigate to Deployment Configuration
Navigate to your project’s deployment configuration page by selecting Project Settings on the top right side of the project page, and then the Deploy option in the secondary navigation.
Step 2 - Add New Deployment Pipeline
Edit an existing deployment pipeline or create a new deployment pipeline by selecting + Add new deployment pipeline. If you create a new deployment pipeline, you need to select when it’s triggered. You can either match the exact name of a branch or a specify a wildcard branch.
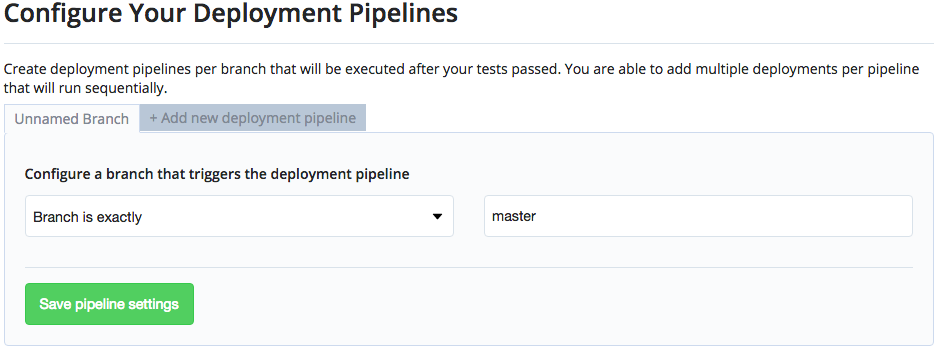
Step 3 - Heroku
Now we’re ready to configure your Heroku deployment.
Select the Heroku template from the list of available deploy templates.
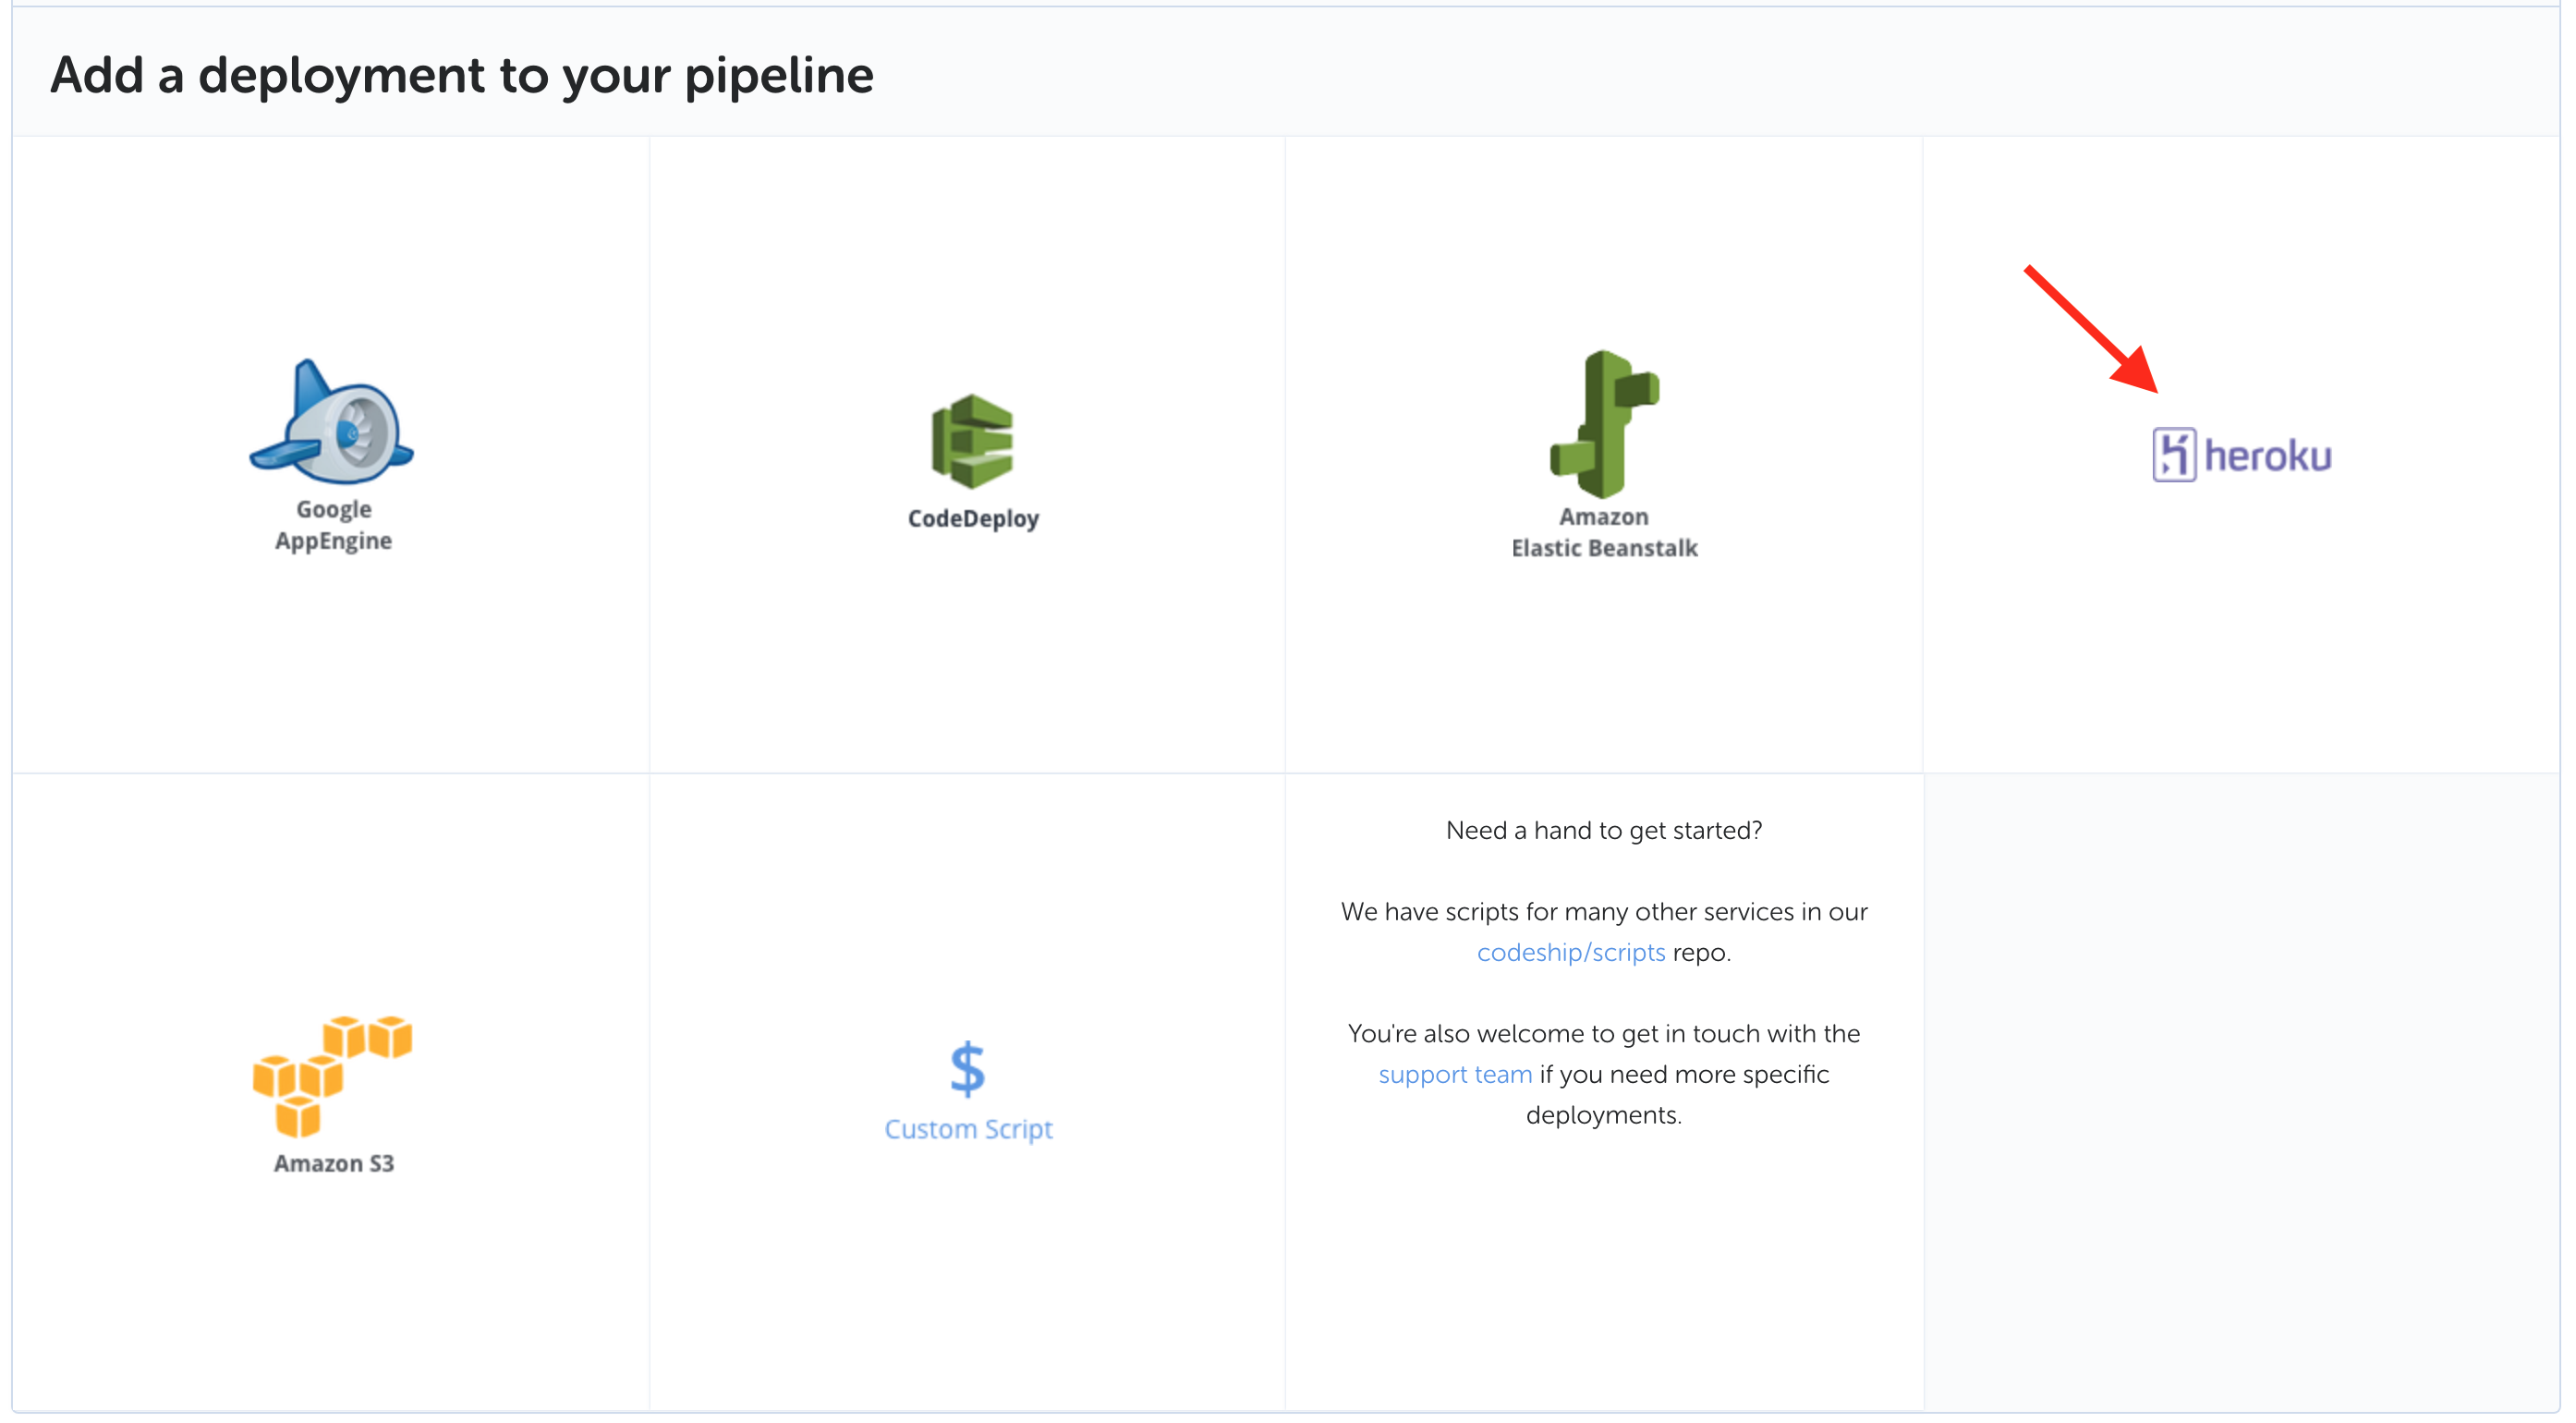
Step 4 - Deployment Configuration
Next step is to provide the application name and API key.
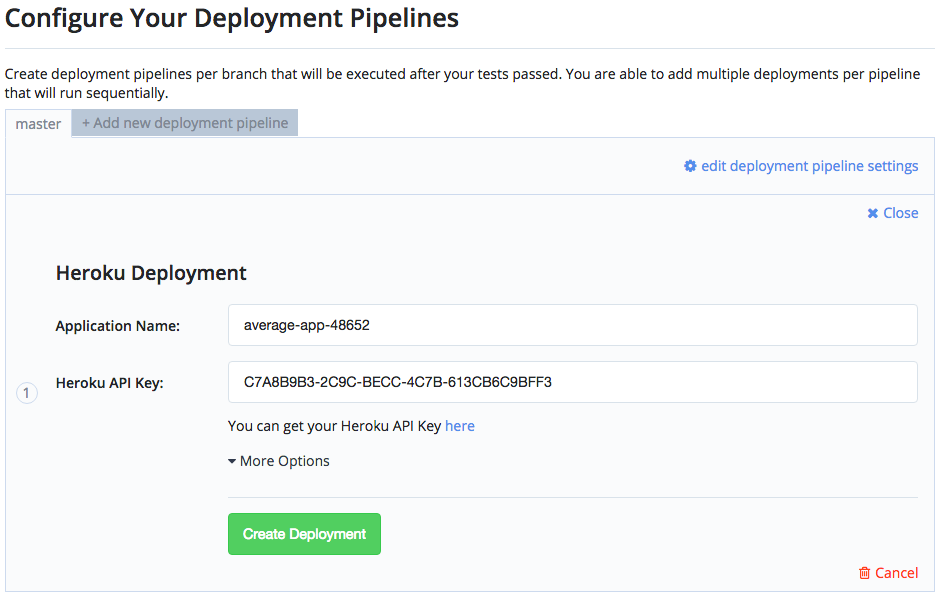
Heroku API Key
In order for you to deploy your app using CodeShip, you need to provide the Heroku API key from your Heroku account. You can access your Heroku API key here.
Push A Build

You have now successfully setup deployment to Heroku. Go ahead and push a commit to your configured deploy branch.
Additional Configuration Settings (optional)
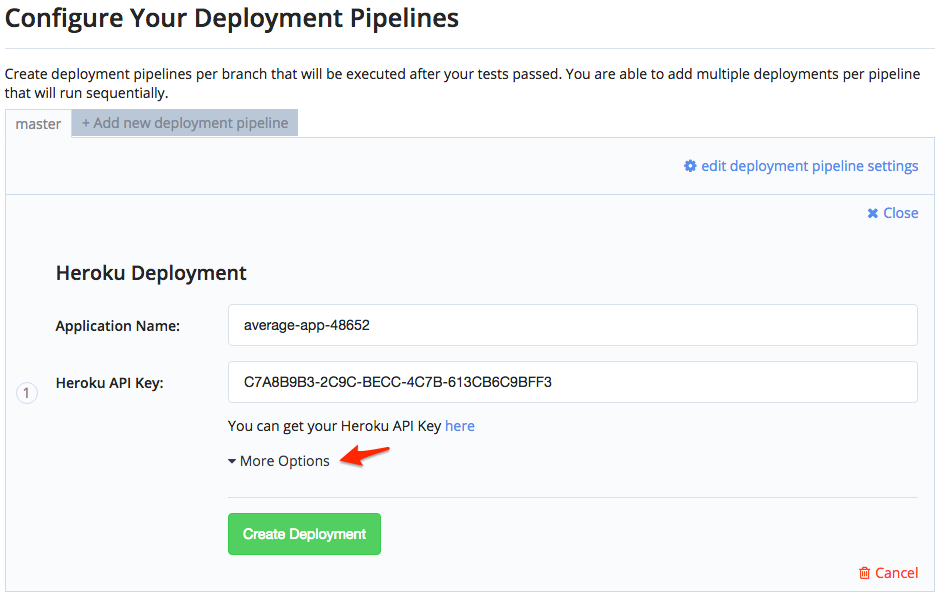
You can configure additional settings to your Heroku deployment by selecting More Options:
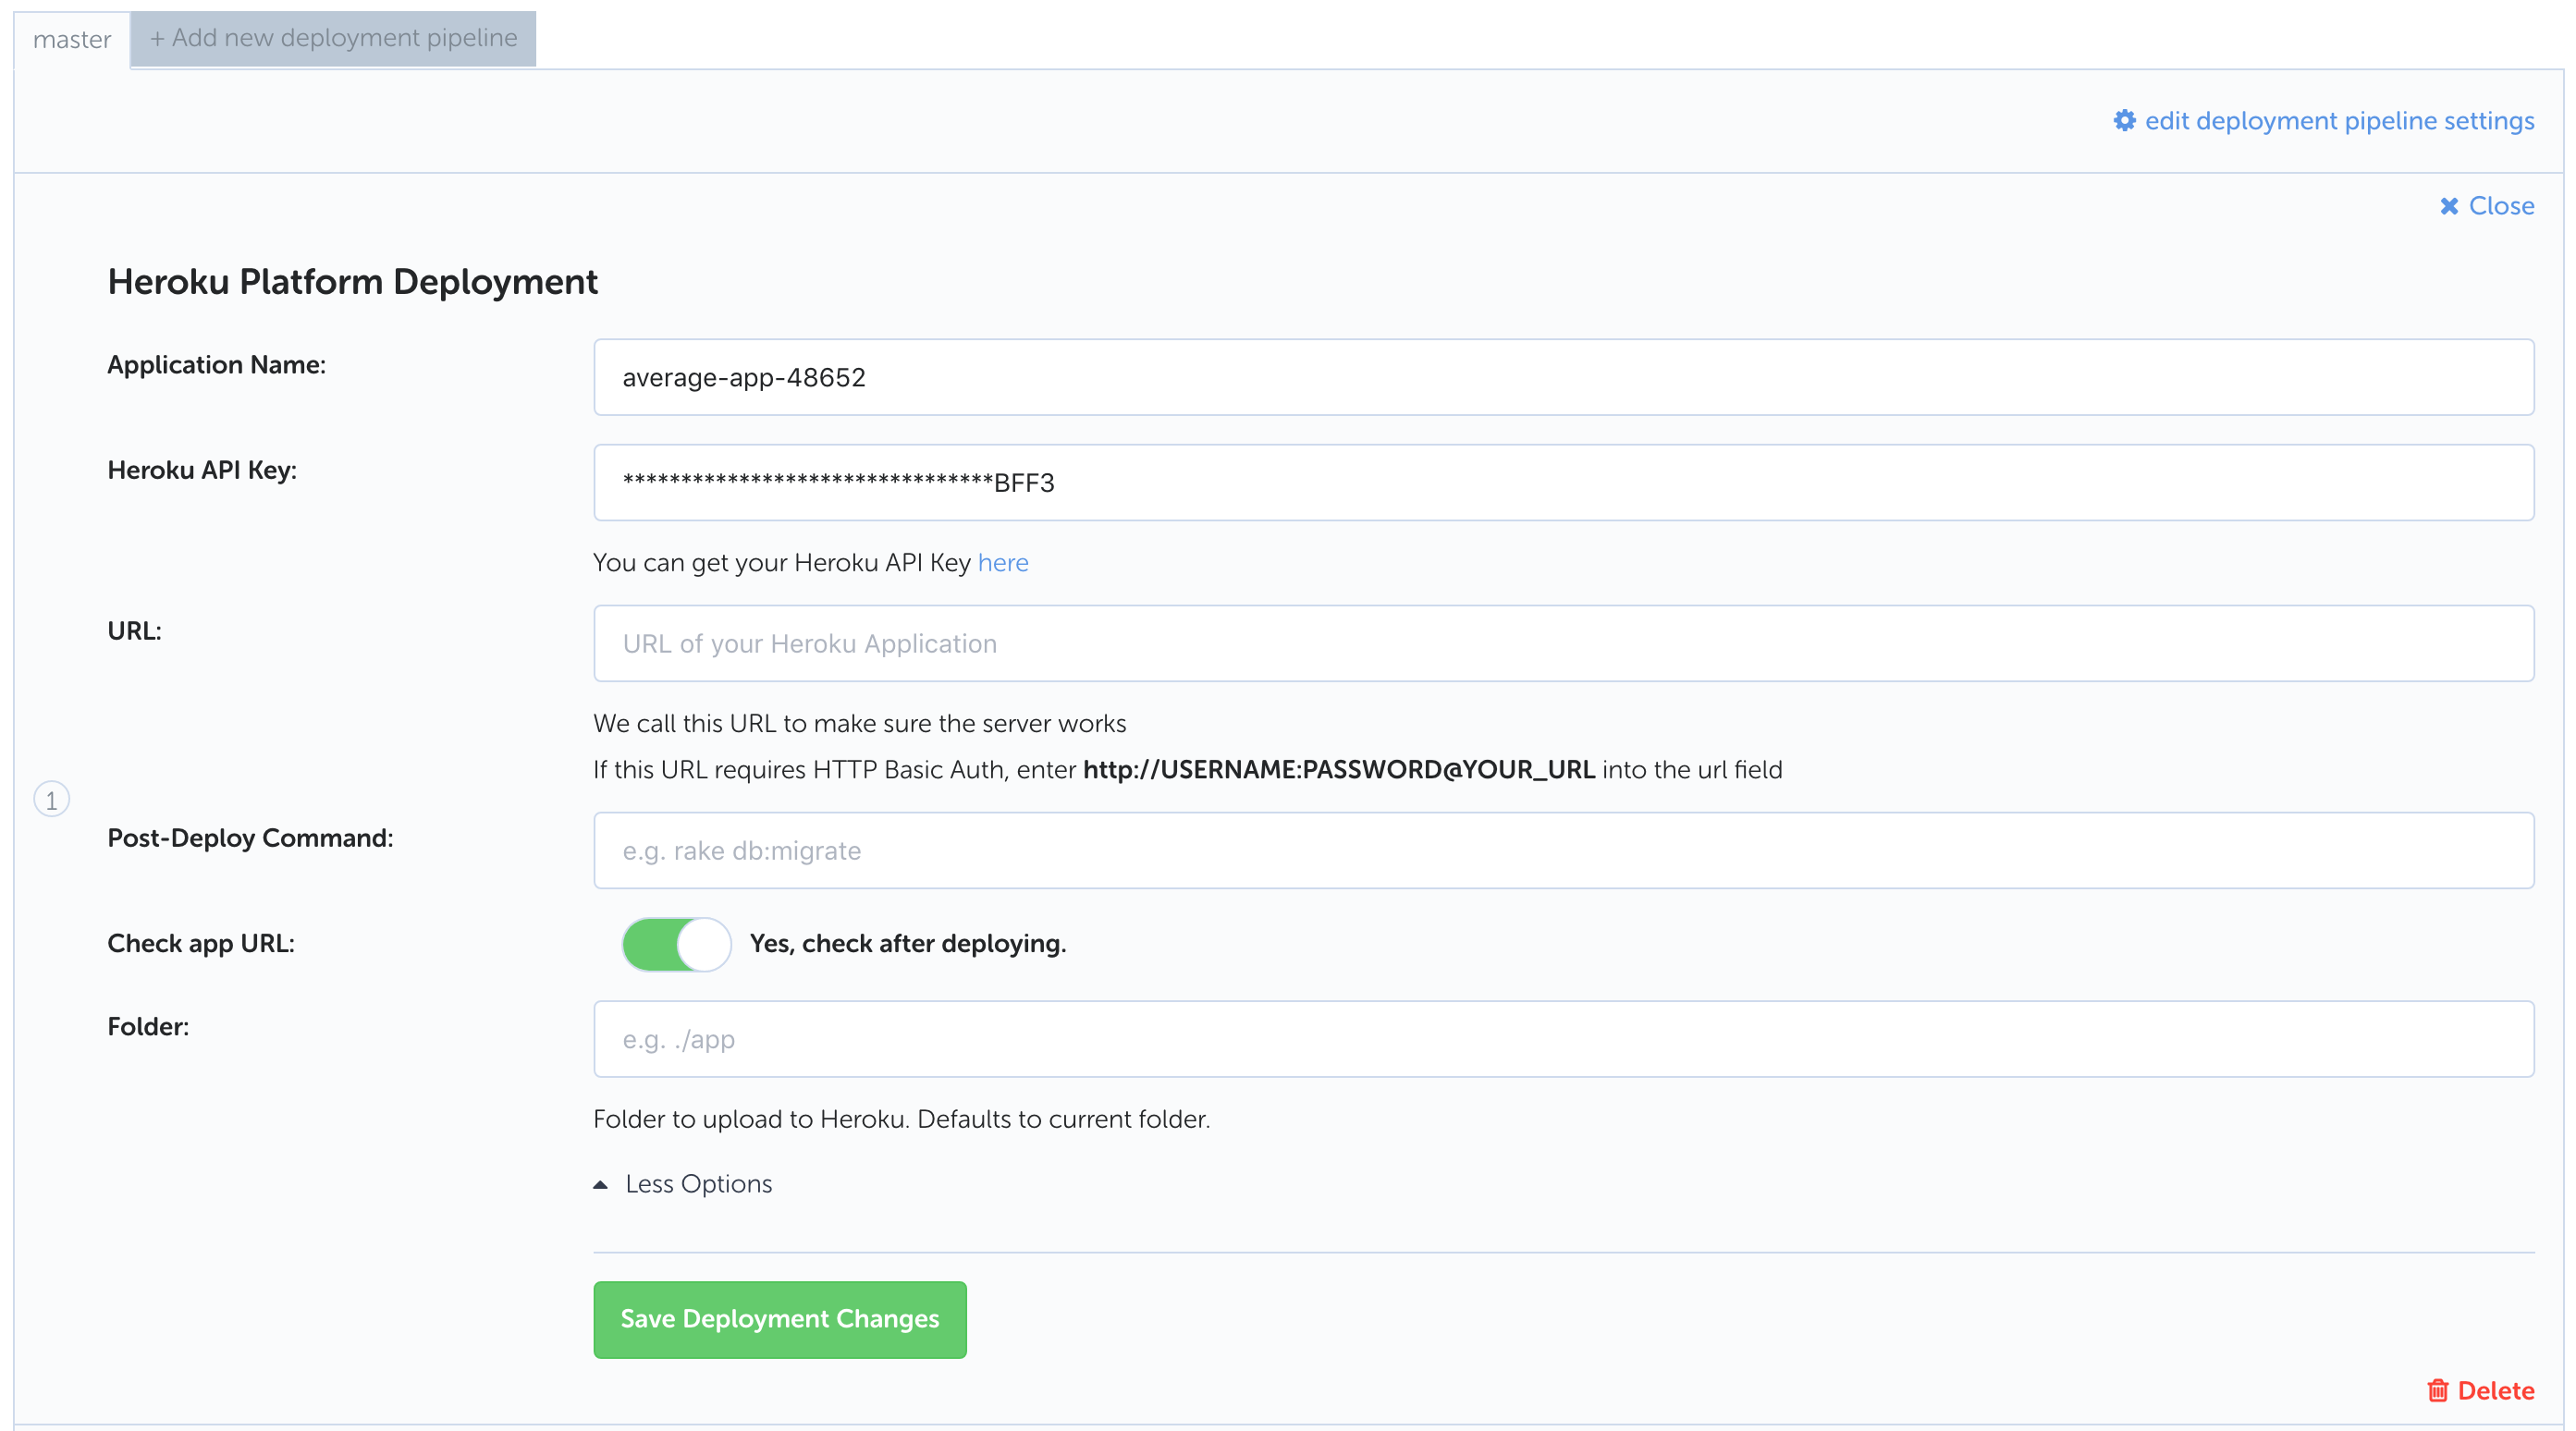
URL
After each deployment, we check your application to make sure that it is
up. We will either call the default *.herokuapp.com URL or the URL you
specified here.
If this URL requires basic auth please enter:
http://YOUR_USERNAME:YOUR_PASSWORD@YOUR_URL
Post-deploy Command
You can specify a command to run post-deployment. This can be useful for running migrations or other commands that need to be run on each deploy.
Troubleshooting
Missing SSH Key
The public SSH key for your CodeShip project should automatically get
added to Heroku when you setup the deployment. If the key is missing or
incorrect you may see an error like this during the git push step of
the deploy:
Permission denied (publickey).
fatal: Could not read from remote repository.

Please make sure you have the correct access rights
and the repository exists.
To fix this issue, get the public SSH key for your project under Project Settings > General and add it to Heroku.
SSH Key is Already in Use
During a Heroku deployment you might encounter this error on the step that syncs your project’s SSH key to Heroku:
This key is already in use by another account. Each account must have a unique key.
To fix this issue, visit Project Settings > General and click Reset project SSH key. This will reset the SSH key for the project and add the new key to the repository on your SCM. The next time you deploy the new SSH key will automatically sync to Heroku.
check_url fails for Heroku deployment
After each deployment we check if your app is up. Therefore we call
(wget) either the default *.herokuapps.com URL or the URL you
specified here.
If the build fails during check_url YOUR_URL it’s usually because your
application does not respond with a HTTP/2xx status code at the URL you
provided (or the default URL for the deployment if you didn’t provide
any).
To solve this, you can:
-
Respond with a HTTP/200 status code at the root of your application.
-
Configure a URL that will respond with such an status code in the advanced deployment configuration.
Note that you can disable the check URL functionality by unselecting the "Check app URL" option on the deployment configuration.