This article will teach you how to create and delete a project as well as give some further information on specific questions.
Create a Project
The first thing you need to select, when creating a new project, is where your code is located. You can use GitHub, Bitbucket, or GitLab in either their cloud version or as a self-hosted git server.
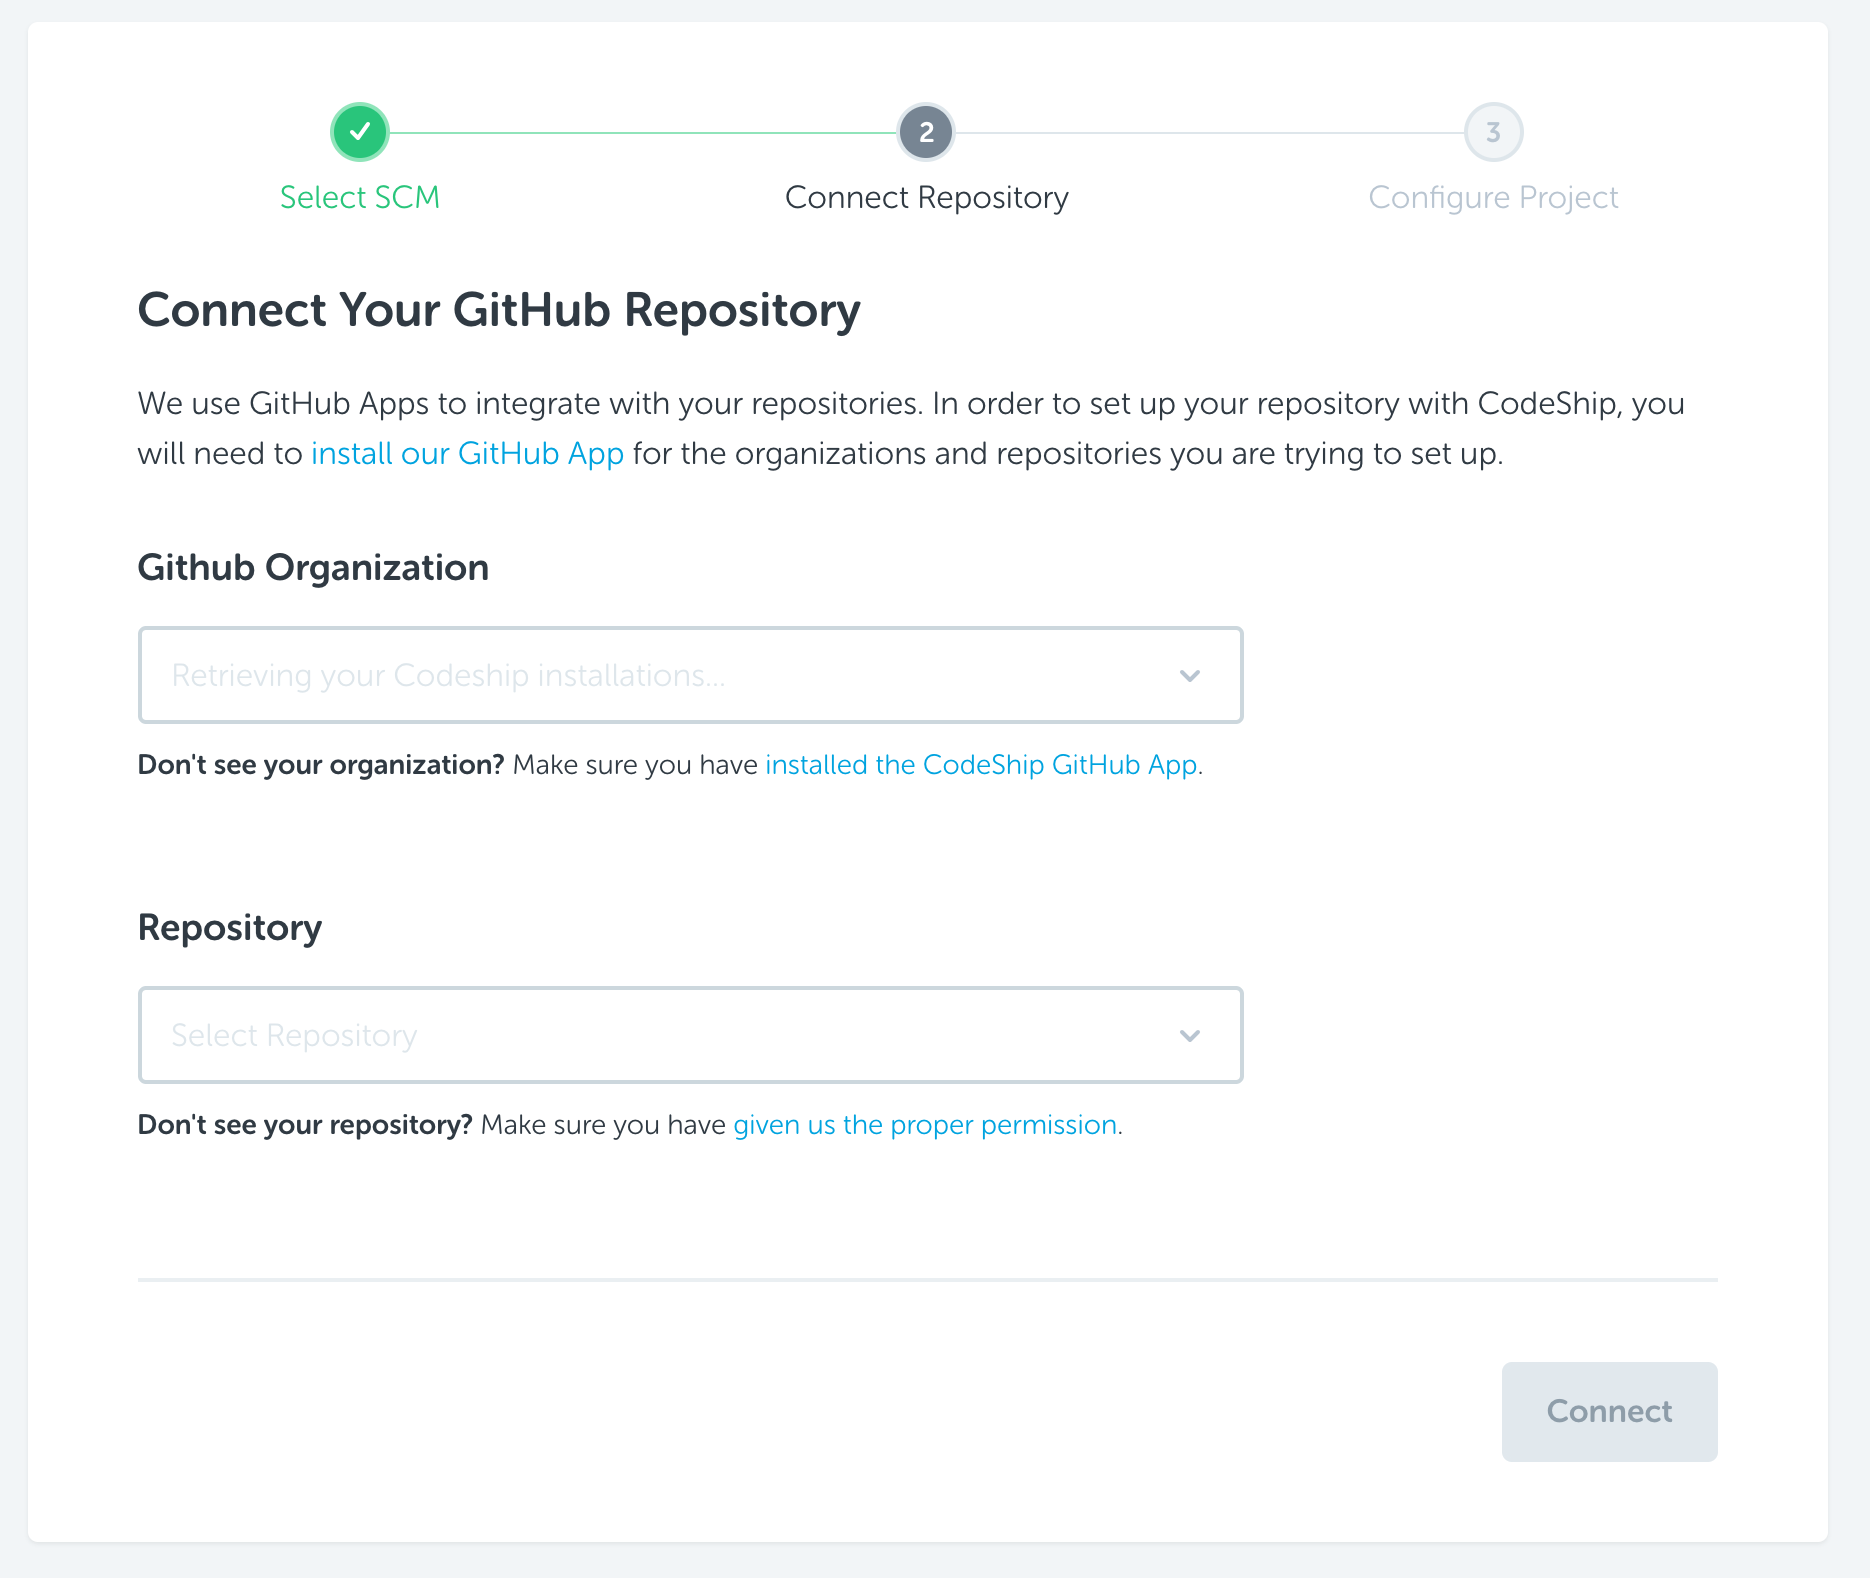
If you select to use a cloud-based GitHub repository, you will be asked to first select the GitHub organization that owns the repository, and then to select the repository itself. If you don’t see your organization or repository in either of the dropdown boxes, you will likely need to first install the CodeShip GitHub app and/or allow the app access to the repository you’re trying to setup a project for.

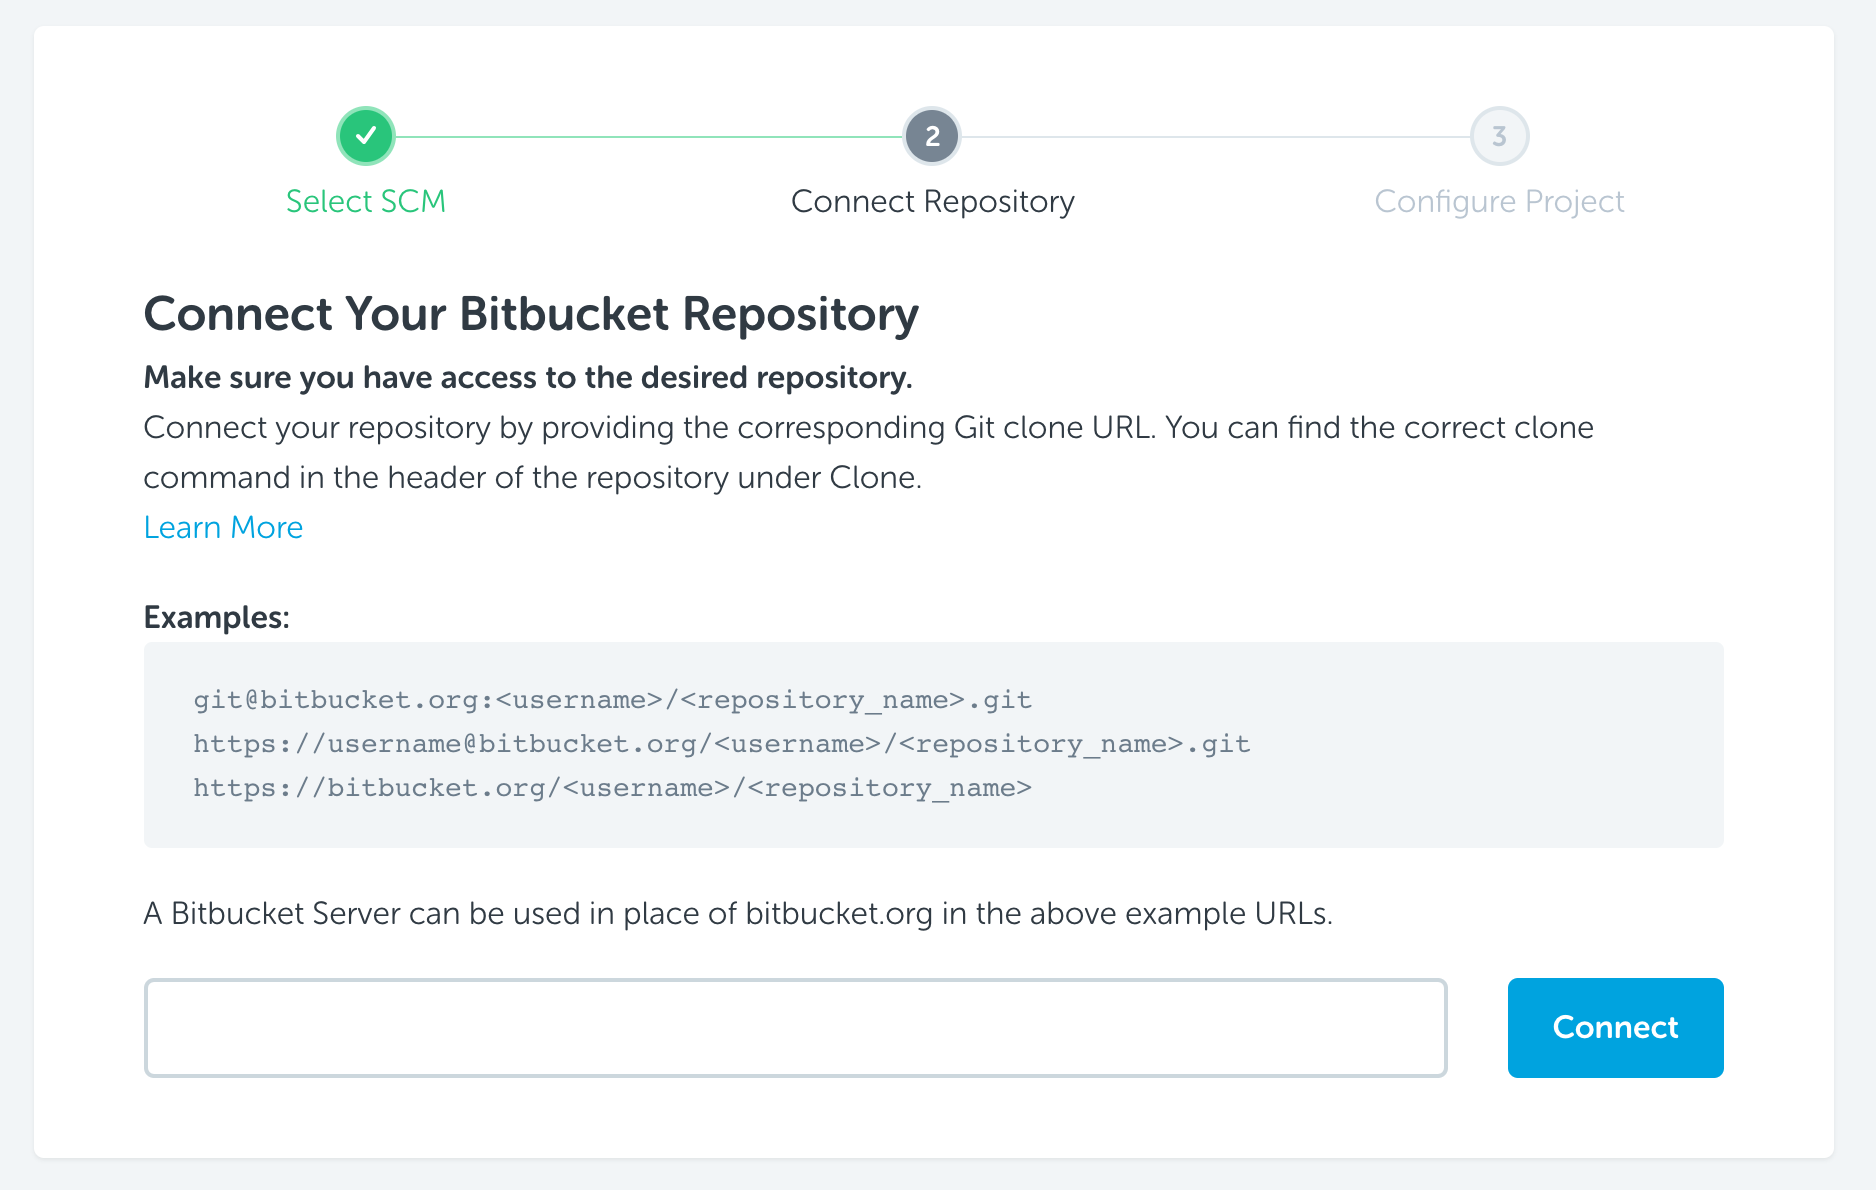
If you select to use one of the other options, you will need to first get a link to the repository from your git server

Requirements For Creating A New Project
To get started with a CodeShip project, you will want to have a few resources available:
-
A GitHub account with permission to install the CodeShip GitHub app, or a Bitbucket or GitLab account with admin permissions for a repo or organization
-
A CodeShip account, either using your email or using source control authentication
-
A code base with either setup or test commands (or both) that you need to automate
Delete a Project
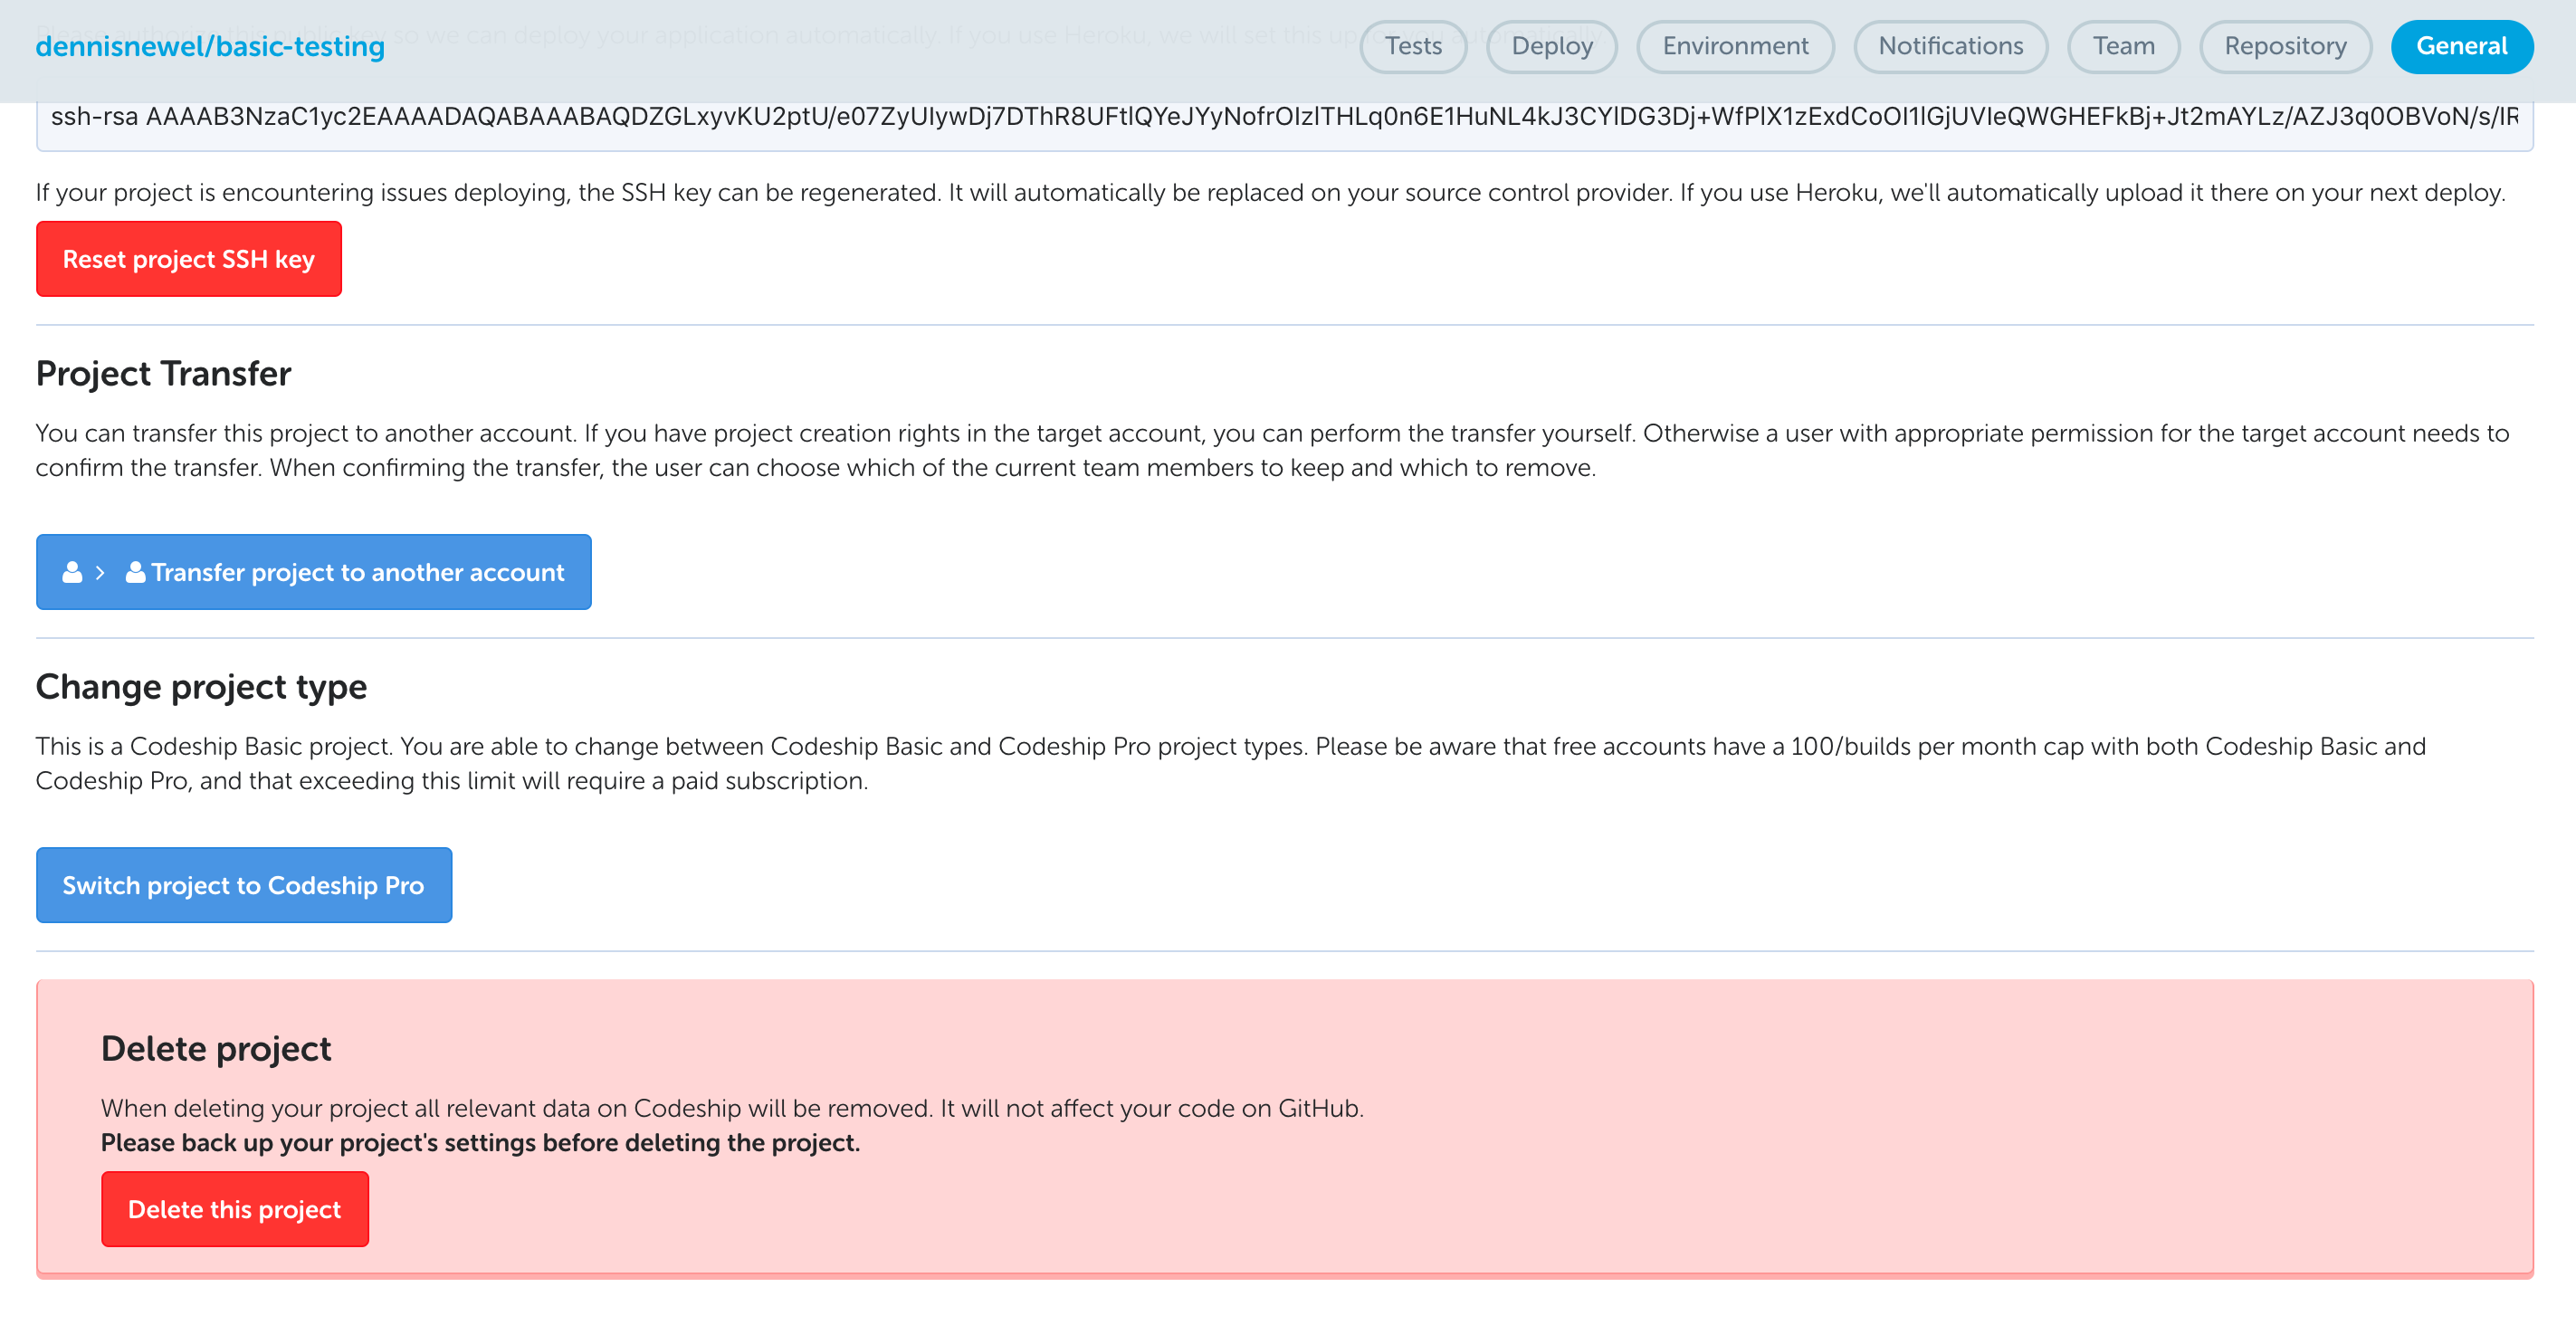
You need to have project ownership for deleting a project. Once you click the delete button, you will have to confirm the deletion once more.
A project can be deleted by going to Project Settings on the project builds view, selecting the General tab and click the Delete this project button

All your builds will be deleted as well. Make sure that you really don’t need this project anymore as it cannot be recovered once deleted.
Renaming A Project
Right now it is not possible to rename a project. You will need to remove and re-add the project if a repo’s name changed and you want to reflect this in CodeShip.
Creating Projects Using CodeShip API
If you need to create a large number of projects, or maybe just create similar projects on a regular basis, you can use the API to do the heavy lifting and just have a template on your side that forms the basis for all new projects. To learn more, head over to the API Documentation page.
Transfer Project Ownership
You can transfer your project to another account by navigating to:
Project Settings > General
A user with appropriate permission for the target account needs to confirm the transfer if you do not have project creation rights in the target account. When confirming the transfer, the user can choose which of the current team members to keep and which to remove.
If you want to bulk transfer projects, please reach out to our support via app.codeship.com.
|
Example Use Cases
|
Limit Builds to Specific Branches
We don’t have a feature to limit which branches can be built.
We build your project on every push (that is, we run your setup and test commands) to let you know as soon as possible if something is broken. We will only ever run a deployment for the specific branch it is configured on and only after all setup and test commands executed successfully. Before deployment, every push to your repository should be tested.
If you wish to skip a build, please refer to the article about skipping builds.
Testing PRs from Forked Repositories
CodeShip does not support testing pull requests from forked repositories. You need to configure the forked repository separately on CodeShip or push the branch to the already configured repository instead.
Keyboard Shortcuts
To make it easier to navigate through your CodeShip projects, we’ve provided several keyboard shortcuts for quickly jumping through the interface:
-
Shift+?brings up a list of all shortcuts -
gp, available from inside your projects, will return you to your projects overview page -
Escape key, available on your projects overview page, will return you to the previous page
-
Arrow keys, available on your projects overview page, will navigate between your projects
-
Enter key, available on your projects overview page, will select the highlighted project
-
sfocuses on the project search bar -
gdreturns you to the CodeShip homepage
Invite Team Members To Your Projects
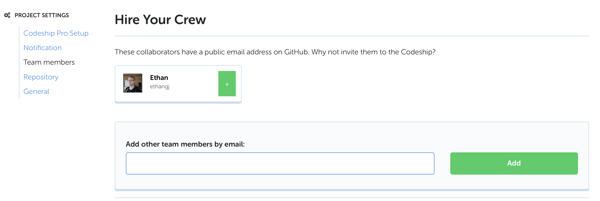
Once you’ve created your project, you can invite colleagues members to give them access.
Under Project Settings > Team members, simply add their email address to send them an invite.

Allowing CodeShip through your firewall
CodeShip is hosted on AWS EC2 in the us-east-1 region. Because of this, CodeShip services do not have static IP addresses by default. There are several different options for allowing CodeShip to pass through your firewall.
-
The most straightforward solution is our static IP addresses feature so you can allow a small number of IP addresses through your firewall.
-
AWS publishes current IP address ranges in JSON format. You can enable access for those ranges on your firewall.
-
Another option is to set up and run your own bastion host. This allows you to only open access to the bastion host and route all CodeShip traffic through it.
-
Finally, another option is configuring port knocking. The knock package is already installed on CloudBees CodeShip Basic and could also be installed in your CloudBees CodeShip Pro configuration.
Can’t locate a file
If your build can’t locate a configuration file which you ignored in
your repository, via .gitignore, create a your_config.yml.example
with data that works for your tests and add it to your repository. Then
add the following command to your setup commands so the YAML file is
properly set up.
# project settings > test settings > setup commands cp your_config.yml.example your_config.yml
You should also check that you are not coming from a case-insensitive
operating system where you may not have noticed that the file name is
different, i.e. File.yml compared to file.yml.