Setting Up A New Project
Once you have your project running locally you can configure the repository on CodeShip and have the builds run on each push.
If you already worked with CodeShip the process will be familiar (and if not, it should be very simple nonetheless).
-
Click on the Select Project dropdown in the top bar and select the Create a new project button.
-
Select the repository provider you want to host your repositories with.
-
Select the repository you want to build on CodeShip. You can filter the list via the search form. If a repository belonging to an organization on GitHub isn’t listed, please take a look at 3rd party restrictions.
So far these are the standard steps to add a new project on CodeShip.
-
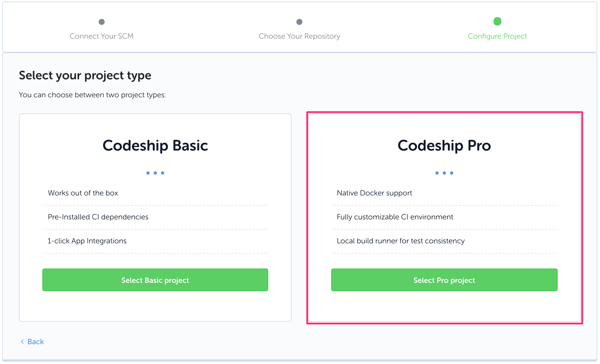
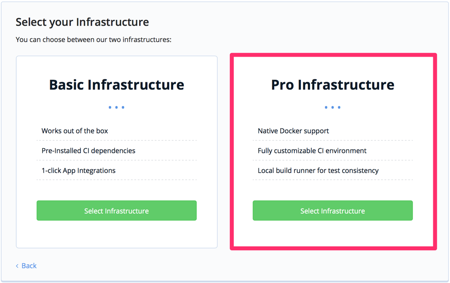
You can now choose between CloudBees CodeShip Basic and CloudBees CodeShip Pro (Docker). Choose the latter.
-
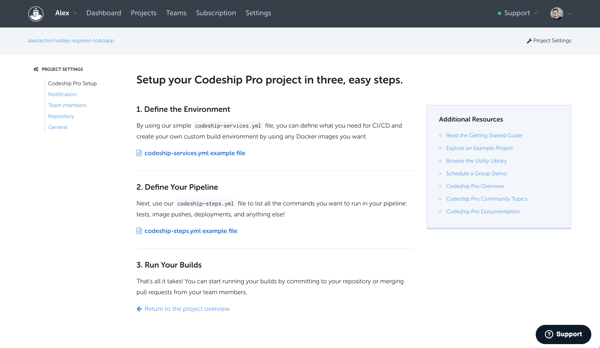
You will be presented with a screen offering basic setup instructions, as well as a link to the documentation for CloudBees CodeShip Pro.
As we already added all the required information to the repository, you can push a new commit and this will trigger a new build on CodeShip.
-
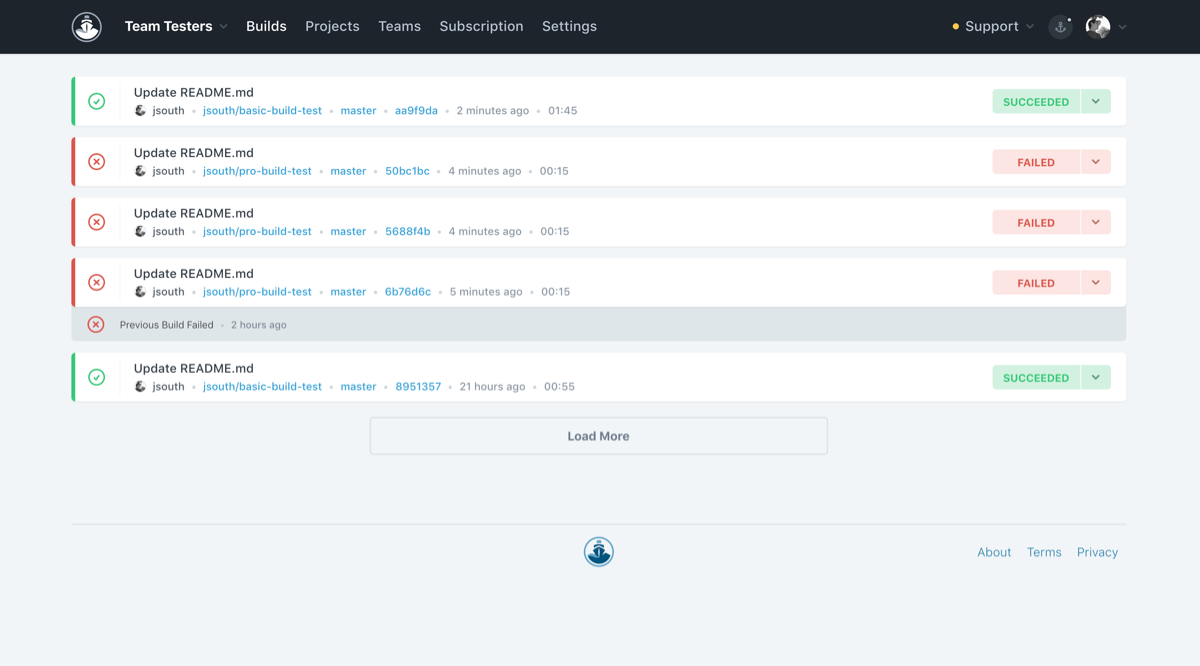
Once you have triggered a new build, you’ll see the standard CodeShip build listing page.
-
Clicking on a single build takes you to the build details.
-
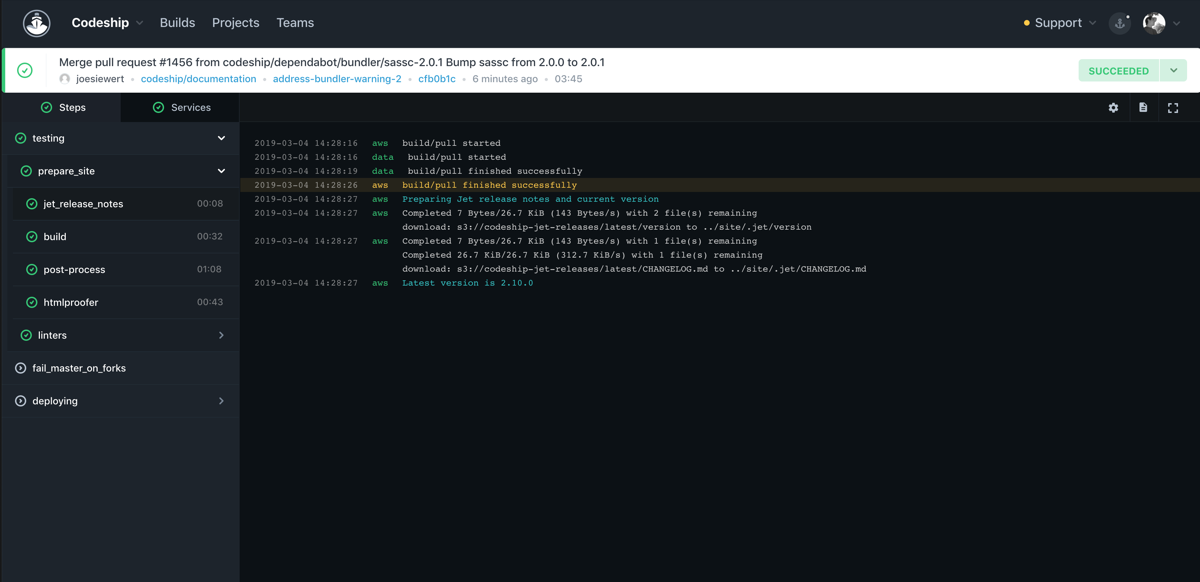
The page is split in two panes. On the left hand side you will find basic build details, including the commit message, who triggered the build and which branch (or tag) triggered the build.
You will also see the services defined in your codeship-services.yml file (if you click on the Services header as this section is hidden by default).
The main portion of the left pane is dedicated to listing the steps you have defined. Clicking on a single step will open the step log in the right pane. Each step includes the following information:
-
The command you are running
-
The service the step is running on (on the right hand side)
-
The status indicated by an icon
-
-
The remaining project configuration (e.g. team management or notifications) is identical to a standard CodeShip project and accessible via the Project Settings dropdown at the top.
Migrating from CloudBees CodeShip Basic to CloudBees CodeShip Pro
Create a new CloudBees CodeShip Pro project
To create a new CloudBees CodeShip Pro project, select the Pro infrastructure after connecting your source control.
Switch a CloudBees CodeShip Basic project to a CloudBees CodeShip Pro project
To switch a project from CloudBees CodeShip Basic to CloudBees CodeShip Pro, just click on Project Settings in the top right. Then, under the General tab, you will see a Switch to CodeShip Pro button.

Use CloudBees CodeShip Basic to run CloudBees CodeShip Pro builds
On any CloudBees CodeShip Basic project, you can commit to the branch codeship-docker-migration to trigger a CloudBees CodeShip Pro build. This is helpful as it allows you to leave your CloudBees CodeShip Basic configuration running while you work on migrating the project to CloudBees CodeShip Pro.
You still need the configuration files in your repository which includes codeship-services.yml and codeship-steps.yml.
You can use our command-line tool, Jet, to work on the setup for your project. Note this is the only branch that will run Pro builds from Basic projects and these builds will show up in your build queue.
After you trigger your first CloudBees CodeShip Pro build, your project will create an AES key under Project Settings which can be used to encrypt environment variables.
Before starting this migration, we recommend going through our getting started guide.