|
In addition to this guide, we’ve also got quickstart repos and sample apps available to make starting out with CloudBees CodeShip Pro faster and easier. |
The source for the tutorial is available on Github as codeship/ci-guide and you can clone it via
git clone git@github.com:codeship/ci-guide.git
Getting Started With CloudBees CodeShip Pro (Part 4)
Let’s take a look at volumes, and let’s start with what is a volume and what is it good for?
First, it’s important to know that CodeShip does not reuse containers on different steps, meaning there is no way for a container to grab data or information - or maintain changes - made by a previous container or step in your workflow.
This can create some problems. What if you want to create a service responsible for generating all your production assets, or what if you prepare your database in one service and need it to remain the same in the next step when you run your tests?
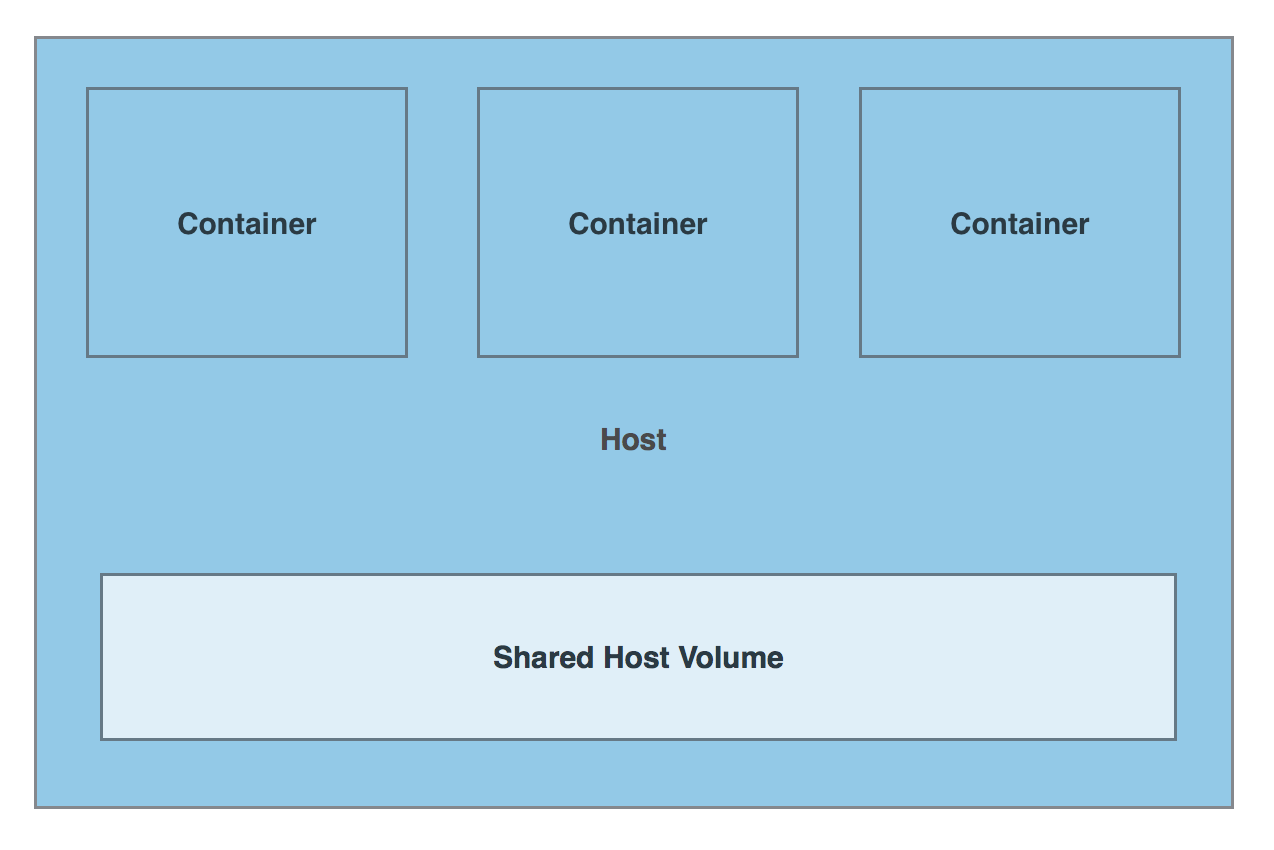
That’s where volumes come in. A volume is mounted on the host, "underneath" your containers, and you can specify which containers can read from volumes defined by other services. This lets you artifact data, generate assets and pass data between services easily - while keeping your services and steps isolated like you would want for a truly high-integrity CI process. Note that volumes are standard Docker functionality, not CodeShip-specific.

Creating volumes
Let’s open our services file and find our main application service and make a quick modification.
demo: build: image: myapp dockerfile: Dockerfile depends_on: - redis - postgres environment: TEST_TOKEN: Testing123 volumes: - ./tmp:/code
The volumes directive takes a parameter that maps a host directory (./tmp) to a container directory (/code). This means that inside of our container, anything written or read from /code will actually be taking place on the host in the ./tmp directory.
Configuring volumes
With our volume mounted, we’re next going to need to test if it’s working. To make sure it’s working, we have to do two things: Write to it and read from it in a later step.
Let’s prepare for the second part first, reading from the volume in a step that takes place after the step where we write to it. This will guarantee that the volume is accepting data, persisting that data and readable further down in our CI/CD pipeline.
To read from the volume, we’ll need to create a separate service in your codeship-services.yml file. Let’s do that now.
demovolumes: build: image: myapp2 dockerfile: Dockerfile.volumes volumes_from: - demo
There are a few things that are worth noting here. First, we’ve given the service a new name, a new image name and a new Dockerfile. We want this service to be totally separate from our other service, after all.
Second, we’ve added a new directive, volumes_from and specified that it will read from the volume in our main demo service. This is the essential requirement for connecting volumes between services.
Of course, since our new service needs a new Dockerfile, we’ll need to create our Dockerfile.volumes really quick. For this example, we’re just going to clone our existing Dockerfile and rename it.
Testing the volume setup
Now that our service for reading from the volume exists, let’s create a new file named write.rb to create the artifact on our volume that we’ll be testing for. After creating the file, drop in the following code:
File.write('/code/test.txt', 'Test content') puts "Writing to a volume!" exit 0
As you can see, it’s writing a simple text file to our volume that we’ll use to verify that our volumes setting is working properly. Next, we’ll add a second new file to call from our new service so that we can check to make sure the text file exists. Let’s create read.rb and drop in the following:
data = File.read("/code/test.txt") puts "Reading from the volume" + data exit 0
Using volumes in the continuous integration pipeline
Now that we have our new service and both of our scripts, we need to edit our codeship-steps.yml file so that everything get’s executed. We’re going to take advantage of nested parallel and serial steps to do this. Open up codeship-steps.yml and modify it to the following:
- type: parallel steps: - name: checkrb service: demo command: bundle exec ruby check.rb - name: test service: demo command: bundle exec ruby test.rb - type: serial steps: - name: volumes_in service: demo command: bundle exec ruby write.rb - name: volumes_out service: demo command: bundle exec ruby read.rb - type: serial steps: - name: dockerhub_push service: checkrb type: push image_name: account/repo registry: https://index.docker.io/v1/ encrypted_dockercfg_path: dockercfg.encrypted
As you can see, we’ve created a third parallel step to run out new volumes test, and that parallel step is using a serial sub-step to first run the write.rb script and then to run the read.rb script.
So, now we’ve got a new service that writes an artifact to a volume, as defined in our codeship-steps.yml file. We also have a new test in our original demo service that checks to see if the artifact exists before moving on with our image push and deployment. This, in a nutshell, is how volumes are used in your CI/CD pipeline.
Let’s go ahead and run jet steps to see it all work.

Examples of how to use volumes
The one thing this example probably doesn’t cover is why YOU might need to use volumes.
Here are some of the most common real world use-cases for volumes:
-
Generating assets used by later services
-
Populating a database to be tested later in the pipeline
-
Passing credentials between services to keep authentication secure
Of course, every application is different so there are a ton of potential reasons your specific application might need volumes that aren’t covered here.