The core of the CloudBees platform is the workflow, a DevSecOps automation. In this quickstart, create a workflow to build a sample Go application, then run the workflow.
Prerequisites
Complete the Quickstart: Connect to source code management that connects a sample Go app repository to the platform.
Create a component
Create a component that contains all the resources required to build a sample Go app in the CloudBees platform.
To create a component:
-
Select the
 , and then select an organization.
 -
Select Create component.
-
Select your sample Go app repository from the options. If desired, enter all or part of its name into Search, and then select it.
-
Select Next.
-
Enter a Component name.
-
(Optional) Enter a Description.
-
Select Create.
Your component is created, and you are ready to create a workflow to automate building your Go app.
Create a workflow
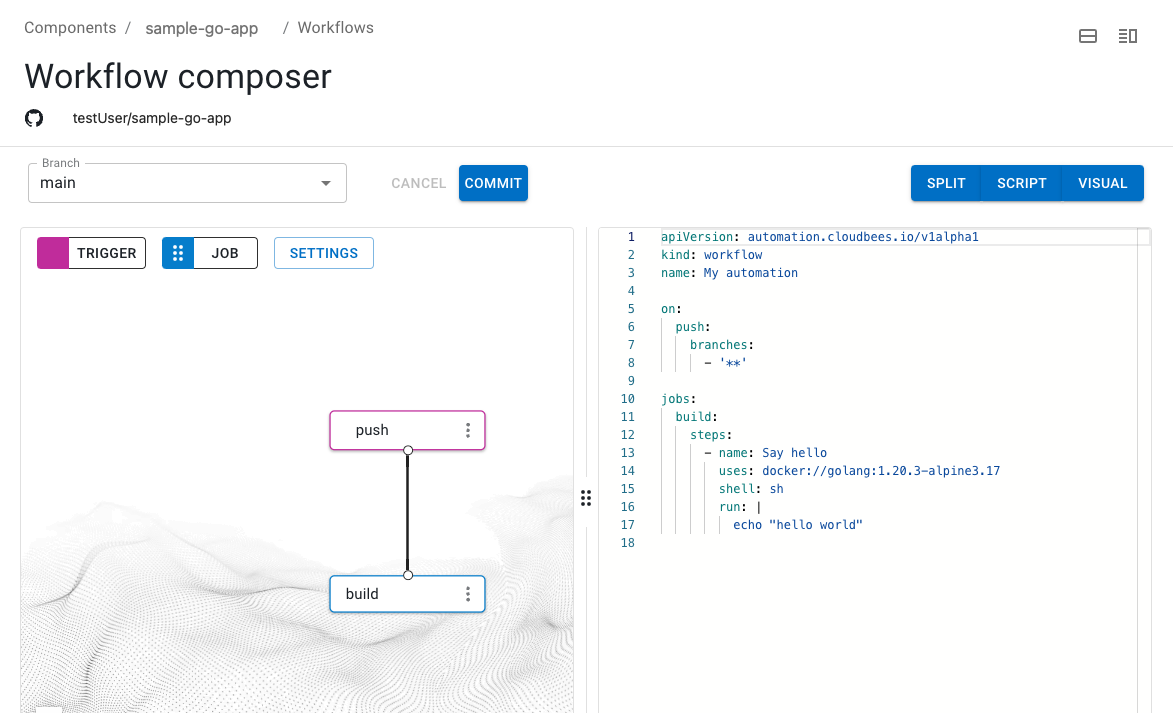
Create a CloudBees workflow with the composer code editor.
| The workflow displayed in the visual tool automatically updates with every change you make to the script in the code editor. |
To create a workflow:
-
Select a component in an organization in one of two ways:
-
Select the
 next to the organization under Home, and then select a component.
 -
Select Components, and then select a component from the list.
-
-
Select Workflows on the left pane.
-
Select Create workflow.
An example workflow that outputs "hello world" is displayed in the composer.

Update the workflow
In the code editor, add a new CI job, then commit these changes to your repository.
This job performs the following steps:
-
Adds update privileges to an image directory (required by the Go app).
-
Runs the preconfigured CloudBees action to check out a Git repository.
-
Builds the Go app.
-
Runs tests on the Go app.
To add the new CI job using the code editor:
-
Select Components, and then select a component from the list.
-
Select Workflows on the left pane.
-
Select Edit YAML on your workflow.
-
Delete the
buildjob that outputs "hello world", on lines 11 - 17. -
Enter the following, starting on line 11:
Check to confirm that your YAML script is similar to the following:
Display the complete YAML file for building the sample Go app.
-
Select Commit.
To save changes to your workflow, you must make a commit. -
Enter a Commit message.
-
Select Commit to current branch.
-
Select FINISH.
-
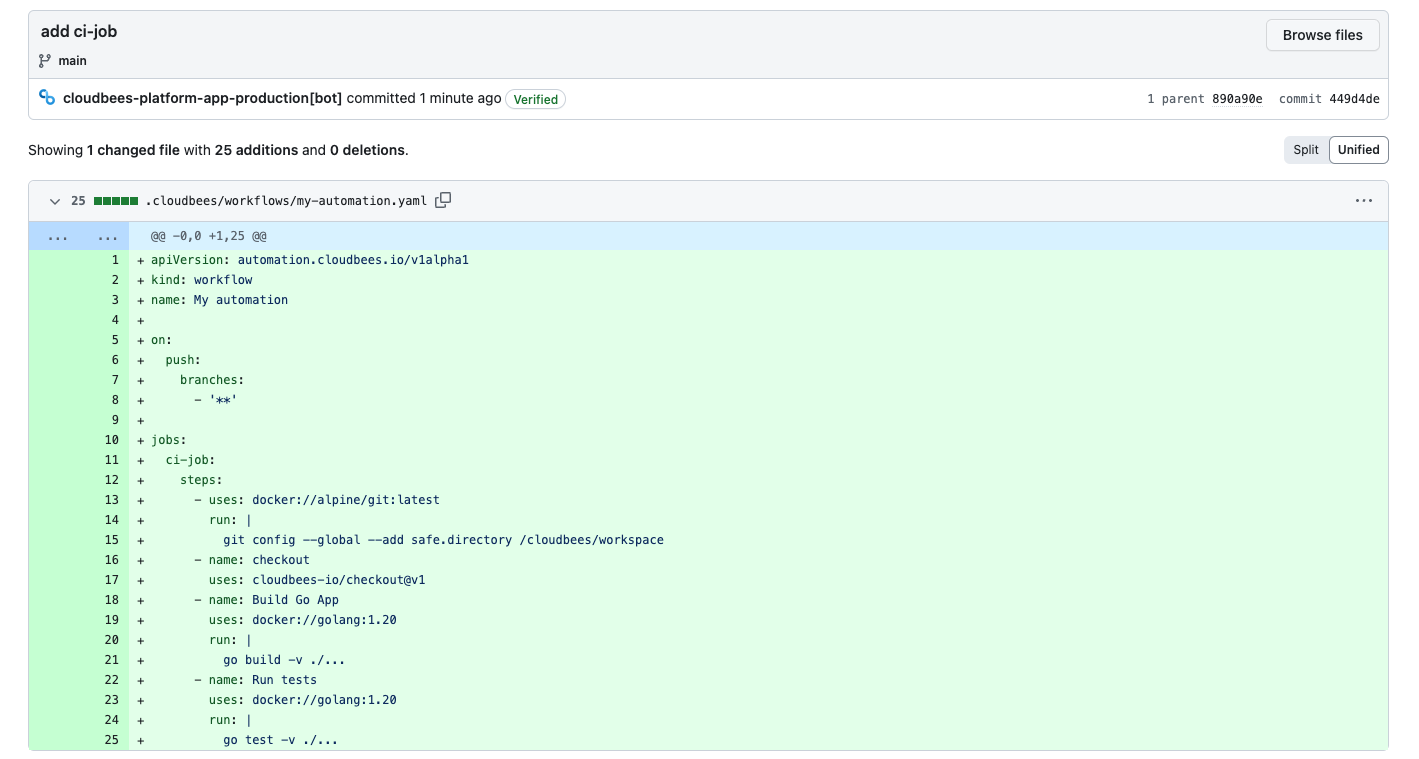
Check your repository for the commit.
All CloudBees platform workflows are saved in .cloudbees/workflowsin your connected repository. Figure 2. Commit in connected GitHub repository.
You have created a workflow to build a sample Go app, using the code editor in the composer, and triggered a workflow run.
Check your workflow run
-
Select Components, and then select a component from the list.
-
Select Runs from the left pane.
-
Select the run (commit message link) to display the details.
-
Select
ci-jobto display each job step, and then select Expand all on the upper right to display all step details.
You have run a workflow triggered by a commit to the main branch of your repository, and checked your workflow run details. You are now ready to scan your repository for security flaws.