To create a basic Pipeline in the UI, follow these steps:
-
Select New Item.
-
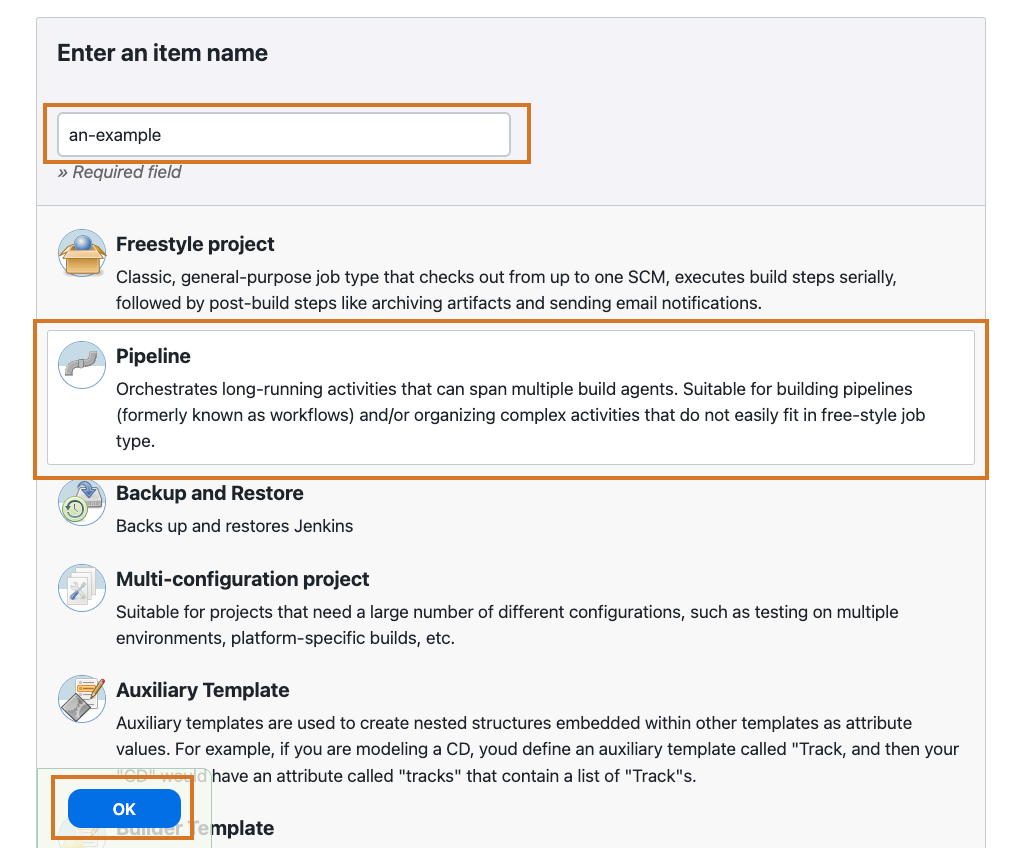
Enter a name for your Pipeline, select Pipeline, and then select OK.
CloudBees CI uses the name of the Pipeline to create directories on disk. Pipeline names that include spaces may uncover bugs in scripts that do not expect paths to contain spaces.
 Figure 1. New item name
 -
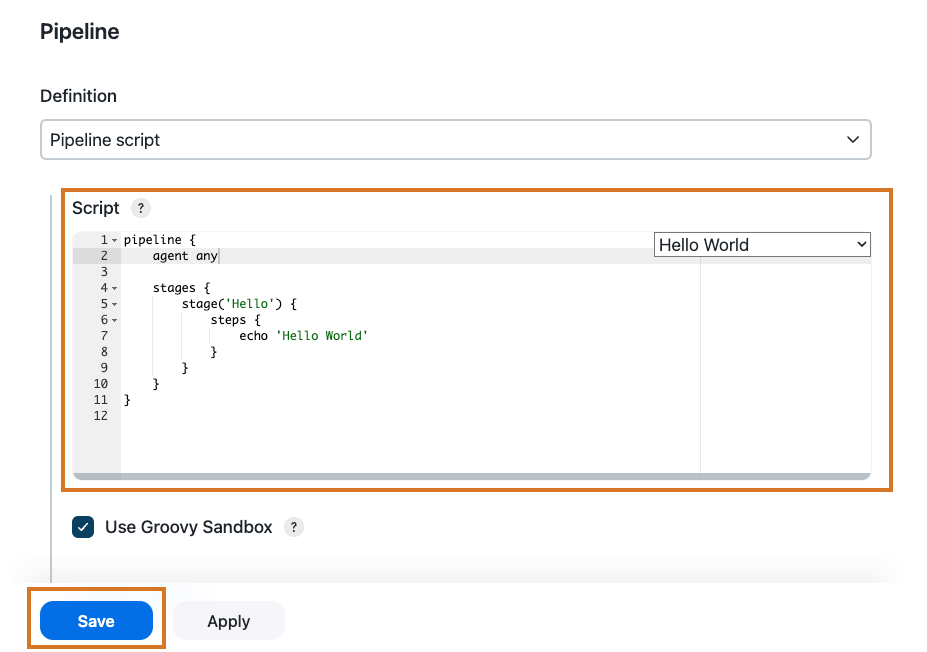
In the Script text area, enter a Pipeline and select Save.
 Figure 2. Pipeline script
 -
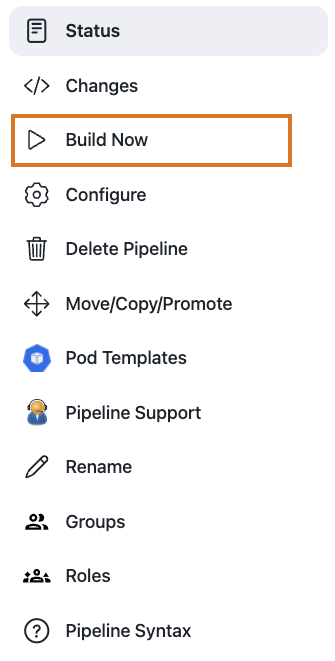
Select Build Now to run the Pipeline.
 Figure 3. Run the Pipeline
 -
Select #1 under Build History and then select Console Output to see the full output from the Pipeline.