There are two methods for configuring users. An administrator can add users; however, it is also possible for users to configure their own settings.
The process of configuring users for CloudBees CI Slack Integration involves the following steps:
Add a user
Before you can add a user, you need the following information about the user:
-
CloudBees CI user Id: The user’s CloudBees CI user Id can be found in their profile information on the controller.
-
Slack email: The Slack user’s email that is associated with the Slack workspace where messages should be delivered. This email address is used to retrieve the user’s Slack ID.
-
SCM Id: When a PR is built, if the GitHub or Bitbucket author matches the user in the plugin, the CloudBees Slack Integration Plugin sends a notification to the linked Slack ID.
-
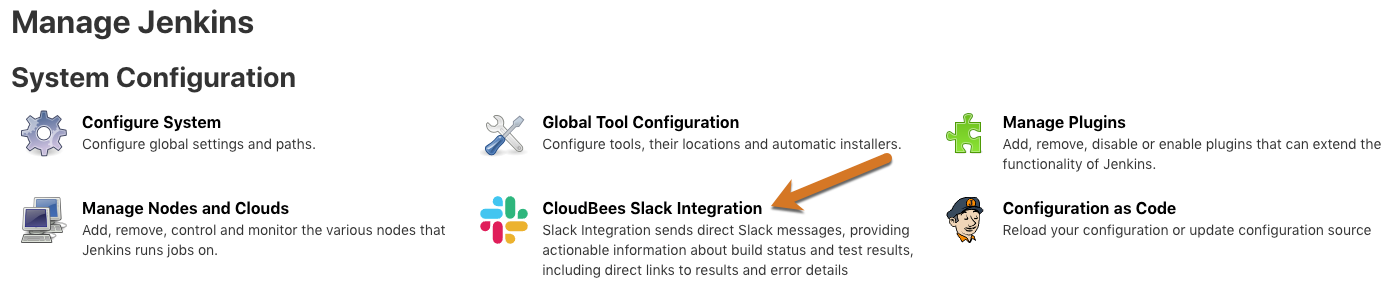
Select in the upper-right corner to navigate to the Manage Jenkins page.
-
Select CloudBees Slack Integration.
-
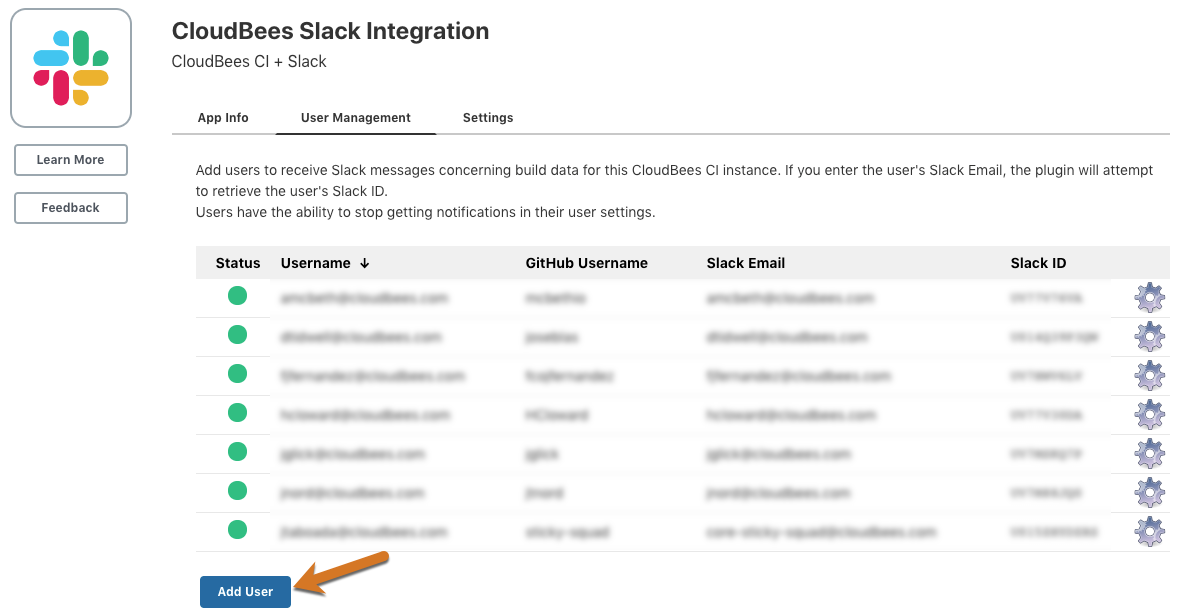
Select User Management.
-
Select Add User.
-
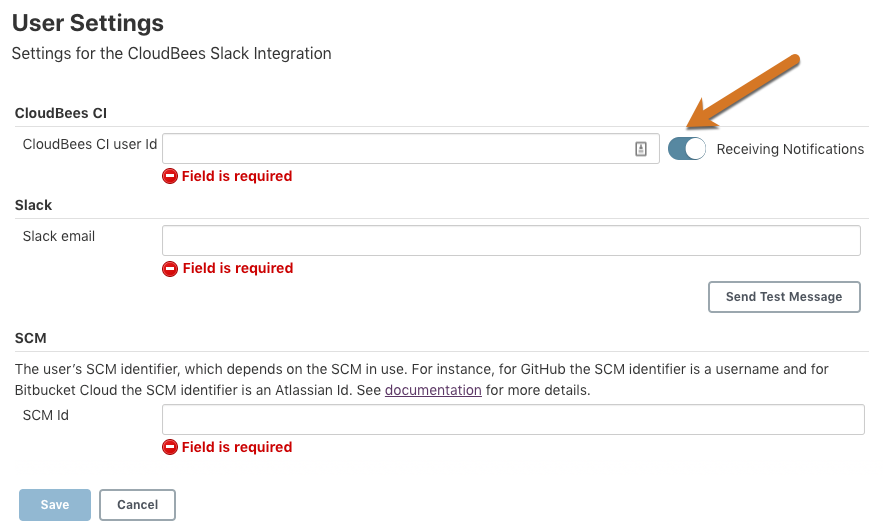
Enable the user to receive messages by turning on the Receiving Notifications toggle.
-
Enter the following information about the user:
-
CloudBees CI user Id: This is the user’s CloudBees CI user Id which can be found in their profile information on the controller.
-
Slack email: The Slack user’s email that is associated with the Slack workspace where messages should be delivered.
-
SCM Id: The SCM Id is used to pull notifications when the user creates a PR and it is built.
-
-
Select Save.
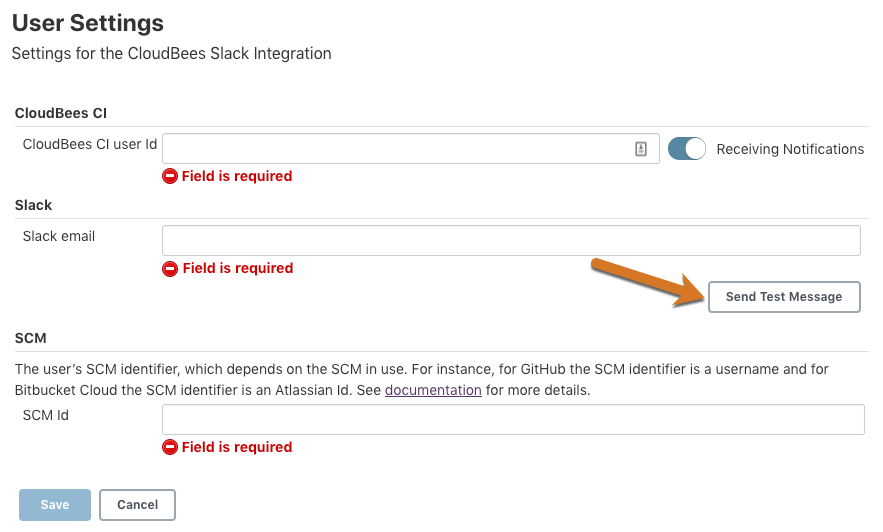
Test a user configuration
After you have added a user, you can test that the configuration has been set correctly by selecting Send Test Message on the user’s profile page.
After you have configured users for CloudBees CI Slack Integration, you need to allow users to configure notifications.