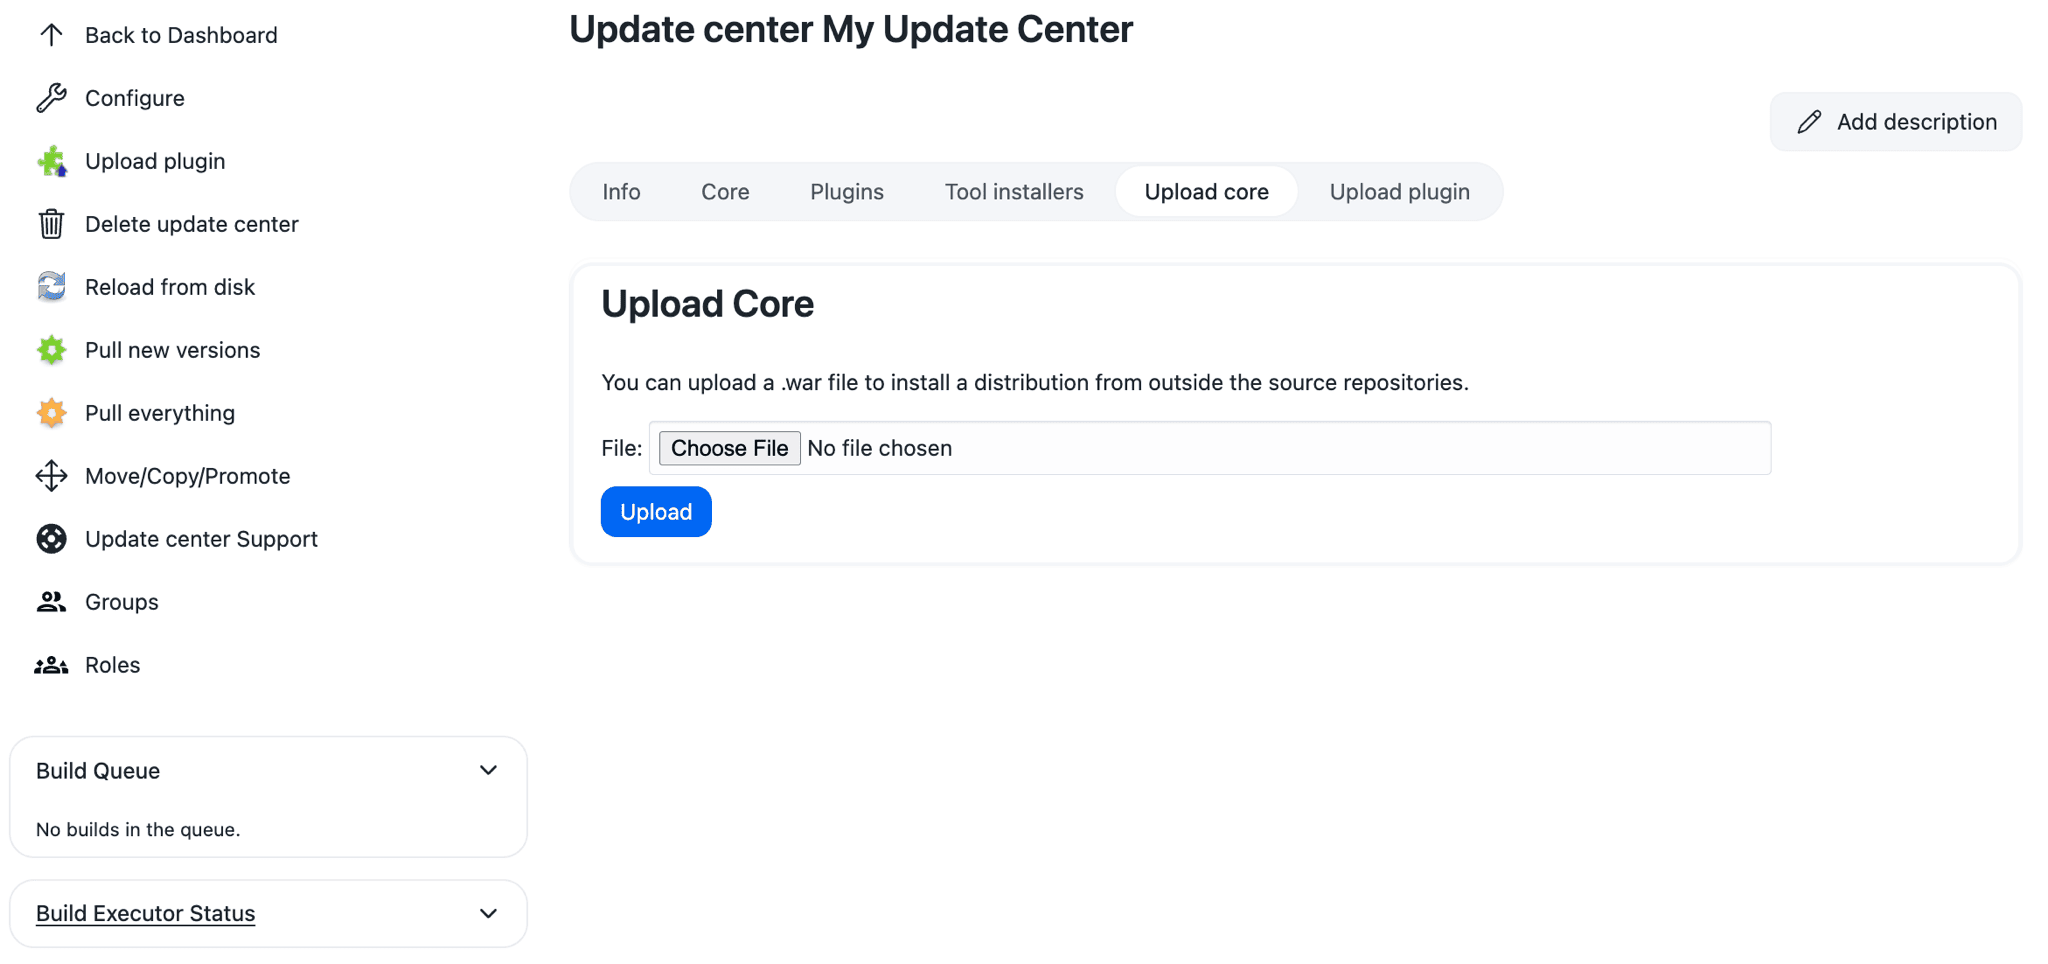
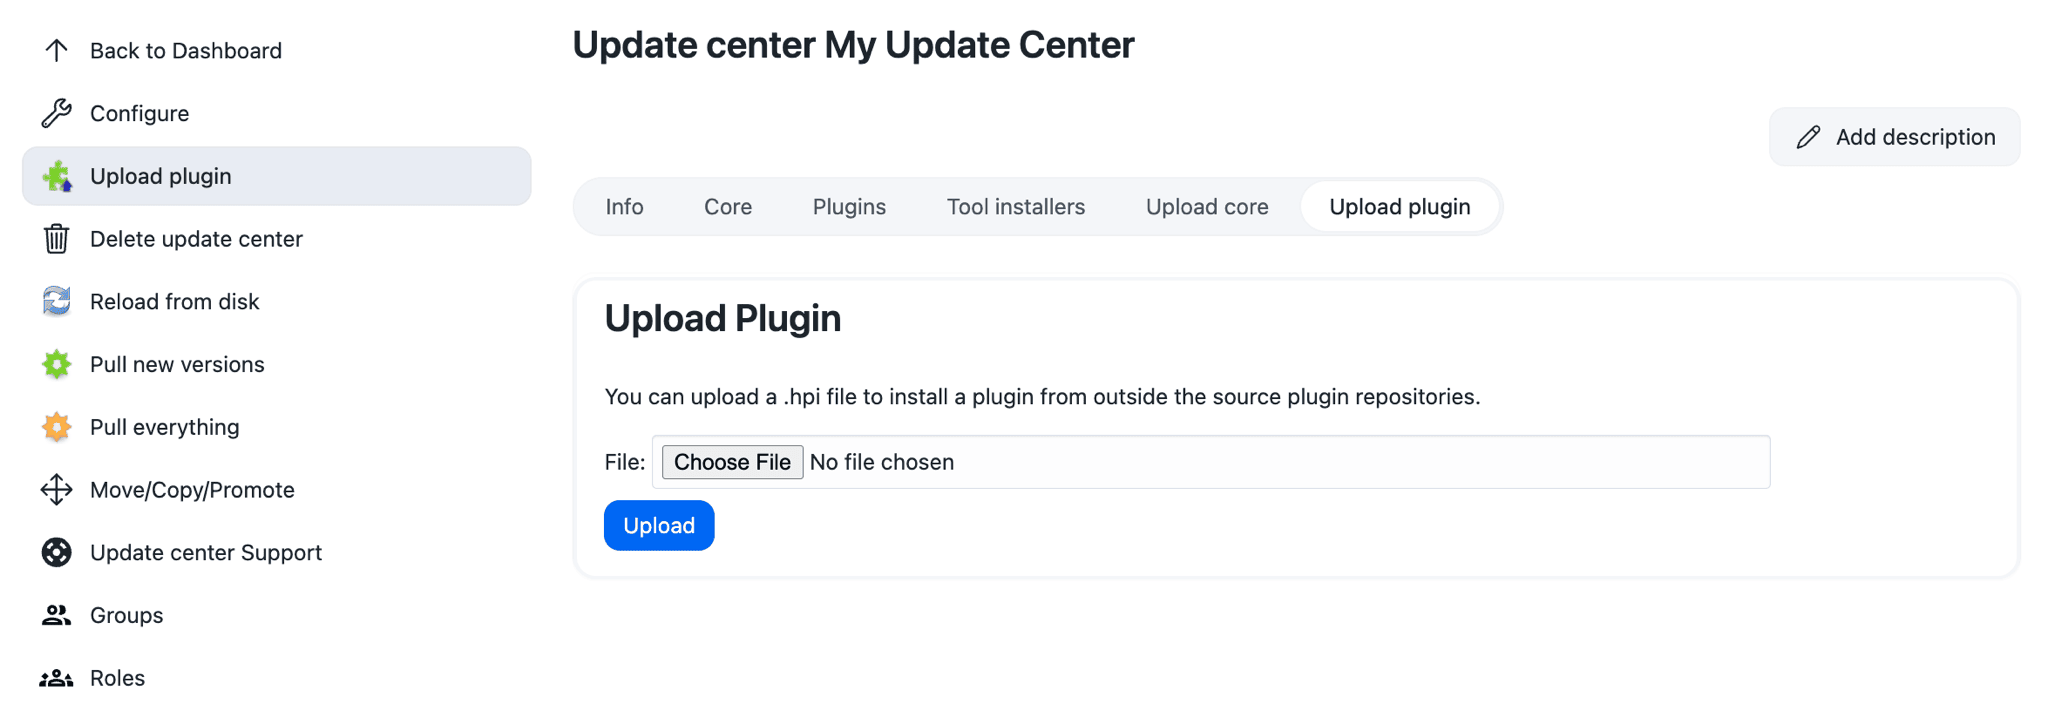
The CloudBees Update Center plugin gives a Jenkins administrator the ability to host their own Update Center for the Jenkins instance(s) that they administer. This Update Center will provide the Jenkins Administrator with the ability to both restrict the plugins available and host their own custom plugins.
|
Starting on 19 October 2021 (18:31:36 GMT), you may see an error message on the Plugin Management page on your CloudBees CI instances. This error has no impact on the operational status of your instance; all of your builds will run as usual. However, this could impact you when creating new controllers for both online and air-gapped environments. Release 2.303.2.6 enables plugin installation and updates for instances in air-gapped environments, removes the error from the Plugin Management page, and corrects plugin installation during new controller provisioning for online and air-gapped environments. Please refer to the following KB article for more information and workarounds: |
Create an Update Center
Update centers can be created just like regular jobs. Go to New Job, enter a name for the Update Center and choose Update Center as the job type.
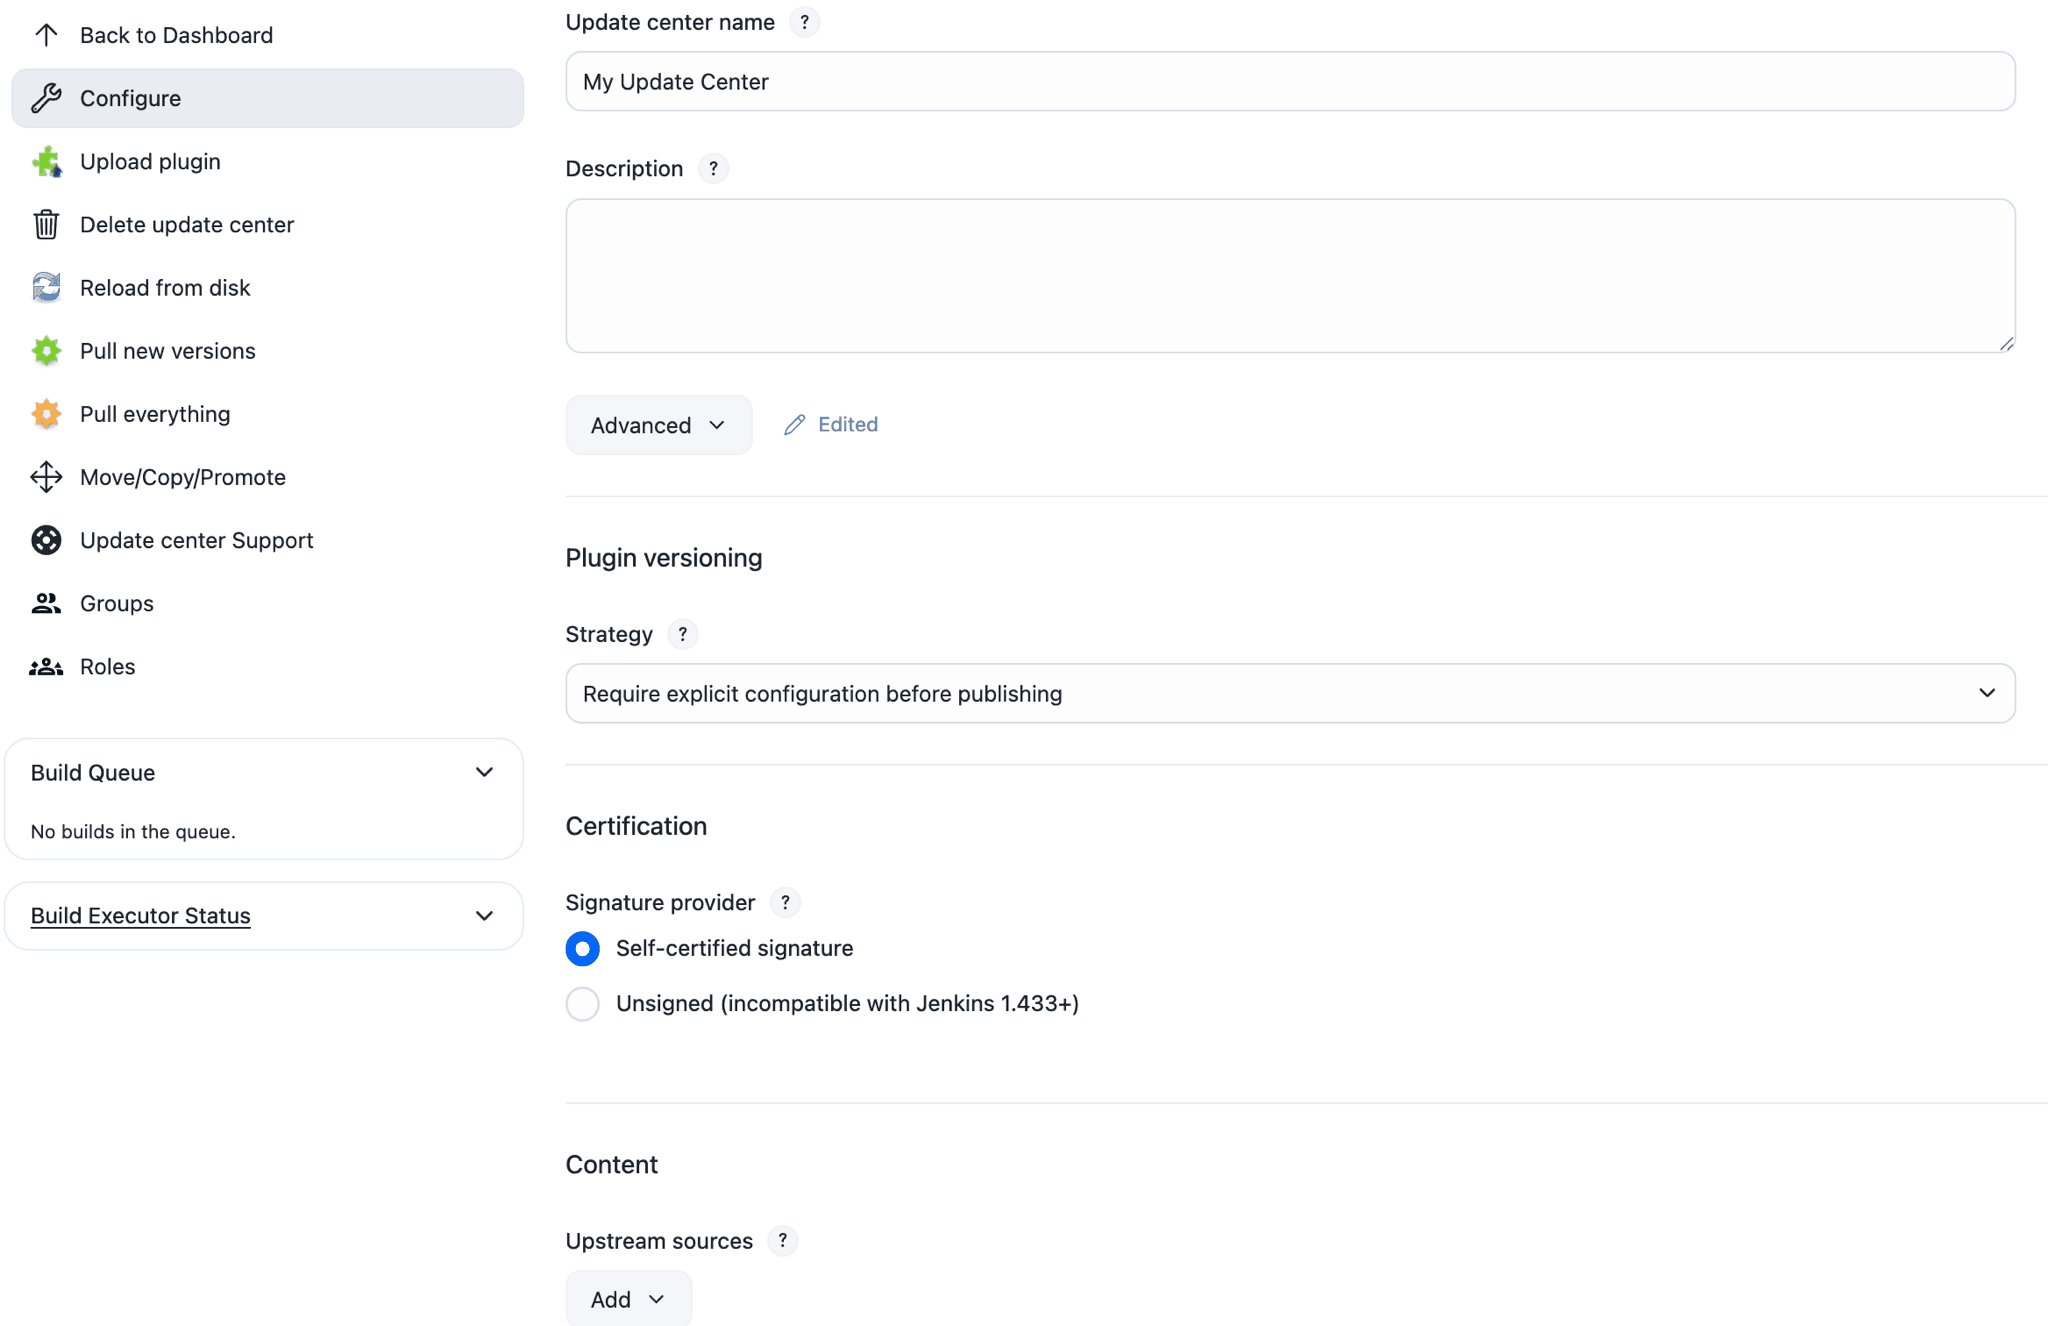
There are a number of options that you can configure for the update center:
-
Plugin Versioning Strategy - this strategy is applied whenever a new plugin (i.e. one where there are no existing versions installed) is first installed in the Update Center. There are two strategies. The first will not publish any version of the plugin until the user explicitly selects a version to publish. The second will always publish the newest version of the plugin that is installed in the Update Center. See Version number rules for a description of how version numbers are compared by Jenkins.
-
Signature provider - Jenkins versions from 1.424 onwards expect that the Update Center metadata is signed by a known certificate. Select the certification signature provider to use for signing the Update Center metadata.
-
Upstream sources - by selecting upstream sources to pull updates from you can track other Update Centers and installing plugin versions is easier as the plugins do not have to be manually downloaded onto your computer and then uploaded into the Update Center. Use the upstream sources with
(traditional)or(modern)in the name, otherwise you will be using the end of life CloudBees Jenkins Platform upstream sources. -
Maintenance tasks - allows control of periodic tasks such as downloading new versions of plugins installed in the Update Center, or installing new plugins from the upstream sources into the Update Center.
Use the Update Center
The main Update Center screen consists of a number of tabs.
Info tab
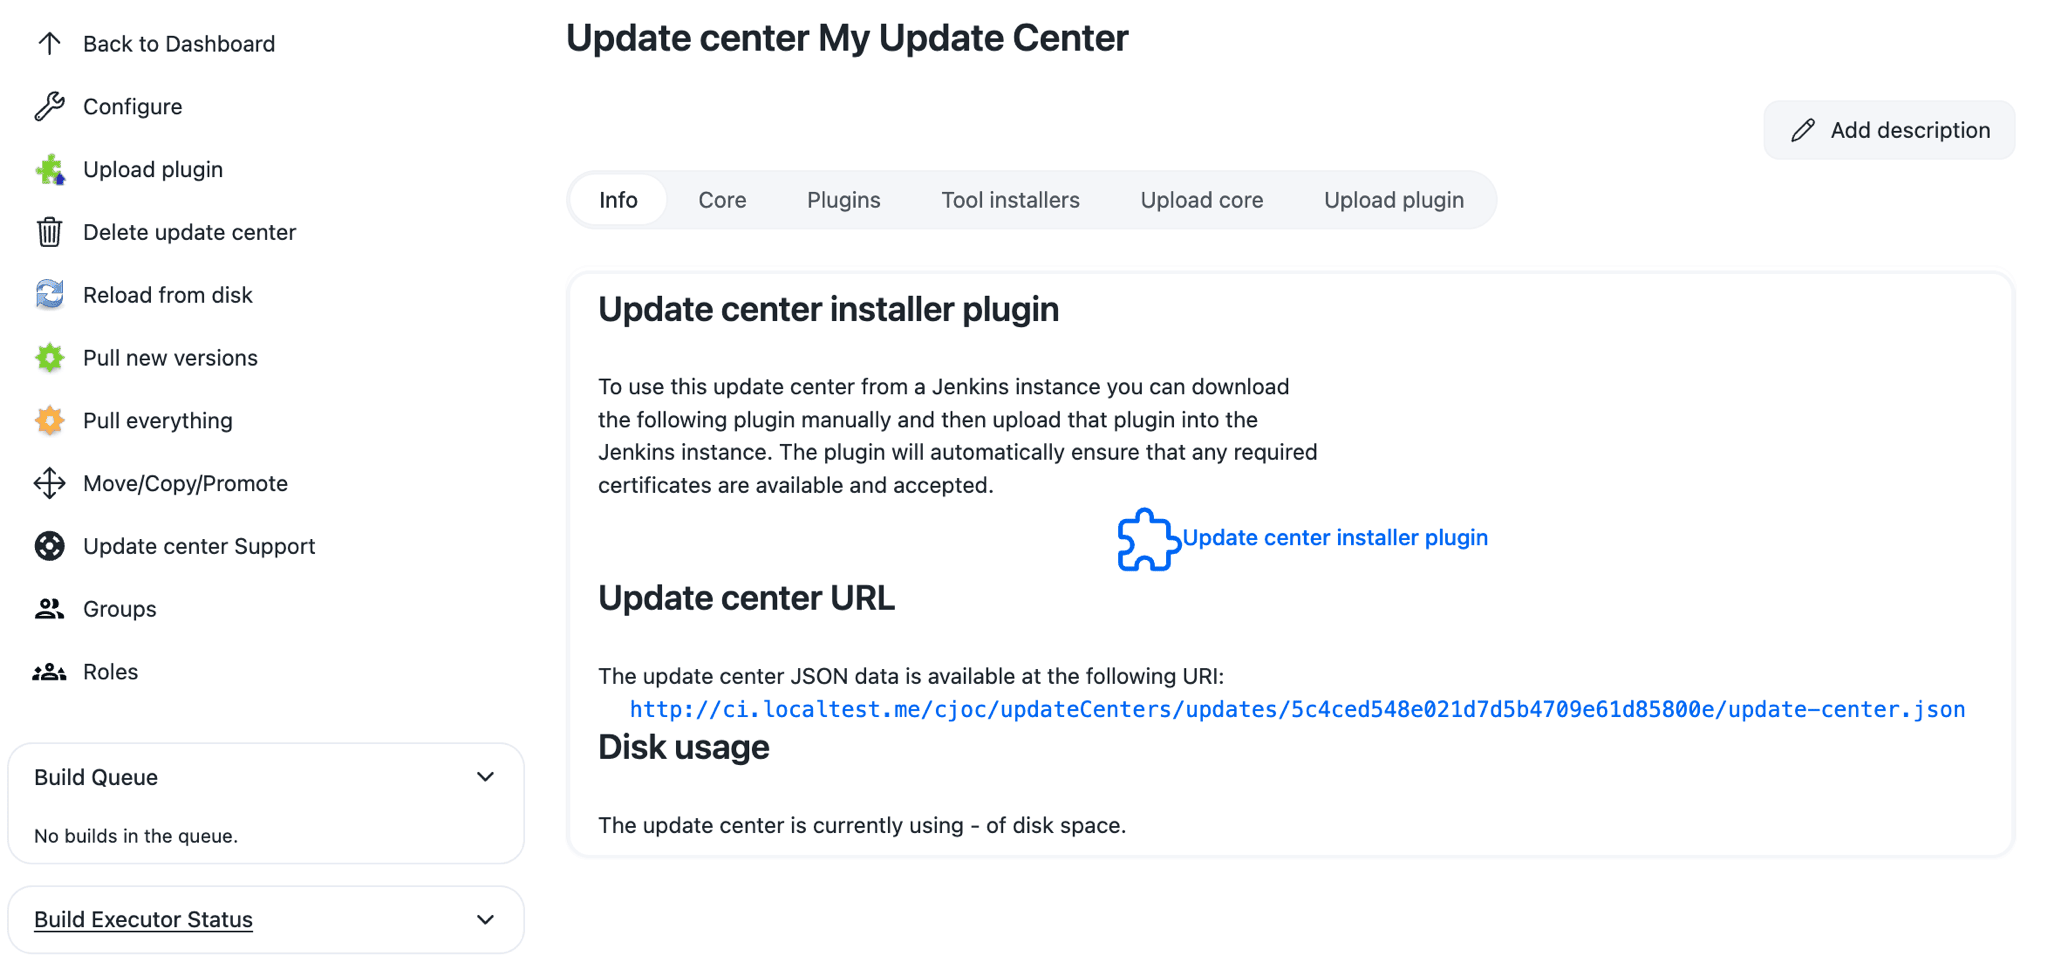
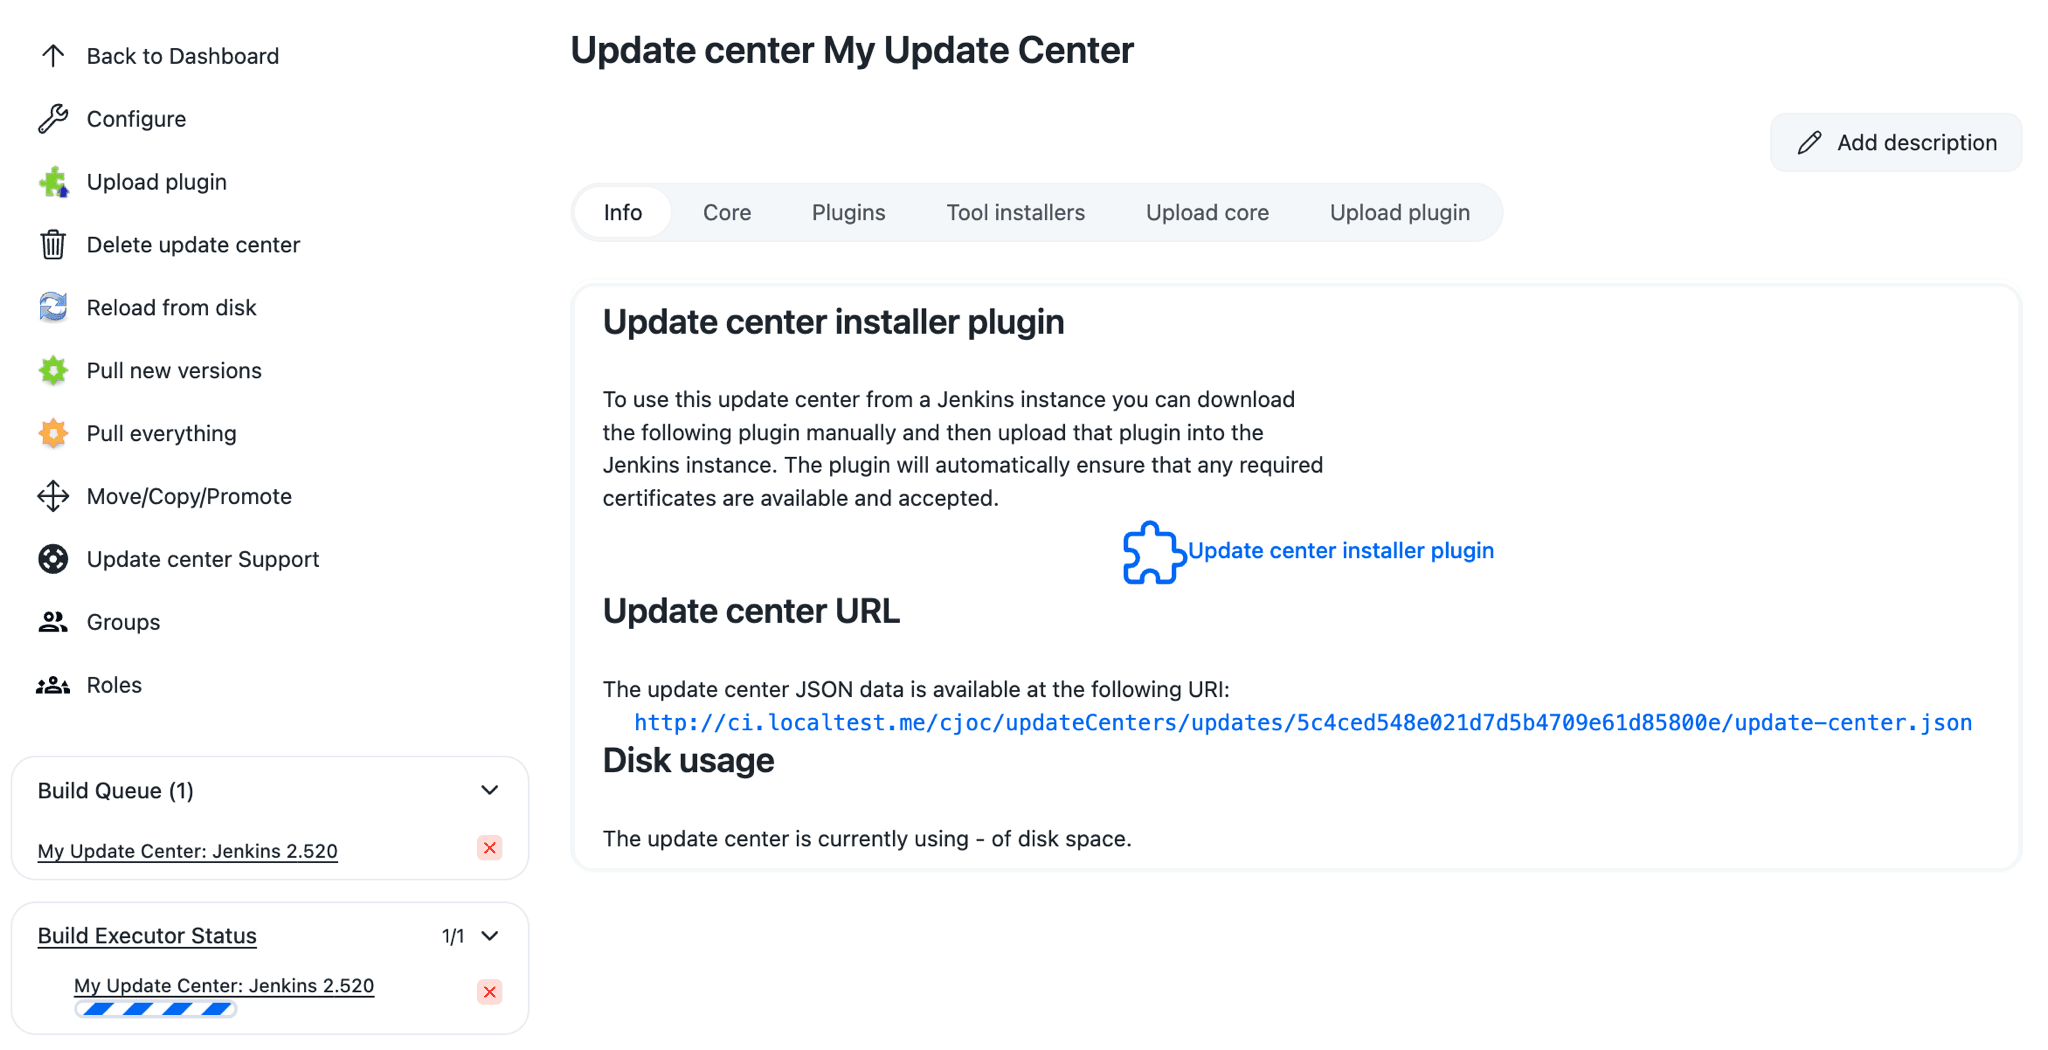
This screen displays some basic information about the Update Center:
-
How much disk space is being used by the Update Center
-
What the Update Center’s URL is
|
There are only two occasions when it is appropriate to use the installer plugin:
|
Once a Jenkins instance is joined to the operations center cluster you should use the Specify Update Center for Controller option to push the Update Center configuration to the controller.
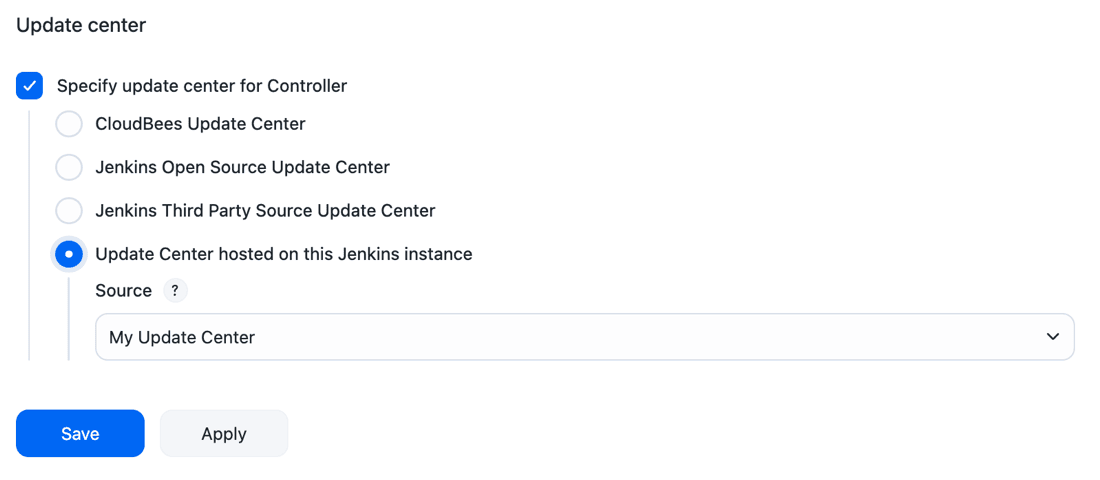
|
The plugin that the link downloads will access the Update Center via the URL that the link corresponds to. It is best to access the link from the machine that the plugin will be installed on in order to ensure that the correct (from that machine) URL to access the Update Center is used. |
|
The plugin that the link downloads will ensure that the matching certificate checks are performed. For example, if the Update Center is using a Self-Signed Certificate to sign the Similarly, if the Update Center is not using any Certificates to sign the |
There are two ways to install the plugin in a Jenkins instance:
-
Using the Web Interface
-
From the Update Center, download the Update center installer plugin. (Ideally downloading it via a browser running on the same machine as the Jenkins instance that will be using the Update Center as its Update Center)
-
Go to the Jenkins instance’s root page.
-
If the Jenkins instance has security enabled, sign in as a user with has the Overall | Administer permission.
-
include::ROOT:partial$navigate-manage-jenkins.adoc[]
-
Select Plugins, and then select the Advanced settings.
-
Select Deploy to upload the plugin.
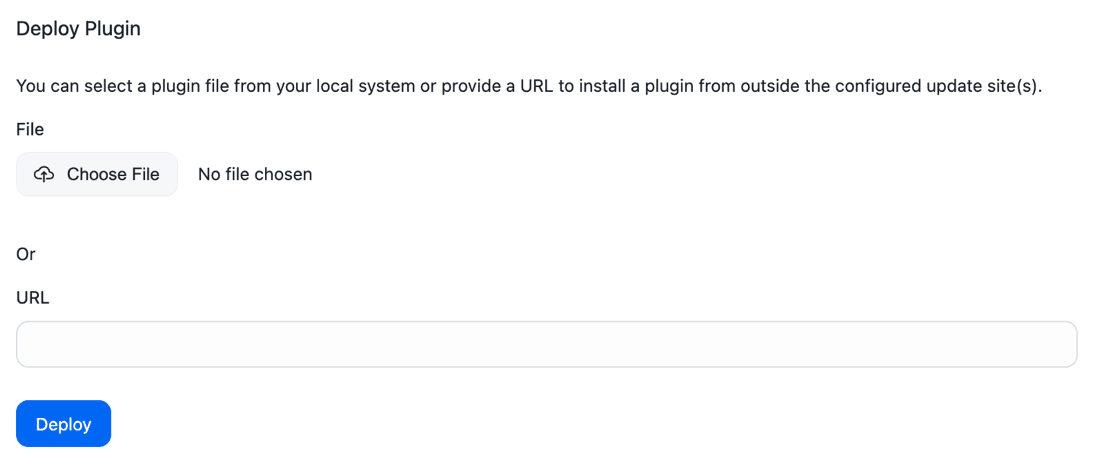 Figure 4. Upload the Update Center Installer Plugin into a Jenkins instance
 -
Check the Installed tab. If the Jenkins instance says that it requires a restart, then restart the Jenkins instance.
-
-
Using the Command Line Interface
-
From the Update Center, download the Update center installer plugin. (Ideally you should download it via a browser running on the same machine as the Jenkins instance that will be using the Update Center as its Update Center.)
-
Stop the Jenkins instance.
-
Move (or copy) the downloaded plugin into the
$JENKINS_HOME/plugins/directory. -
Start the Jenkins instance.
-
Core tab
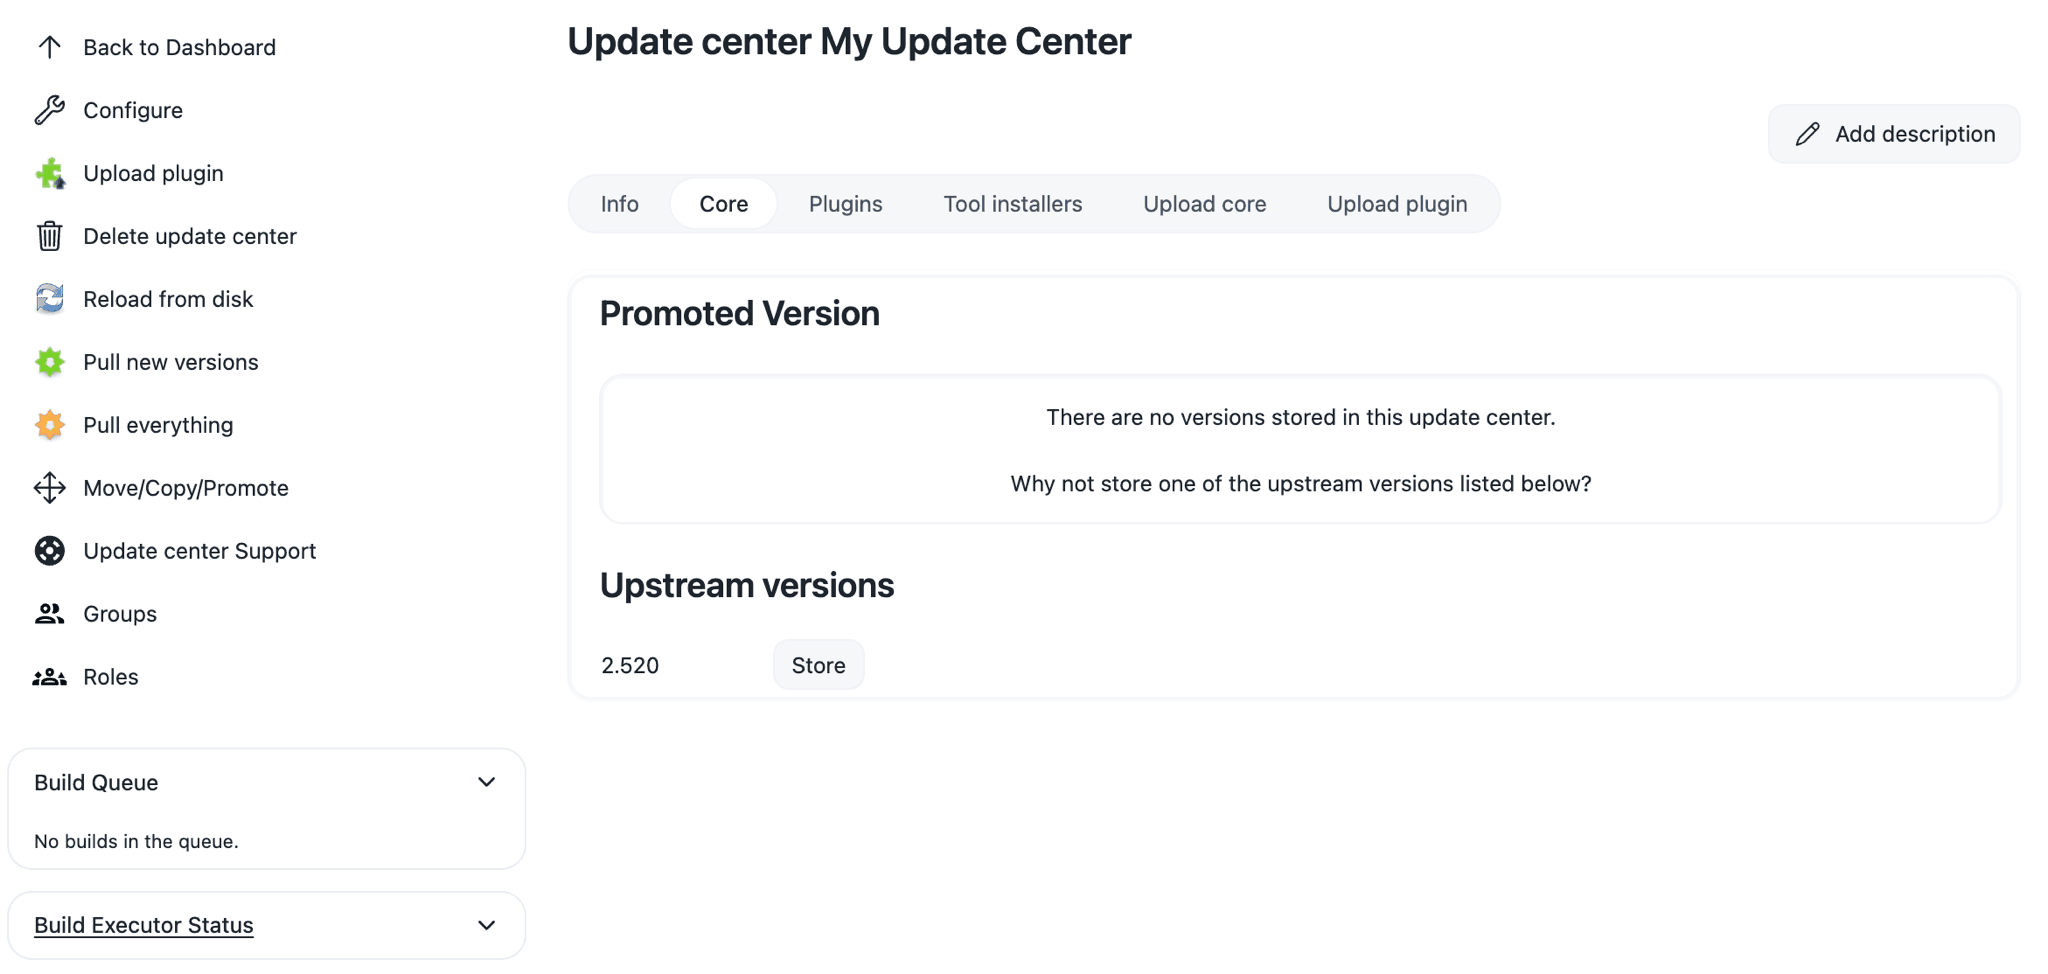
This screen provides details of Jenkins distributions.
The Promoted Version section lists all the versions of Jenkins that
are installed in the Update Center and allows for one specific version
to be advertised via the Update Center’s update-center.json
The Upstream Versions section lists any versions of Jenkins, coming from the Update Center’s upstream sources, that have not been installed in the Update Center
|
Only versions of Jenkins which have been installed in the Update Center
can be advertised via the Update Center’s |
To install a version of Jenkins from the upstream sources, just select the corresponding Store button and the download will be added to the download queue.
Plugins tab
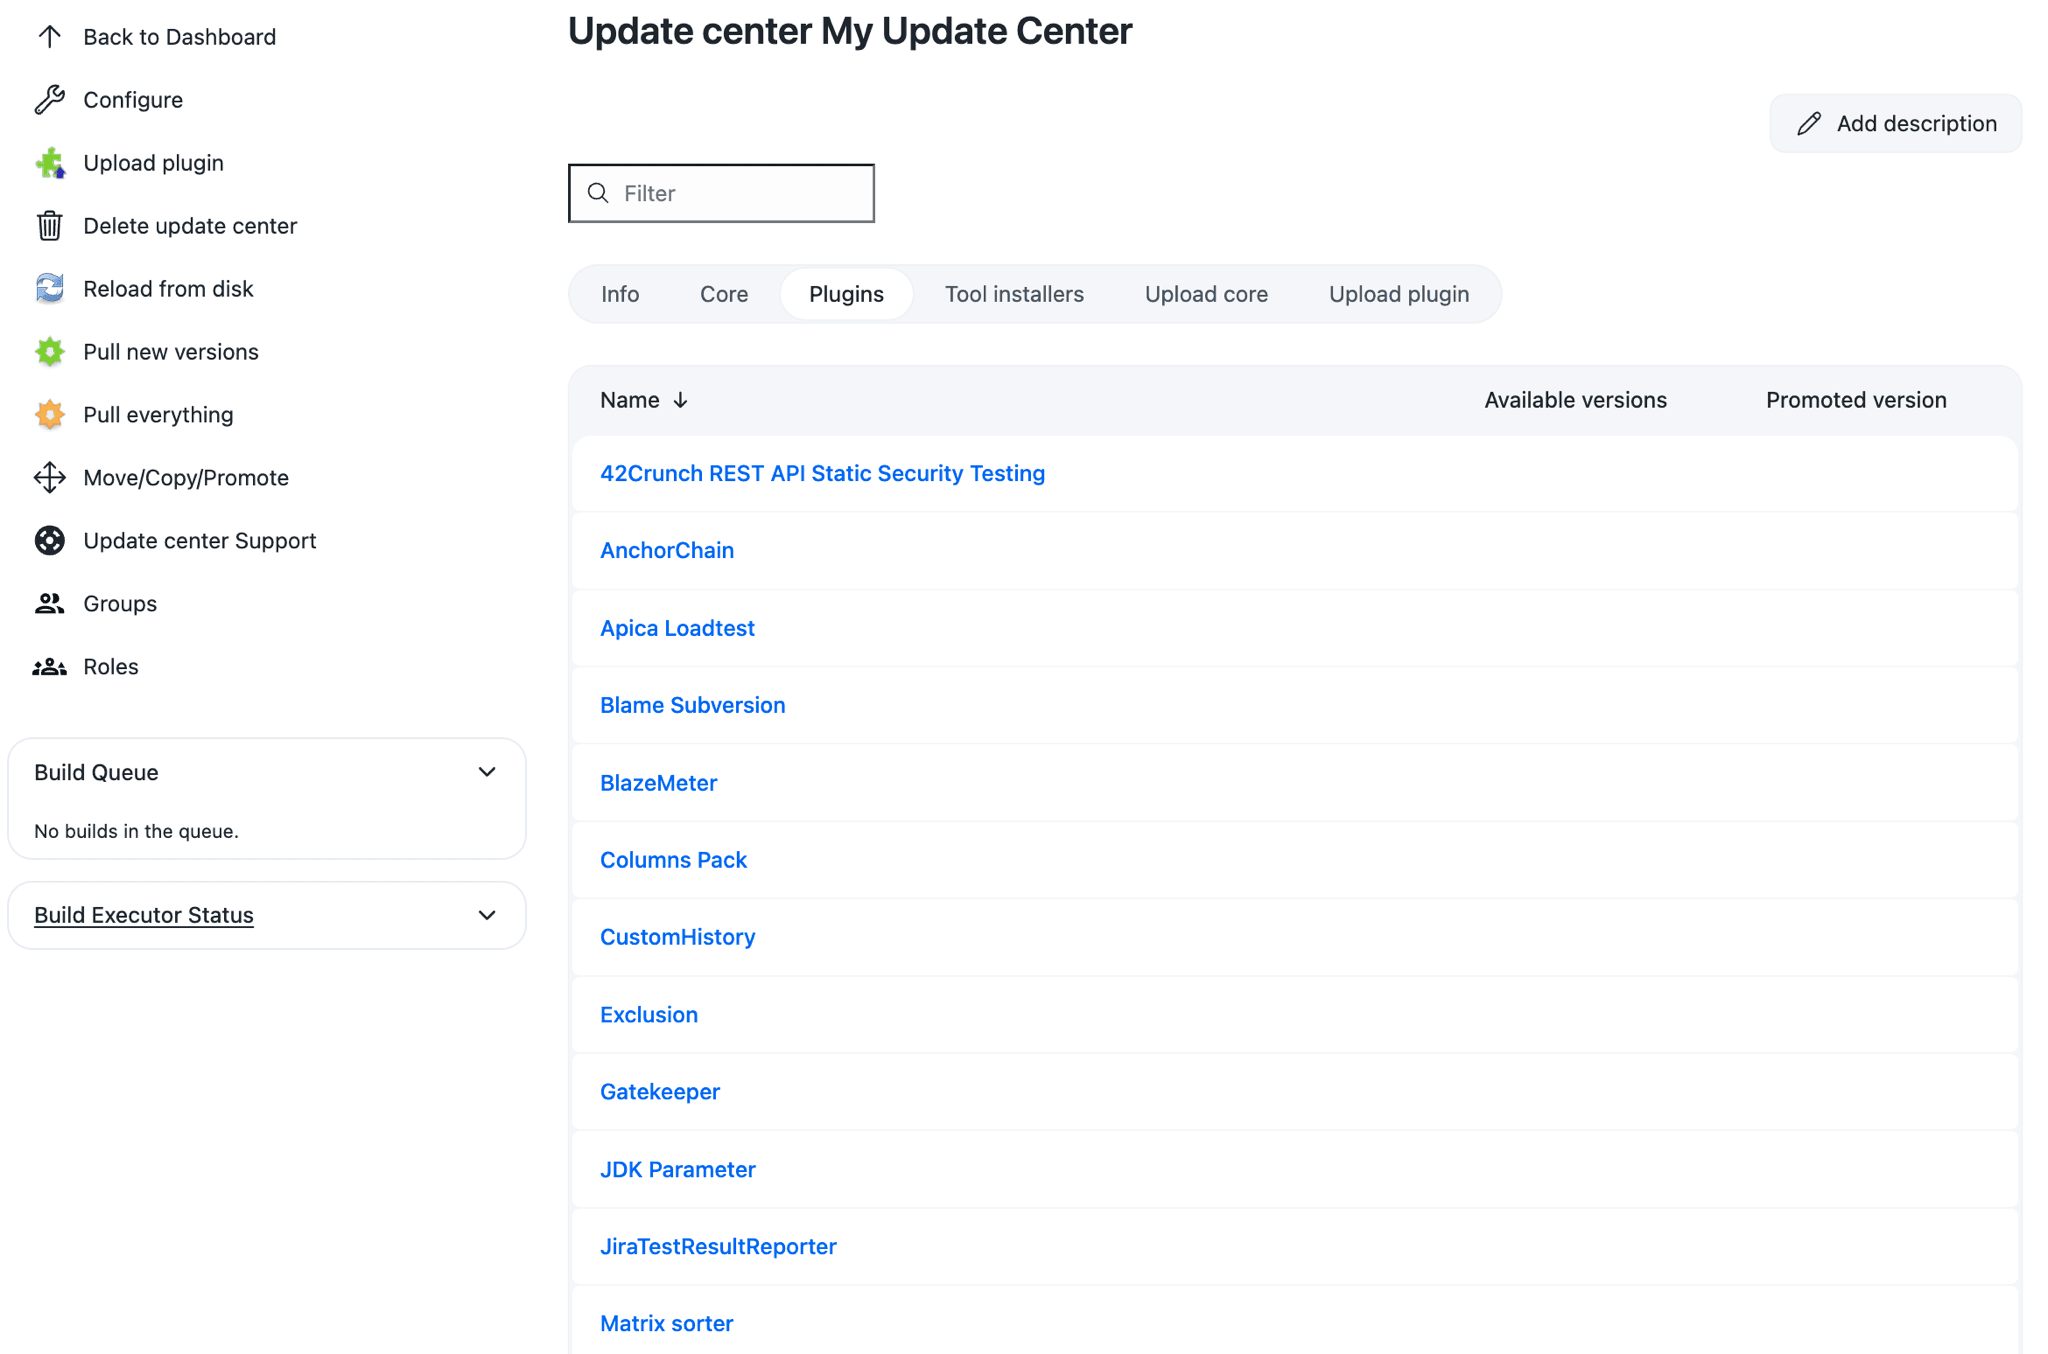
This screen provides details of all the Plugins known to this Update Center, for example, all the plugins advertised by the Update Center’s upstream sources as well as all the plugins installed in the Update Center.
Selecting a Plugin’s name will display the Plugin information screen

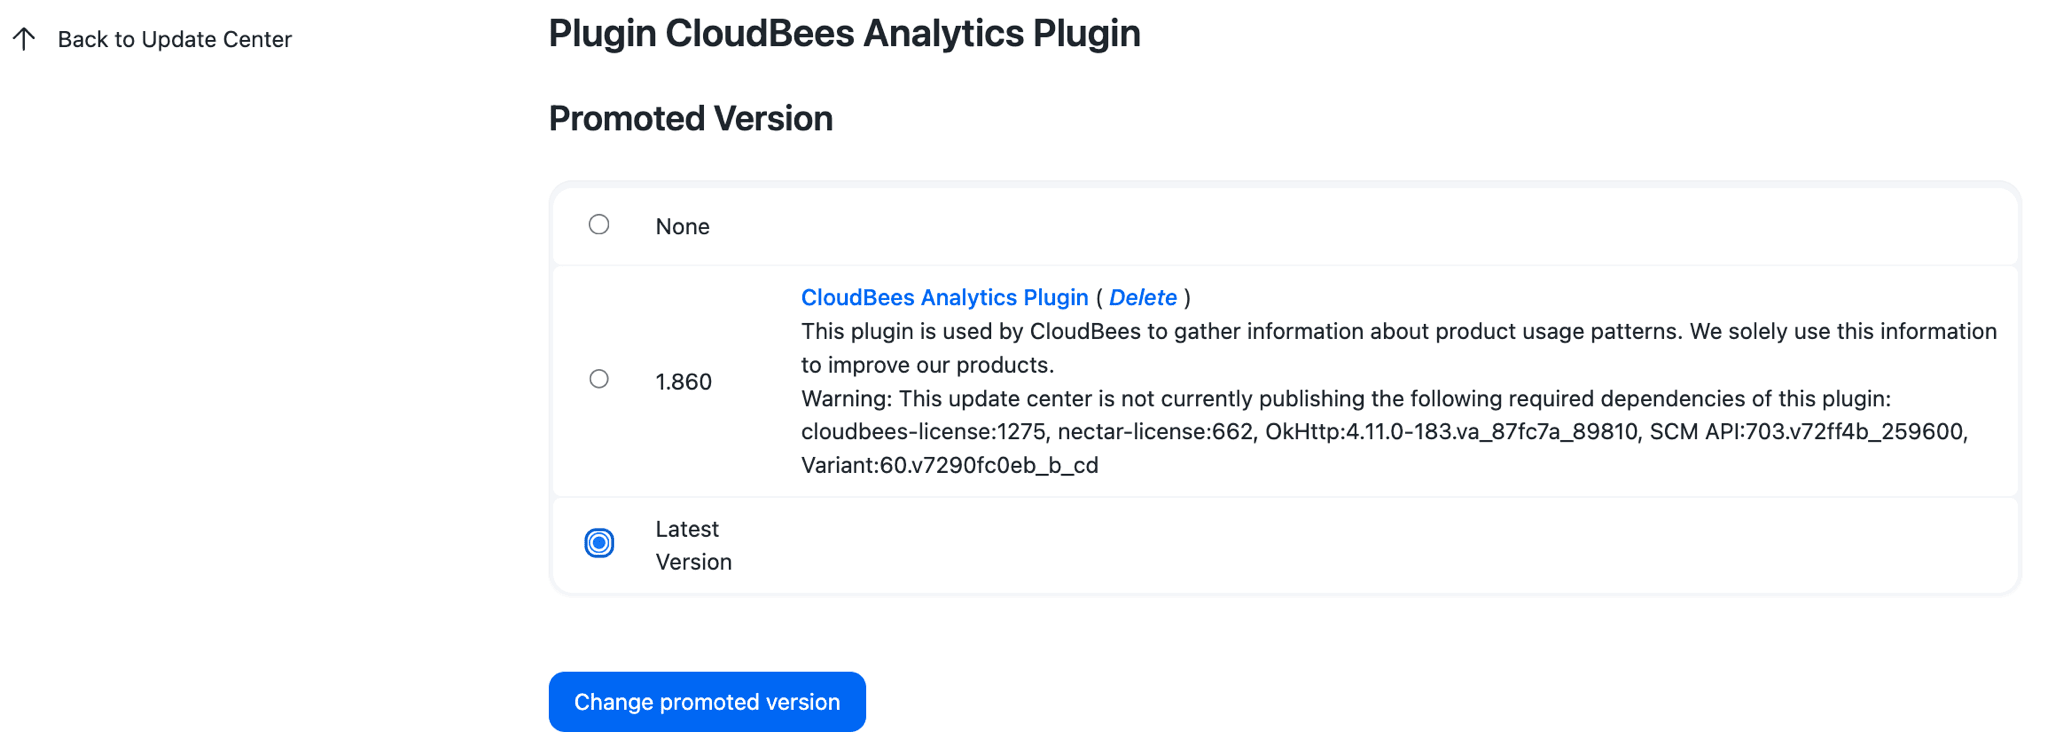
The Promoted Version section lists all the versions of the plugin that
are installed in the Update Center and allows for one specific version
to be advertised via the Update Center’s update-center.json
The Upstream Versions section lists any versions of the plugin, coming from the Update Center’s upstream sources, that have not been installed in the Update Center
|
Only versions of plugins which have been installed in the Update Center
can be advertised via the Update Center’s |
To install a version of a plugin from the upstream sources, just select the corresponding Store button and the download will be added to the download queue.
Tool installers tab
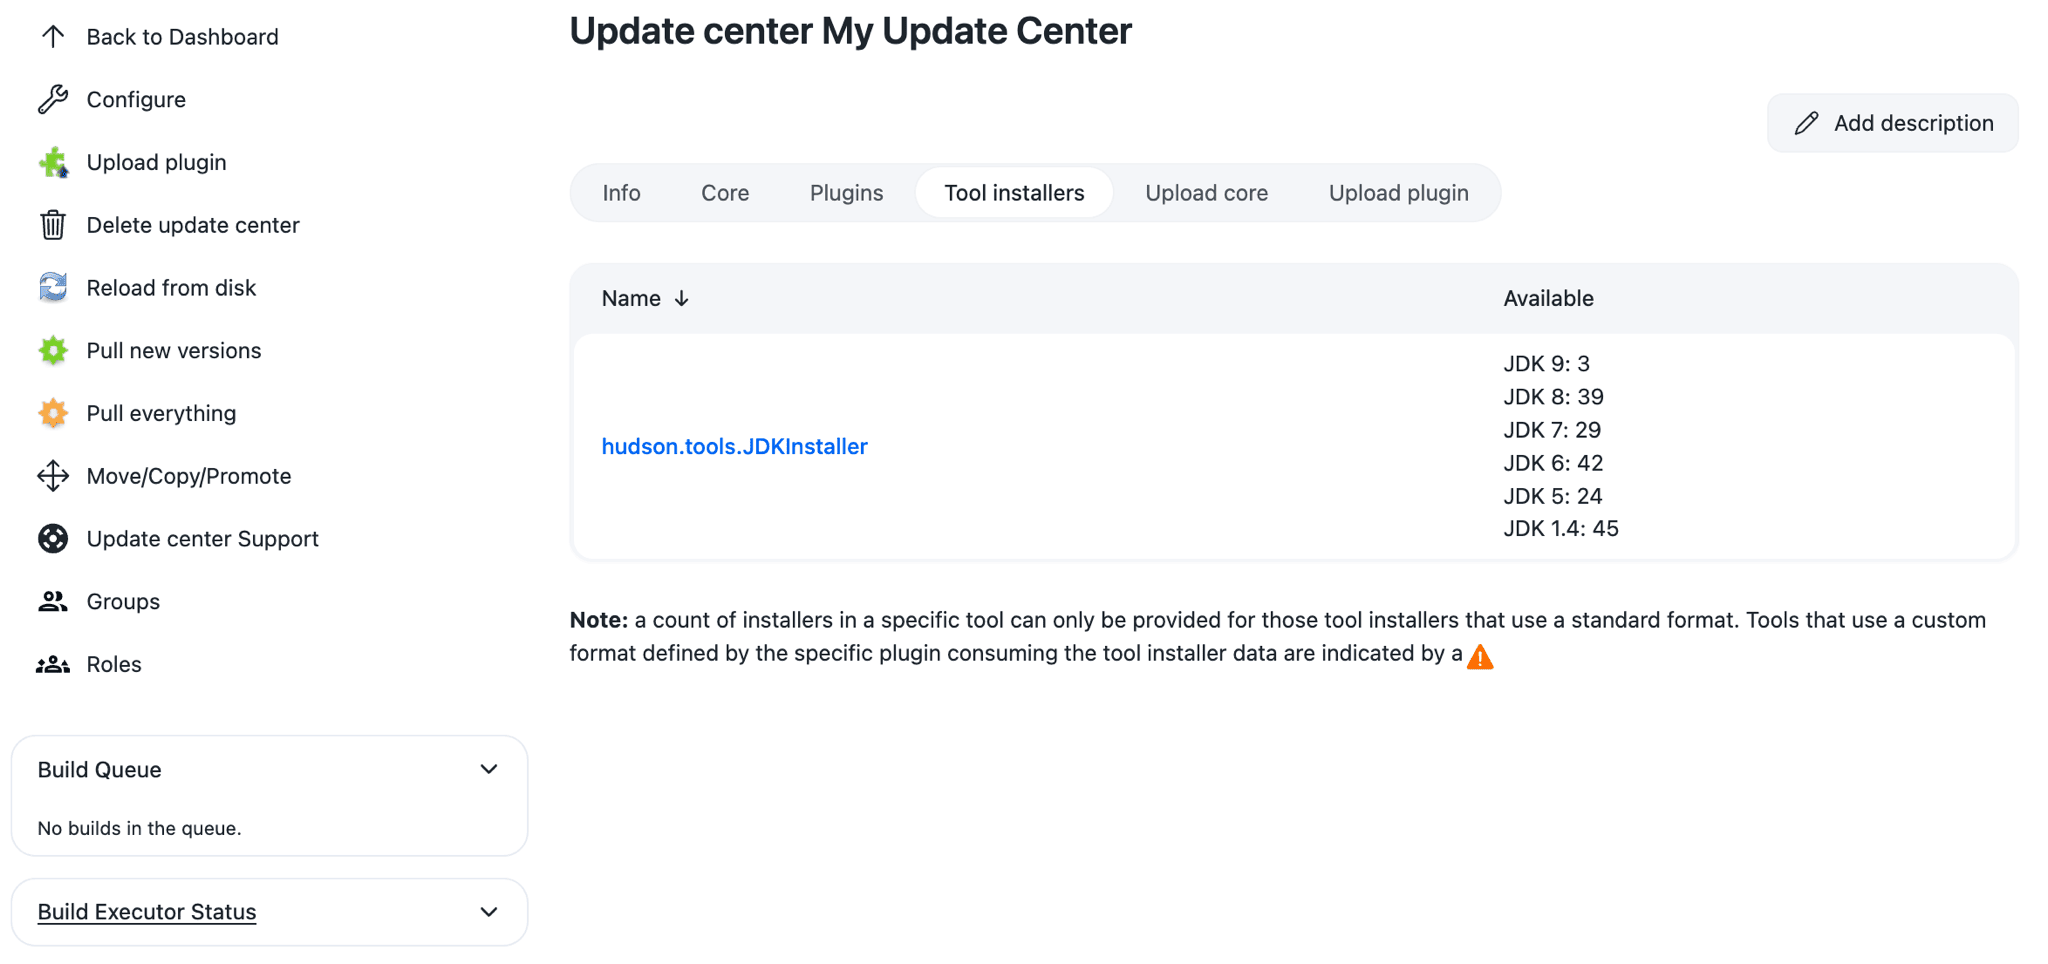
This screen provides details of all the Tool installers known to this Update Center (for example, all the tool installers advertised by the update center’s upstream sources).
Selecting a Tool installer’s name will display the list of versions of the Tool installer that are available.
The Update Center plugin does not currently support hosting private versions of Tool installers.
Maintenance
There are two maintenance tasks available:
-
Pull new versions
-
Pull everything
Pull new versions
This maintenance task is used when you just want to follow a small set of plugins. When this task runs it performs the following steps:
-
Checks all the upstream sources for any versions of the core Jenkins distribution that are not installed in the Update Center. If any versions are found, they will be queued for download.
If Core is set to track the Latest version and one of the downloaded versions is newer than the current latest version, then this will result in the newer version being immediately published once the download has been completed. (See Version number rules for a description of how version numbers are compared by Jenkins.)
If Core is set to either None or a specific version, then no change to the published version will take place.
-
Checks all the upstream sources for any versions of each plugin with at least one version currently installed in the Update Center. If any versions are found, they will be queued for download.
If any of the plugins are set to track the Latest version and one of the downloaded versions is newer than the current latest version, then this will result in the newer version being immediately published once the download has been completed. (See Version number rules for a description of how version numbers are compared by Jenkins.)
If a plugin is set to either None or a specific version, then no change to the published version will take place.
Pull everything
This maintenance task is used when you want to track everything in the Update Center’s upstream sources. When this task runs it performs the following steps:
-
Checks all the upstream sources for any versions of the core Jenkins distribution that are not installed in the Update Center. If any versions are found, they will be queued for download.
If Core is set to track the Latest version and one of the downloaded versions is newer than the current latest version, then this will result in the newer version being immediately published once the download has been completed. (See Version number rules for a description of how version numbers are compared by Jenkins.)
If Core is set to either None or a specific version, then no change to the published version will take place.
-
Checks all the upstream sources for any versions of all plugins published by the upstream source. If any versions are found, they will be queued for download.
If any of the plugins are set to track the Latest version and one of the downloaded versions is newer than the current latest version, then this will result in the newer version being immediately published once the download has been completed. (See Version number rules for a description of how version numbers are compared by Jenkins.)
If a plugin is set to either None or a specific version, then no change to the published version will take place.
Reference Information
Version number rules
Jenkins compares plugin versions using the following strategy:
-
Each version number is split into segments separated by '-' and '.' characters.
-
Starting with the first segment of each version number, segments are compared until a difference is encountered.
-
If both segments are numeric, they are compared as numbers, otherwise they are compared as strings. There are a couple of special qualifier strings that get special treatment, for example, if the string starts with 'a', 'b' or 'm' and the remainder of the string is a number, then those segments will be compared based as if the letter was replaced by 'alpha-', 'beta-' or 'milestone-' respectively. Also, the qualifiers: 'snapshot'; 'alpha'; 'beta'; 'milestone'; 'rc' or 'cr'; '' or 'final' or 'ga'; and 'sp' will be sorted according to that sequence.
-
Where the values of a segment are the same, if the preceding separator was '.' then that comes before '-'.
Other tasks
Remove a custom Update Center as an update source from a Jenkins instance
If you want to remove a custom Update Center as an updates source you would have to: * disable it in the client controller configuration page from the operations center if you have pushed the configuration from there (this is the suggested and preferred way) * uninstall or disable the custom Update Center installer plugin and restart your Jenkins instance if instead you have configured the custom Update Center by installing the custom Update Center installer plugin on the client controller.
The list of Update Centers will not be modified on disk as a result of the change. However, the custom update center will not be loaded into the list of Update Centers, and you will see the following in your logs until the list of Update Centers is re-saved to disk.
WARNING: Failed to resolve class com.thoughtworks.xstream.mapper.CannotResolveClassException: custom
If more information or assistance is necessary, search the Knowledge Base or open a CloudBees Support ticket.
